Features:
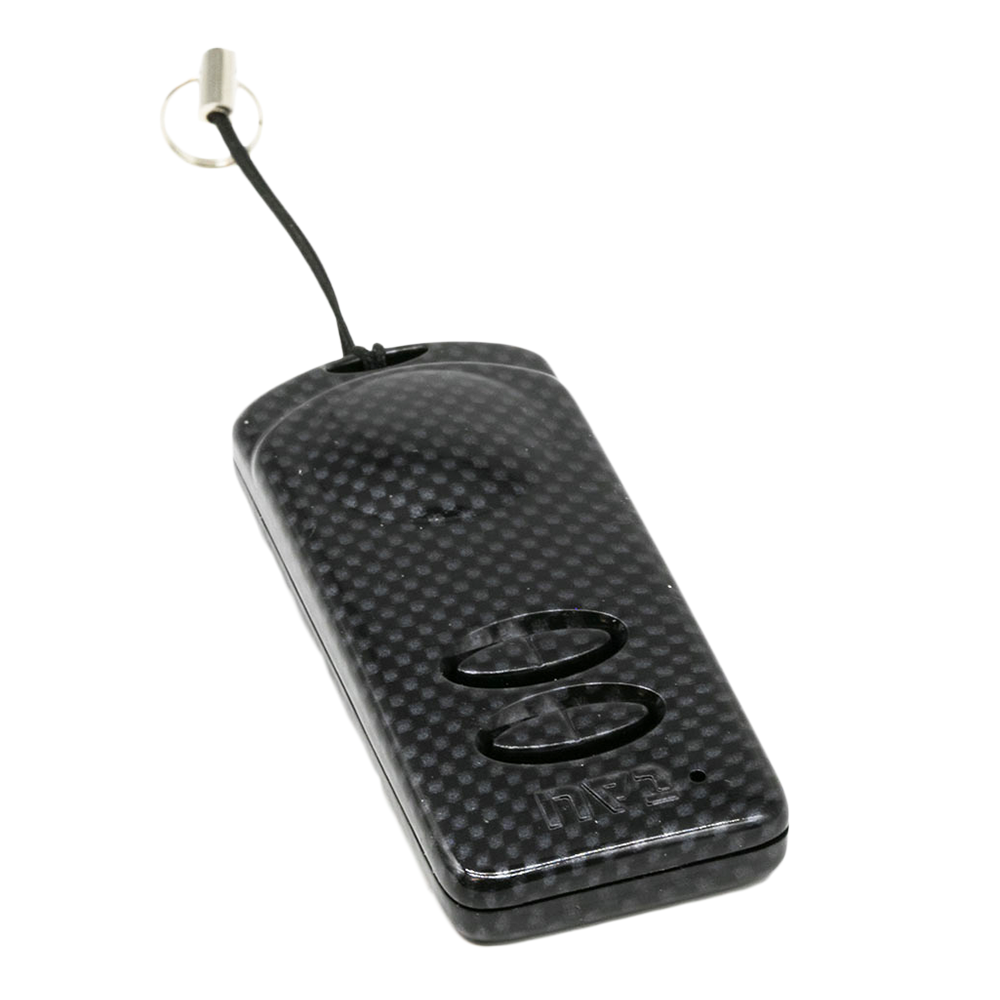
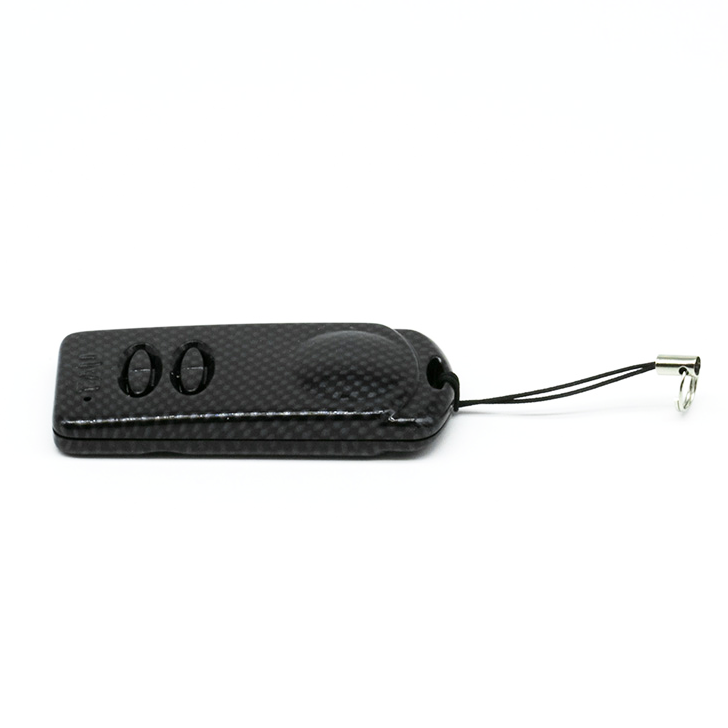
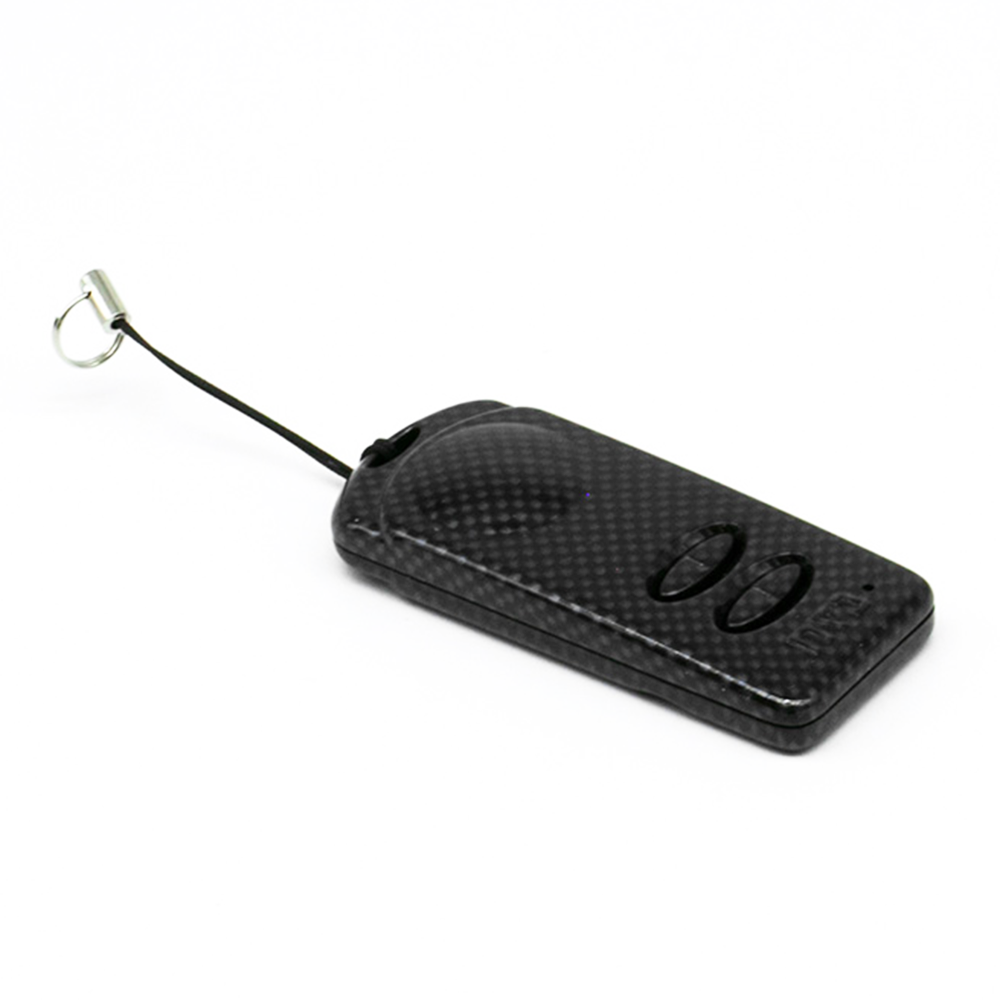
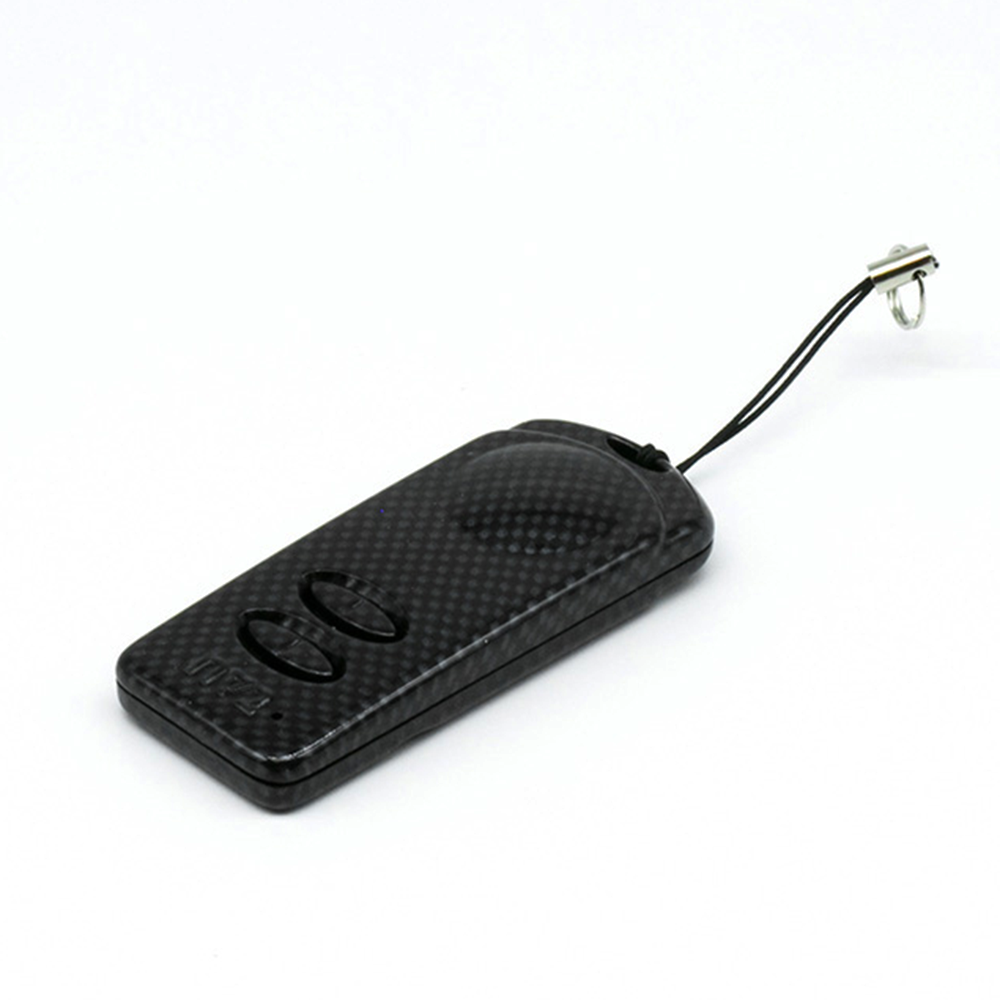
- 1 x Genuine TAU Remote
- 2 Years Manufacturers Warranty*
- Free Standard Shipping Australia-Wide*
Includes:
- 1 x Brand New Remote
- 1 x Battery
- Coding Instructions
Compatibility List:
Note: This remote is NOT compatible with the Fixed Code – DipSwitch version of this remote.
Tip – Open up your remote casing. If your remote has 10 dip-switches inside you need the TAU 250 SLIM – Fixed Code Remote (not available at Retro Remotes)

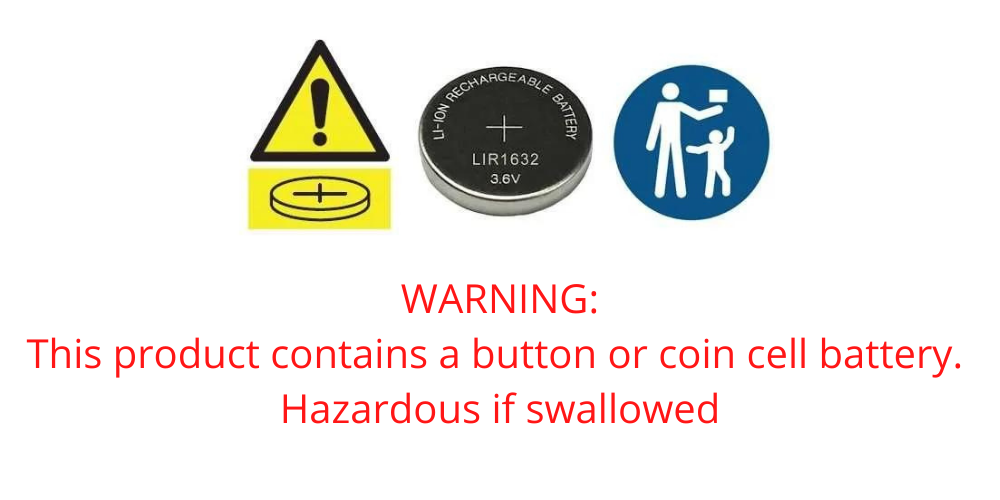
WARNING! KEEP BATTERIES OUT OF REACH OF CHILDREN. Never allow children to replace button batteries on any device. Swallowing or placing inside any part of the body may lead to severe or fatal injuries in as little as 2 hours or less due to chemical burns and potential perforation of the oesophagus.
If you suspect your child has swallowed a button battery or placed inside any part of the body immediately call the POISONS INFORMATION CENTRE on 13 11 26 for prompt advice. If your child is having any difficulty breathing, contact 000.
Dispose of used button/coin batteries immediately and safely. A battery can still be dangerous even when it can no longer operate the device. Place sticky tape around both sides of the battery and dispose of it immediately out of reach of children in an outside bin or recycle safely.
Please see button battery safety information from the Australian Competition & Consumer Commission (ACCC).
Warning – This is a Rolling Code version of the TAU 250K SLIM.
| Frequency | 433.92MHz |
| Coding | Rolling Code |
| Body Type | Key-Ring |
| Buttons | 2 |
| Button Colour | Black Pattern |
| Case Colour | Black Pattern |
| Remote Size | |
| Range | up to 200m |
| Item Contains Lithium Coin/Button Battery | No |
| Battery Type | CR2016 |
| Access Type | Tool Required |
| AS62368.1 Compliant | Yes |
Written Instructions
Remote to Receiver:
- Push the Learn/Mode/PROG/P1 button on your receiver.
- Push the button you wish to code on the new remote.
Radio Receiver – When in learning mode LED D1 will turn red and D2 will turn Green. Both will turn off once coded.
D760M Receiver – Red LED will turn off in learning mode. Red LED will pulse and then stay on once coded.
Diamond – DL8 Led will turn Green in learning mode. LED will turn OFF and then ON to allow for further remotes to be coded. LED will pulse and then turn off.
Remote to Remote:
You will need to be in close proximity to your receiver/controller to successfully code your new remote. You will be using your old remote to active the learn button on your receiver/controller.
Original Remote manufactured prior to March 2014.
- On the old remote hold down button 1, then press button 2 – three times.
- The green LED should stop flashing and remain ON for 1 – 2 seconds.
- Once this happens release both buttons.
- The green LED flashes to advise that remote programming is activated.
- On the new remote press the button that you wish to code.
Note: It is recommended to use the same button that is currently used to operate on the old remote ( this is to allow this new remote to be used to code other remotes in the future)
Original Remotes manufactured after March 2014
- In the original remote control – press and hold down the button currently used to open your door.
- The green LED should turn ON, then OFF, and then should start flashing.
- Release the button once flashing. This remote should now be in Learn Mode.
- On the New Remote Control, Press the same button as the Original Remote. This remote should now be synced to your opener.
Note: If you are using this remote to control more than one receiver in close proximity – it is recommended that you turn power off to all except the receiver you are currently coding.
Remote learning of a new rolling code transmitter
How to learn a Rolling Code trasmitter on Diamond control boards
How to learn a rolling code transmitter on the control board D760M
How to learn a K-SLIM and T-4 transmitter on a 433 Mhz RXSM radio receiver
Only logged in customers who have purchased this product may leave a review.


Reviews
There are no reviews yet.