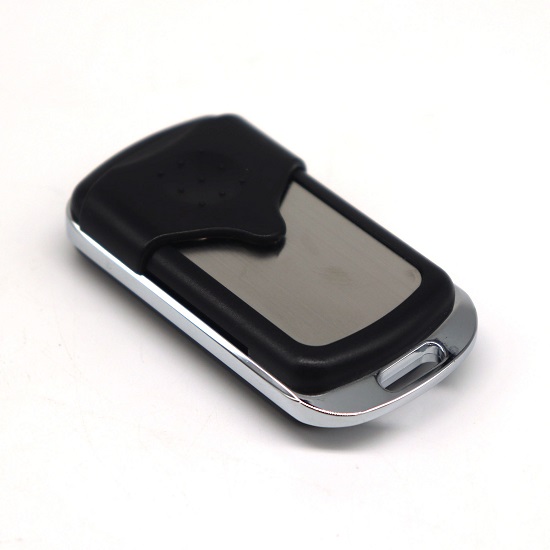
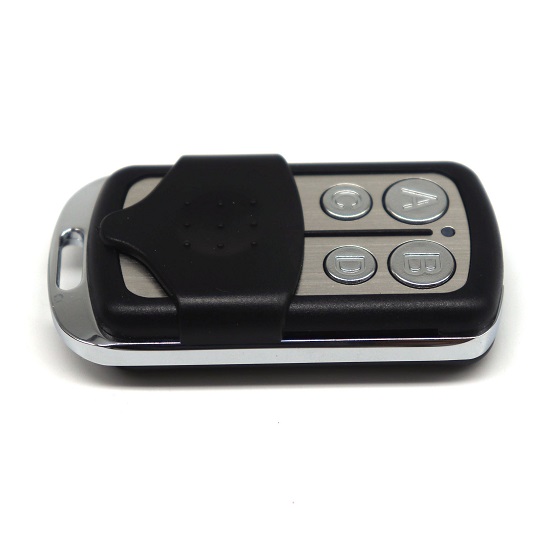
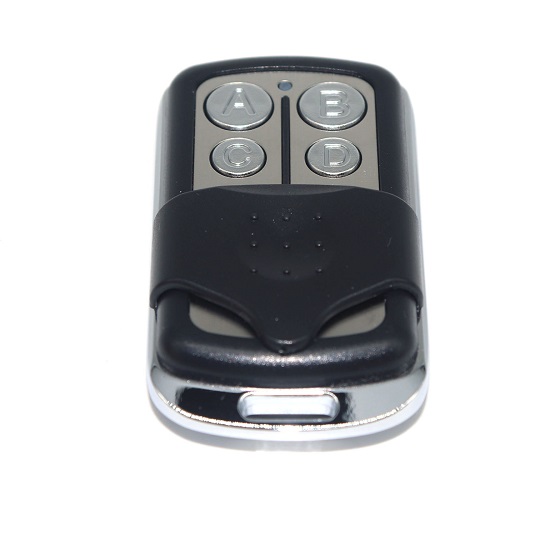
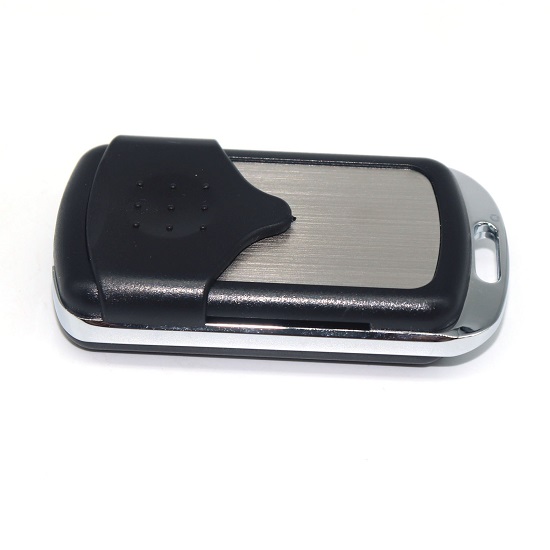
LEXO DEA ZIGGY & MIO Compatible Remote

Brand: LEXO

LEXO DEA ZIGGY & MIO Compatible Remote

Brand: LEXO

  • Includes:

    • 1 x After Market DEA Aftermarket Remote
    • 1 x Battery
    • Coding Instructions
    • Key Ring Attachment
    • Free Shipping Australia-Wide*
    • 2 Years Manufacturers Warranty*

$11.95

Availability:

Only 6 left in stock

Availability:

In stock

  • Includes:

    • 1 x After Market DEA Aftermarket Remote
    • 1 x Battery
    • Coding Instructions
    • Key Ring Attachment
    • Free Shipping Australia-Wide*
    • 2 Years Manufacturers Warranty*

Features:

  • 1 x After Market Compatible Remote
  • 2 Years Manufacturers Warranty*
  • Free Standard Shipping Australia-Wide*

Includes:

  • 1 x After Market DEA Aftermarket Remote
  • 1 x Battery
  • Coding Instructions
  • Key Ring Attachment

Compatibility List:

This remote is an aftermarket compatible remote for:

Weight0.2 kg
Brand

LEXO

Type

Compatible Brand

DEA

MPN

Does Not Apply

UPC

Does not apply

Technical Specifications

Frequency – 433.92MHz
Coding – Rolling Code
Body Type – Key-Ring
Buttons – 4
Button Colour – Grey
Case Colour – Black and Grey
Size –
Range – > 40 meters

Written Instructions

How to Program the Lexo DEA Ziggy & MIO remote to a receiver with no LCD screen

  • Open the casing of your receiver box – it will be found next to your motor.
  • Press the programming button on the circuit board of the receiver once (button ENR, MEMO, PROG, or RESET, depending on the model)
  • The LED light on the receiver lights up or blinks.
  • Press any button on the NEW remote you wish to activate the opener, for 1 second.
  • The LED light on the receiver will go out immediately or within 10 seconds of the last command (depending on your model).
  • Repeat the above steps for additional remotes

How to Program the Lexo DEA Ziggy & MIO remote to a receiver with a digital screen

  • Open the casing on your receiver box, it can be found next to your motor.
  • Press the buttons + or – on your receiver circuit board until you see the entry P005 on the digital screen
  • Press OK, the LED lights up.
  • Press any button on the NEW remote you wish to activate the opener, for 1 second.
  • Wait 10 seconds for you remote to exit learning mode.
  • Repeat for additional remotes.

How to delete memory with no LCD screen

  • Press the programming button on the circuit board of the receiver for 8 to 10 seconds and then let it go (button ENR, MEMO, PROG, or RESET, depending on the model).
  • All remotes are now deleted.

Reviews

There are no reviews yet.

Only logged in customers who have purchased this product may leave a review.