FAAC XT4433RC Remote
FAAC XT4433RC Remote
Couldn't load pickup availability
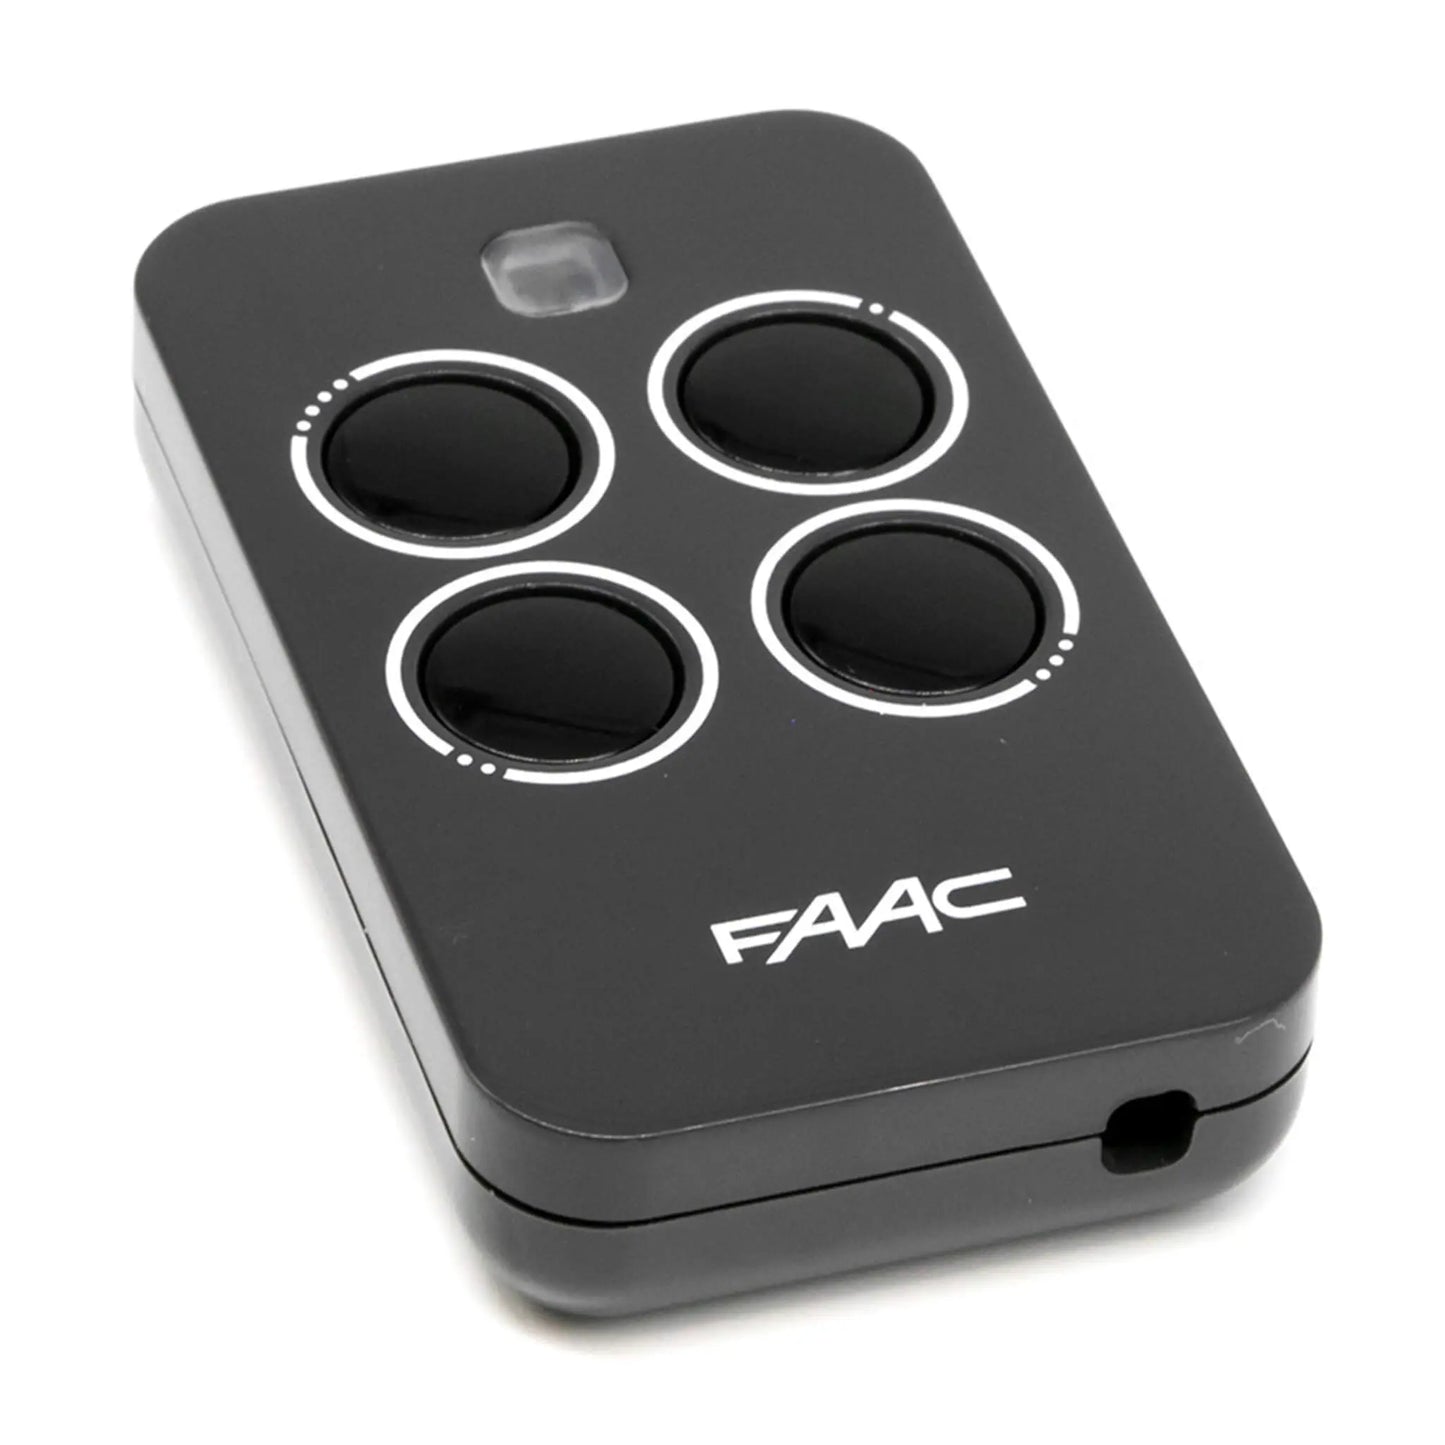
Genuine FAAC XT4433RC Remote Model XF433 – 787831
The Genuine FAAC XT4433RC Remote (Model XF433 – 787831) is a reliable 433.92 MHz rolling-code transmitter designed for secure control of FAAC swing and sliding gate systems. Featuring a durable casing, compact keyring design, and easy programming, it's the approved replacement remote for numerous FAAC receivers and 433 RC systems. Supplied ready to use with a pre-installed battery and coding instructions for fast setup.
What’s Included:
- 1 x Genuine FAAC XT4 433RC Remote
- 1 x Pre-installed Battery (23A)
- 1 x Key Ring
- 1 x Coding Instructions
Key Features:
- Genuine FAAC 433.92 MHz remote
- Compact and durable design for everyday use
- Rugged casing for reliability in the field
- Easy programming with included instructions
- Compatible with a wide range of FAAC swing and sliding motors
Compatible with:
- FAAC 433 TML2SLH / TML4SLH
- FAAC 433 T2 / T4
- FAAC 433 TML2SLR / TML4SLR
- FAAC 433 TE4433H
- FAAC 433 DS1 / DS2 / DS3
- FAAC Receivers: XR2 433C, XR4 433C, RP1 433RC and RP2 433RC
Technical Specifications:
| Frequency | 433.92MHz |
| Code Type | Rolling Code |
| Remote Dimensions | 40 x 63.5 x 11.1mm |
| Range | Up to 40m |
| Battery Type | 23A |
| Access Type | No |
| AS62368.1 Compliant |
Not Applicable |
| Warranty |
12 Months Manufacturers Warranty |
Downloads:
Share


Frequently Asked Questions
Is the remote pre-programmed or does it require setup before use?
Most remotes require programming to your opener before use. This process allows the remote to communicate securely with your specific garage or gate system.
If the product is listed as “compatible” rather than “genuine”, it will still need to be coded in the same way as your original remote.
Programming instructions are included with your order, and additional guides can be found on our Programming Instructions page or by contacting our support team for assistance.
How much does shipping cost?
Retail customers enjoy free standard shipping Australia-wide on orders over $10. Orders are sent as tracked parcels via a range of trusted couriers, including Australia Post, CouriersPlease, and Aramex.
For faster delivery, an Express Shipping option is available for $9.95.
International shipping rates vary depending on the destination — standard shipping starts from $20, and all options include tracking for your peace of mind.
Wholesale customers are charged a flat rate of $14.95 for all orders, with tracking provided once despatched.
How long will it take for the order to arrive?
For the East Coast of Australia, standard delivery typically takes 3–5 business days.
For the West Coast and Northern Territory, please allow 7–14 business days for standard delivery.
For more detailed information, please refer to our Shipping Policy.
What happens if I bought the wrong item?
If you think you have purchased the wrong item, please contact us and we will help start up the returns process and suggest correct replacement.
What happens if something is wrong with the remote?
Having Trouble Programming Your Remote?
Setting up your remote to your opener can sometimes be a little frustrating. If you’re having difficulty programming your remote, get in touch with us — our team is happy to help troubleshoot the issue.
All products are covered by a manufacturer’s warranty, which protects against any faults that may occur during the production process.
For more information about our warranty process, please refer to our Warranty Policy.


