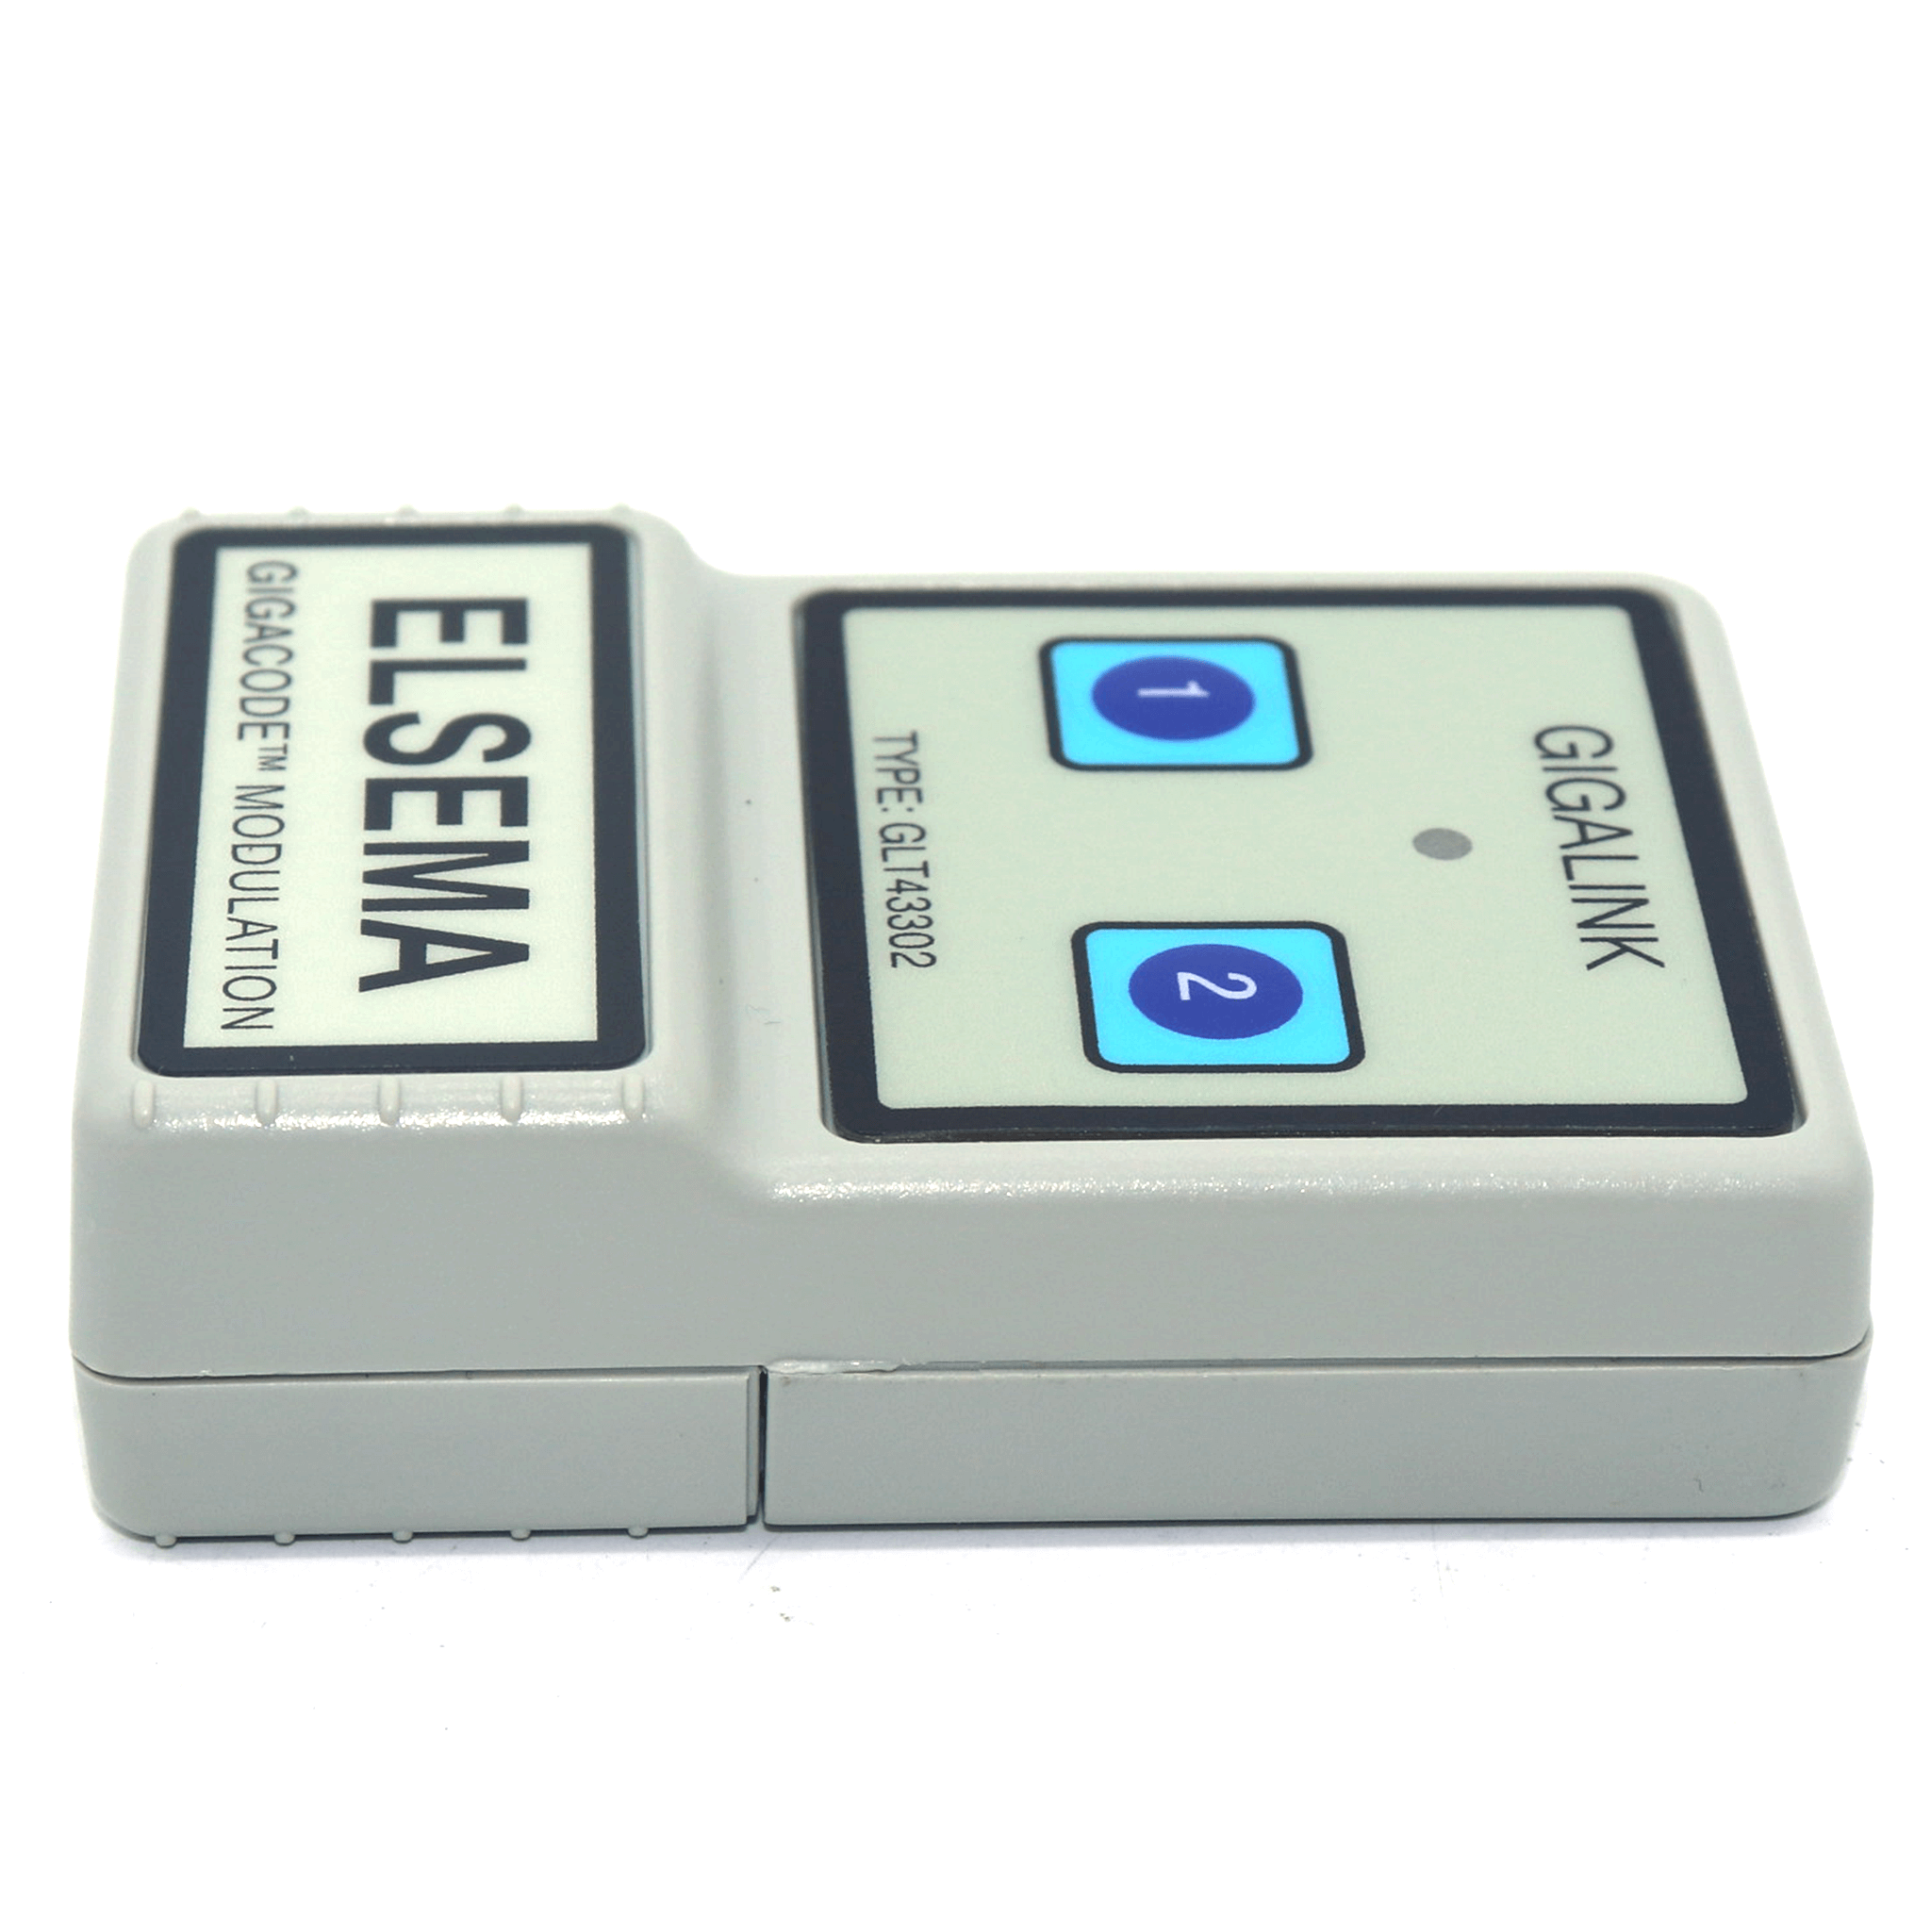
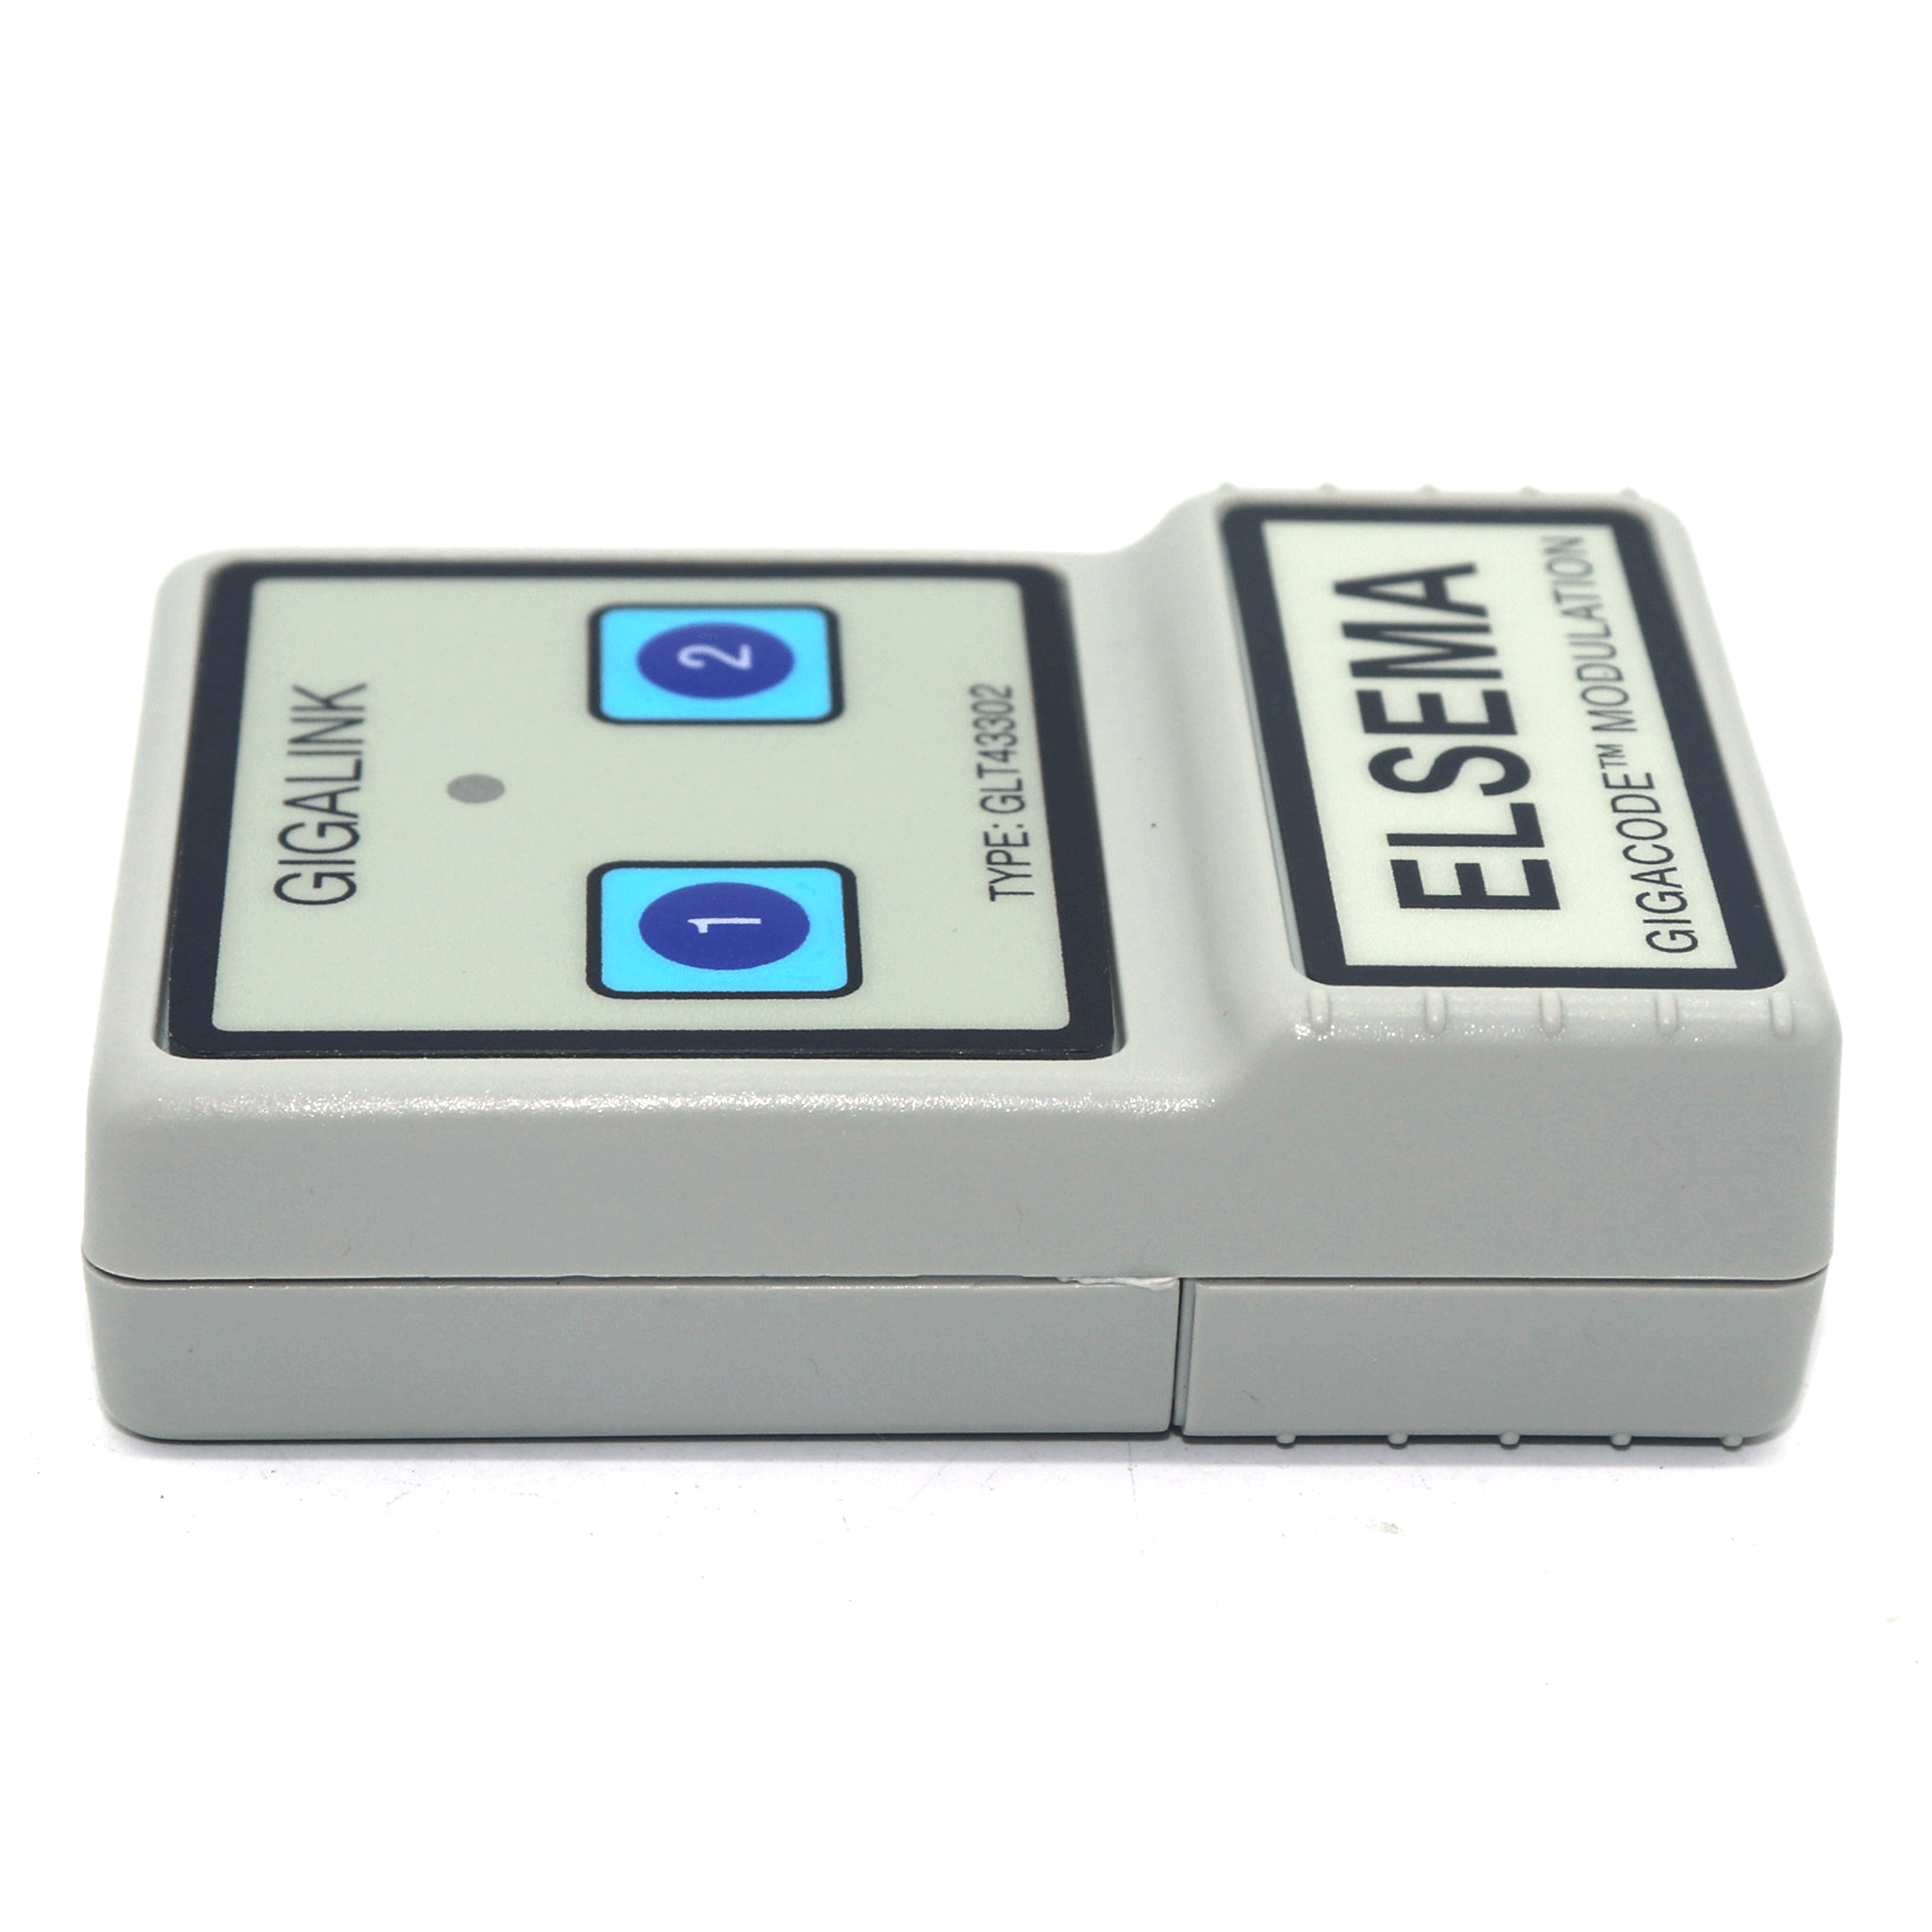
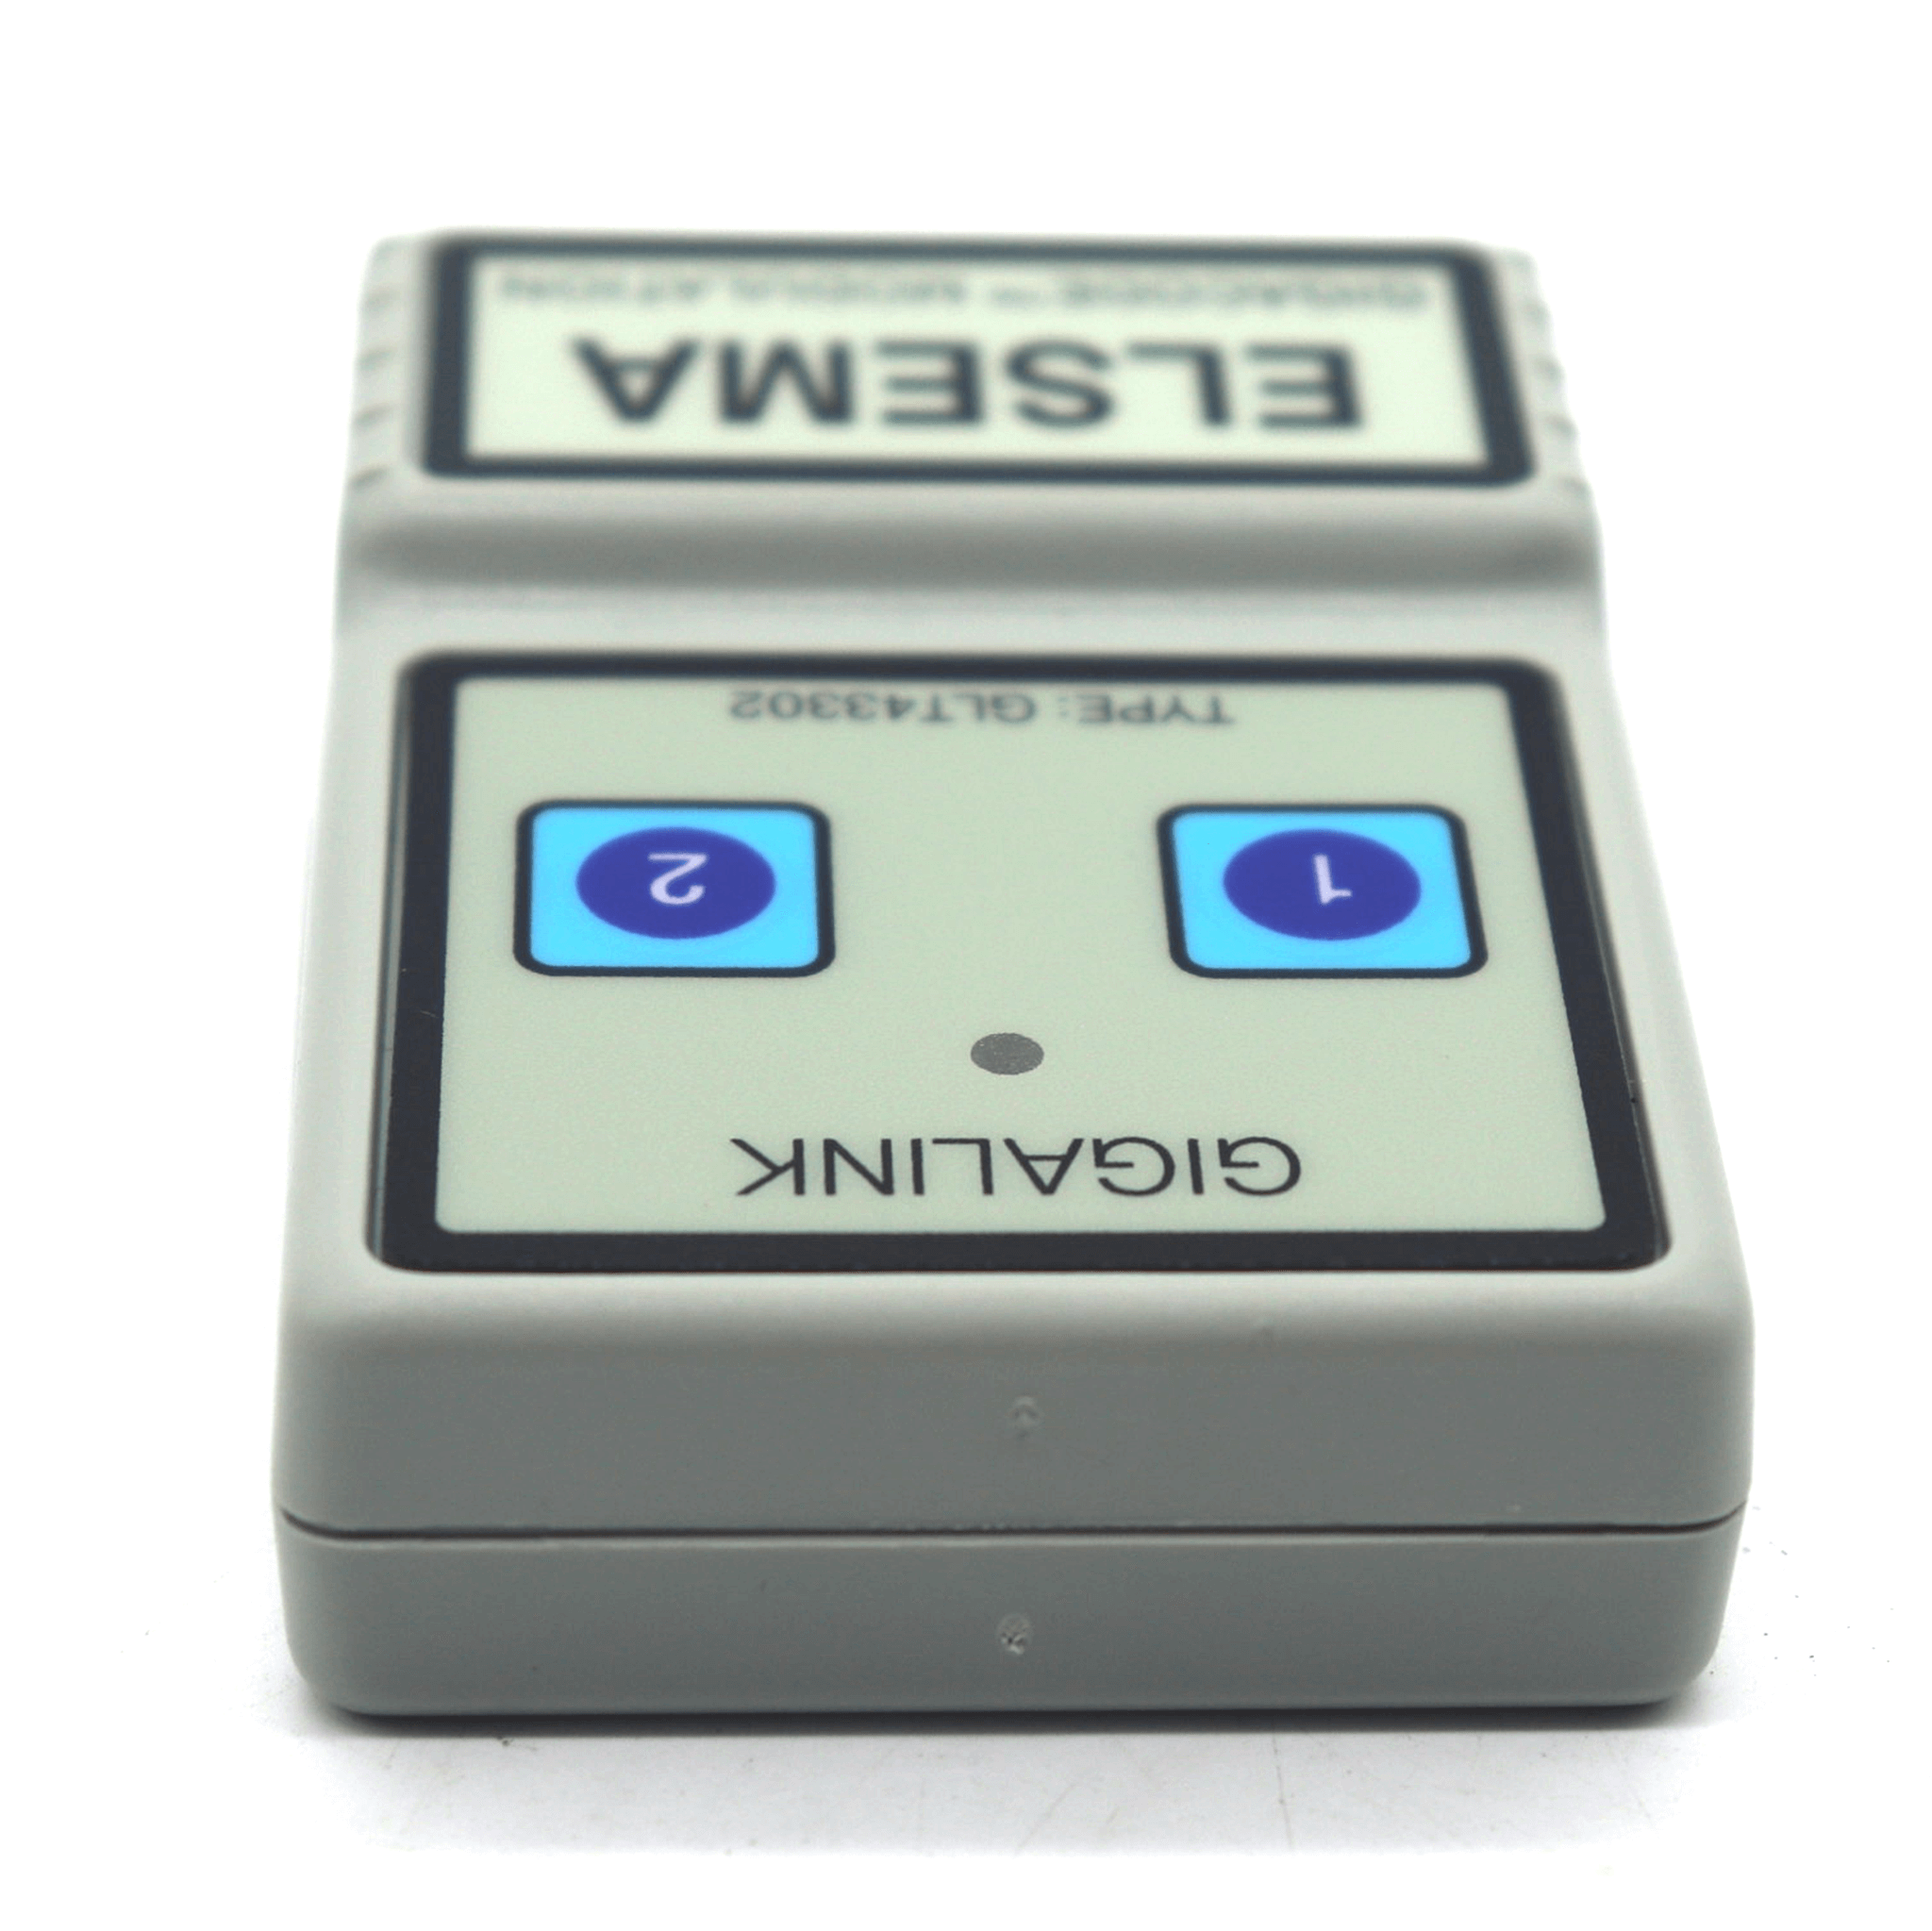
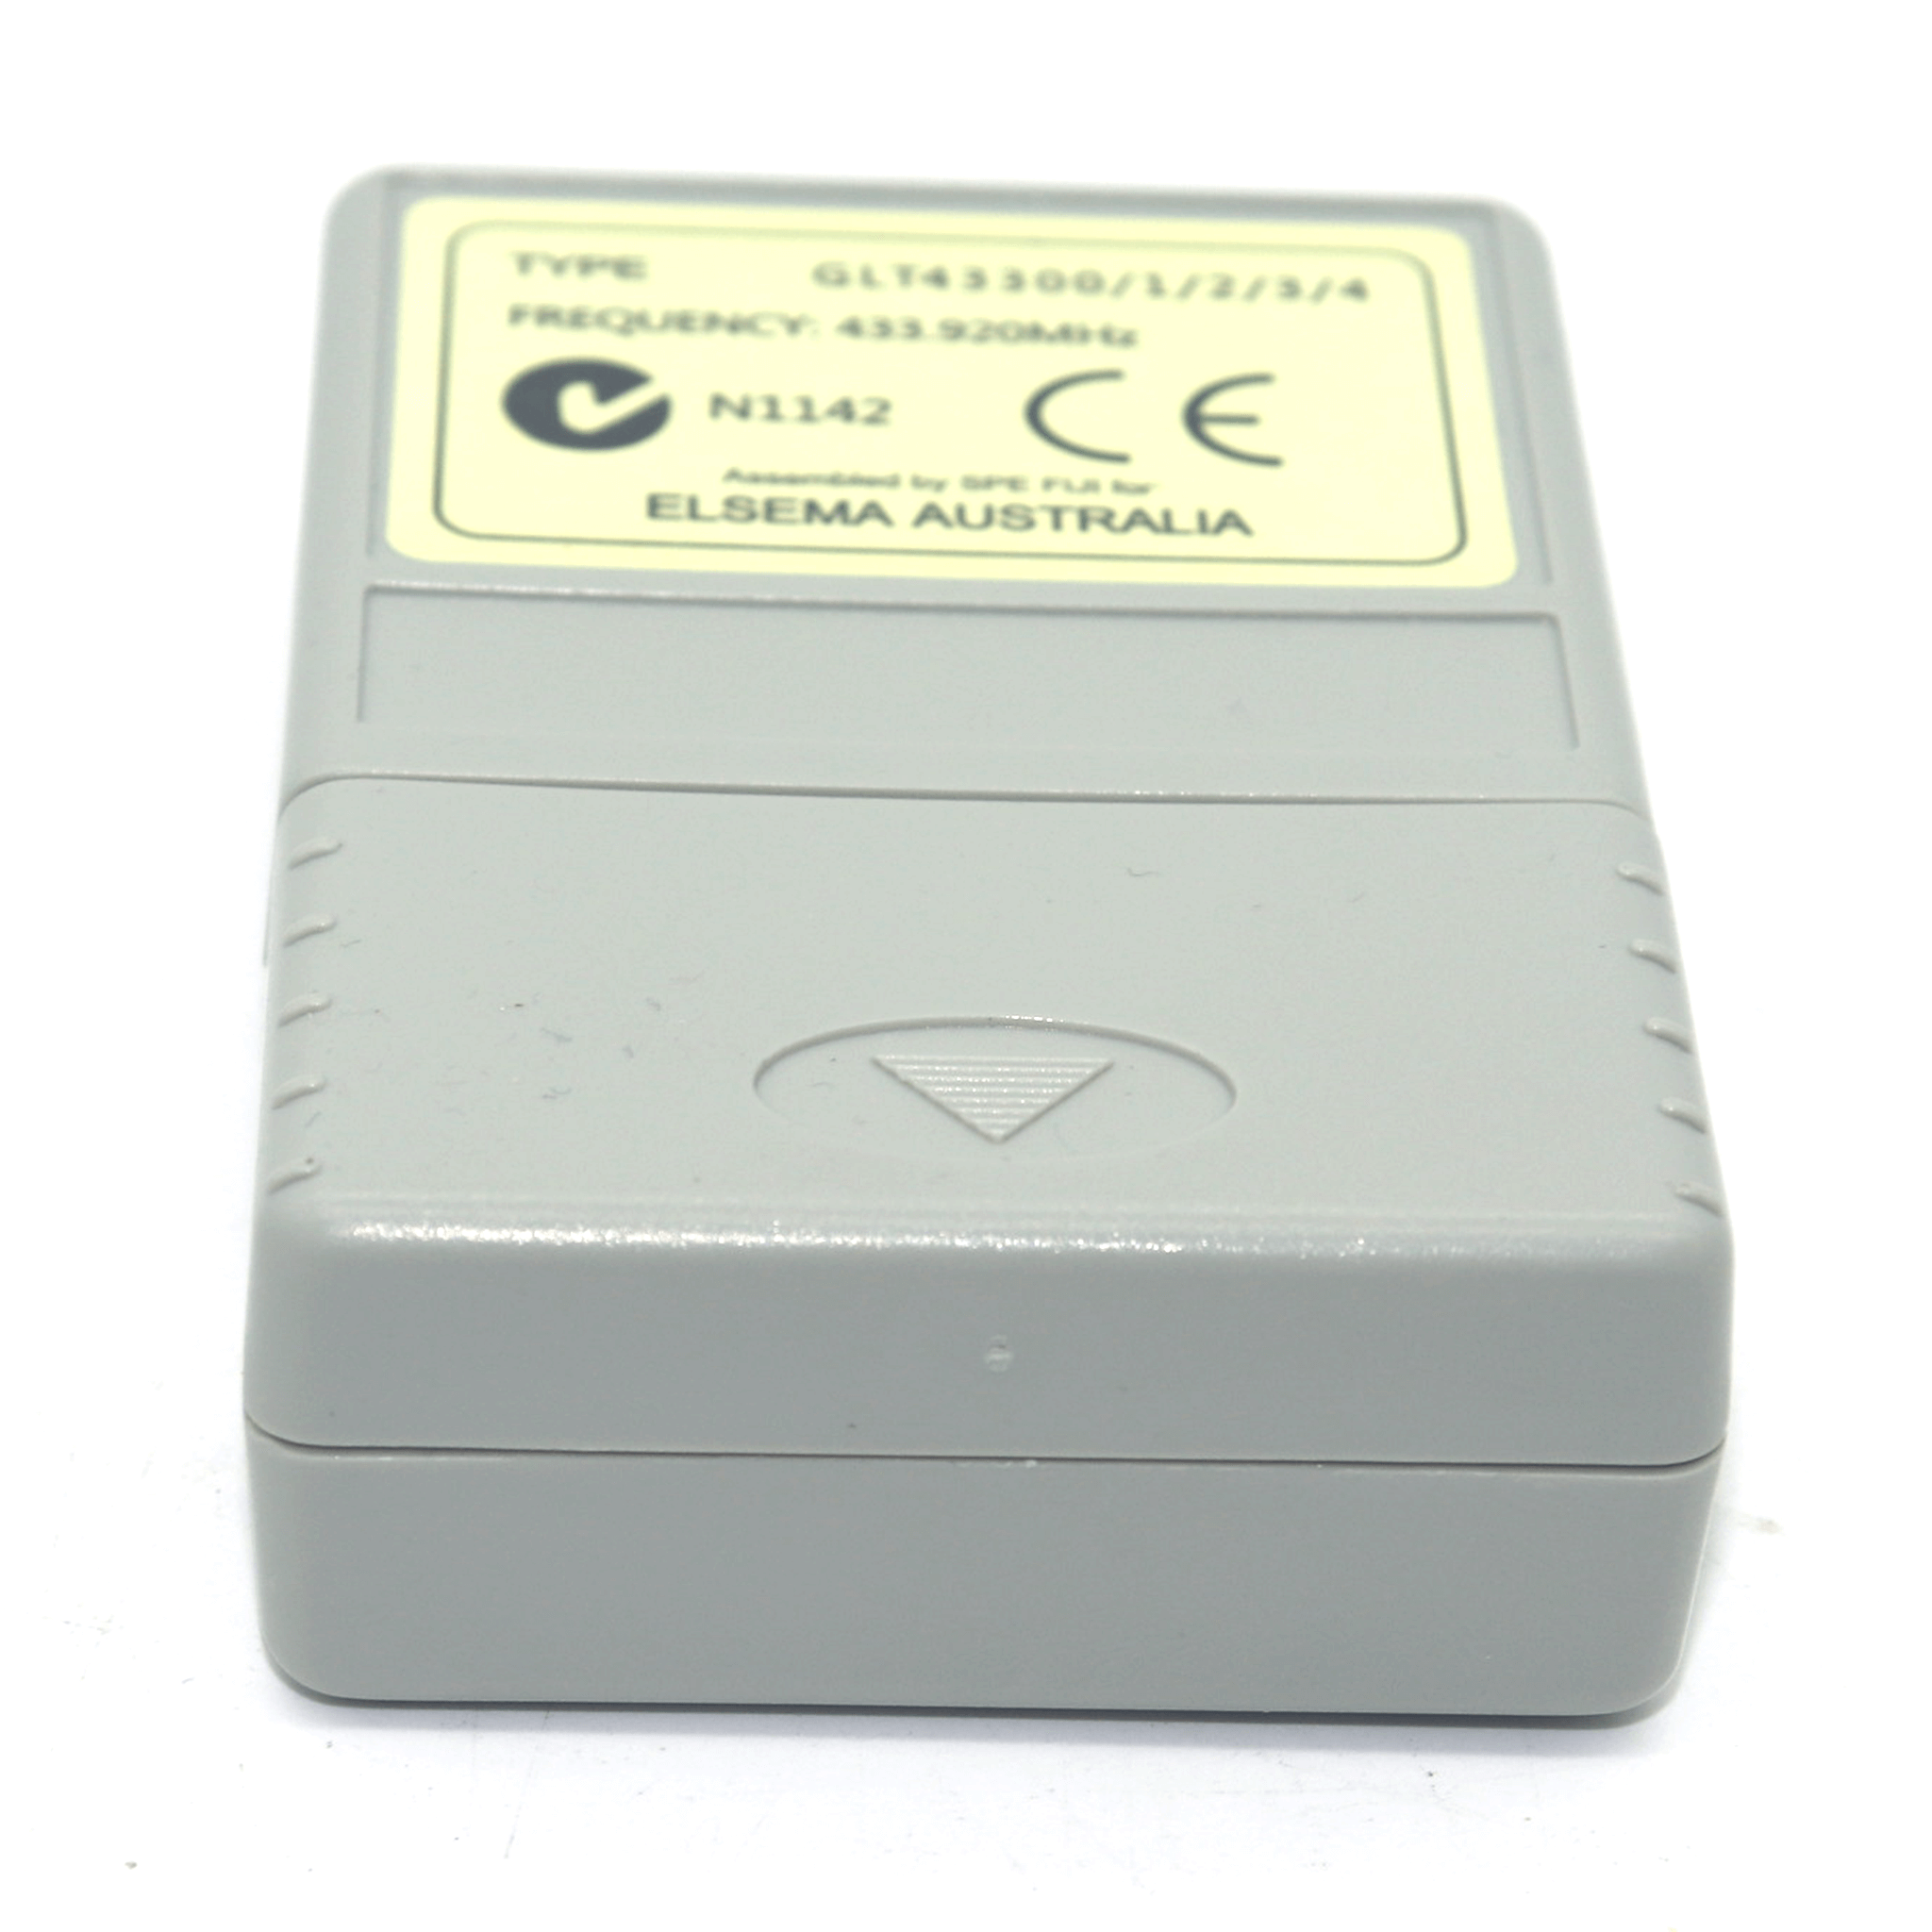
Elsema Gigalink 433.92Mhz 2 Button Remote - GLT43302

Brand: Elsema

Elsema Logo

Elsema Gigalink 433.92Mhz 2 Button Remote – GLT43302

Brand: Elsema

Elsema Logo

Includes:

  • 2 Button Gigalink Transmitter
  • 1 x 6F22 9V Battery
  • 1 x Silicone Case
  • Programming Instructions
  • Free Shipping Australia-wide*
  • 2 Year Manufacturer Warranty*

$69.95

Availability:

In stock

Availability:

In stock

Includes:

  • 2 Button Gigalink Transmitter
  • 1 x 6F22 9V Battery
  • 1 x Silicone Case
  • Programming Instructions
  • Free Shipping Australia-wide*
  • 2 Year Manufacturer Warranty*

Includes:

  • 2-button GIGALINK transmitter
  • 1 x 9V battery (6F22)
  • 1 x silicone case
  • Programming instructions

Please note: Although this item is marked as in stock, our Elsema stock is consistently replenished to meet demand. Due to frequent bulk orders, stock levels can be challenging to determine in real-time. If you need an estimated time of arrival (ETA), please feel free to contact us, and we’ll be happy to assist!

Features:

  • 2-button transmitter with 433MHz frequency
  • Secure transmission with over 4 billion code combinations
  • Ability to program unlimited transmitters to a single receiver
  • Built-in battery monitor with low battery indication
  • Compatible with GLR433 series receivers and antennas
  • No interference from electrical noise

Applications:

  • Wireless activation/deactivation of alarms
  • Gate and door operation
  • Remote light activation
  • Multi-function on/off control for industrial use

Compatible with:

Note:  This remote is not compatible with the Elsema Gigalink 27MHZ series

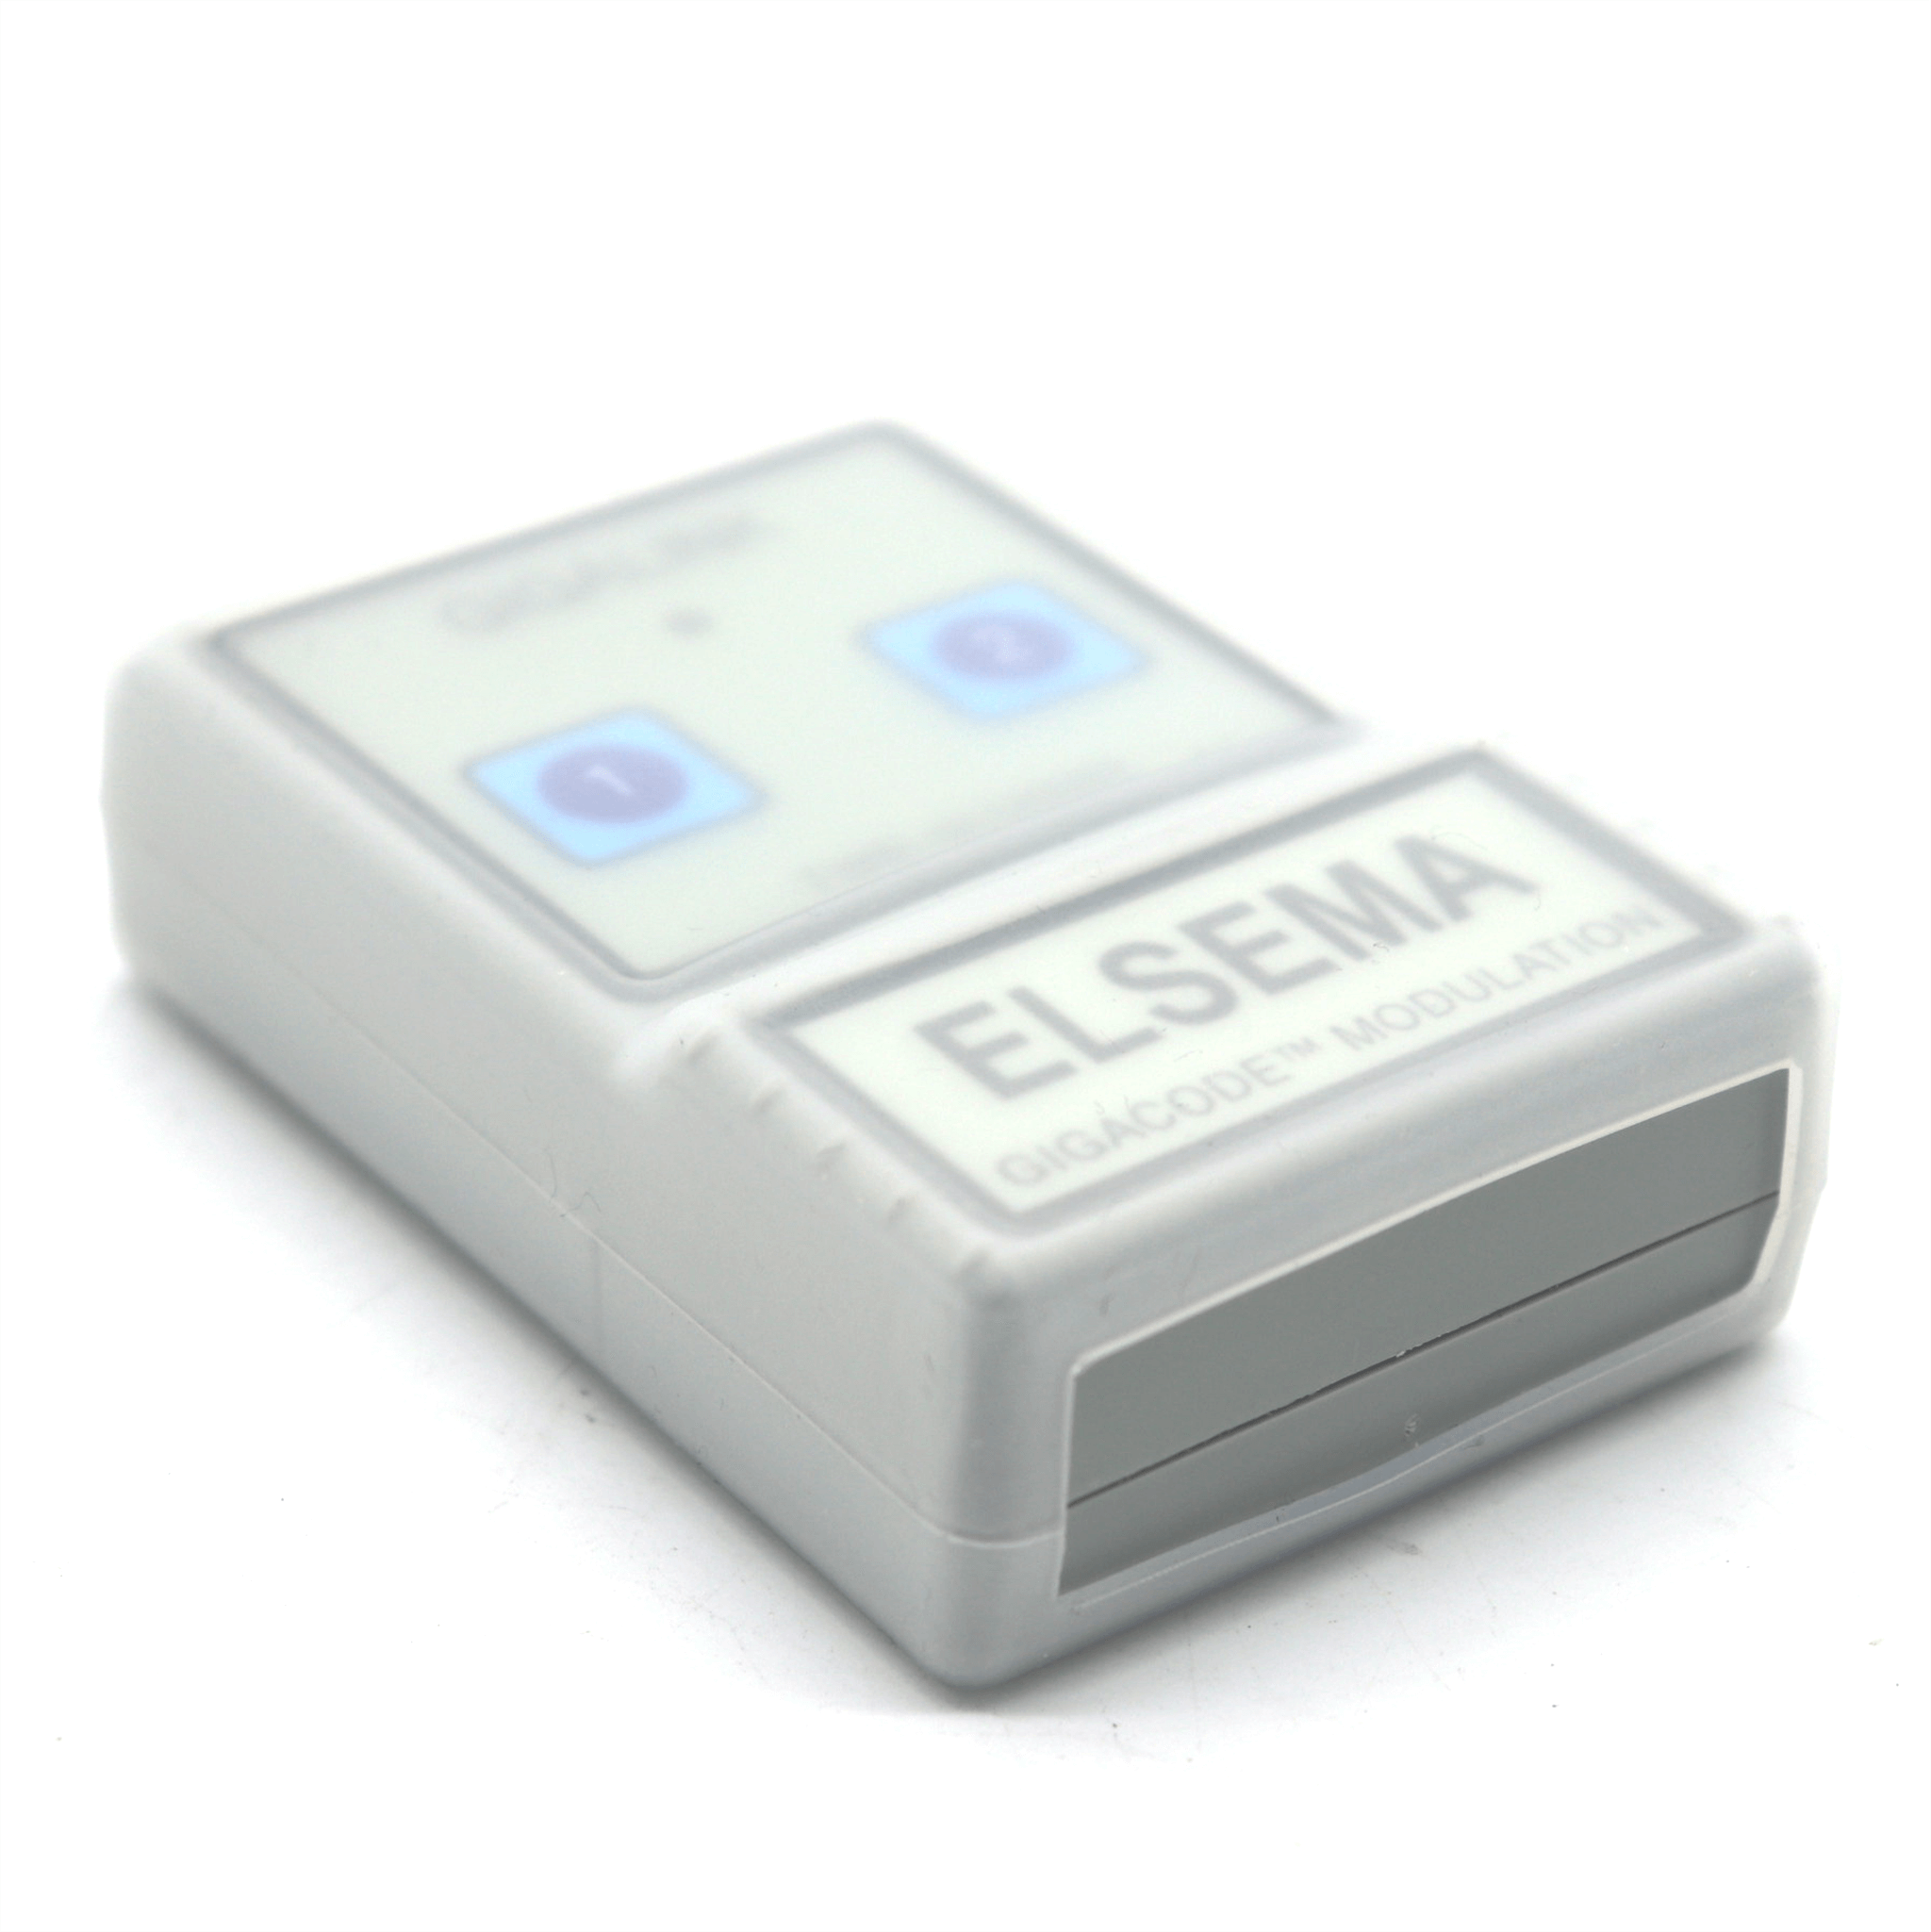
The Elsema GLT43302 is a highly reliable 2-button GIGALINK® transmitter designed for seamless operation in a wide range of wireless applications. Operating at 433MHz, this remote is perfect for controlling gates, alarms, lights, and other electronic devices, offering secure transmission with over 4 billion code combinations, ensuring no interference from electrical noise or other signals.

With an impressive operating distance of up to 350 meters when paired with compatible receivers like the GLR43302, this transmitter is ideal for industrial, agricultural, and commercial environments. The Elsema GLT43302 also includes a built-in battery monitor, alerting users with a flashing red LED when the battery is low, ensuring continuous and reliable operation.

Frequently Asked Questions:

What is the range of the Elsema GLT43302 remote?

The Elsema GLT43302 remote can operate up to 350 metres when paired with compatible receivers such as the GLR43302, depending on the antenna and environmental factors.

What devices can the Elsema GLT43302 control?

The Elsema GLT43302 can control a variety of devices, including gates, garage doors, security alarms, lights, and other wireless equipment. It is suitable for both residential and industrial applications.

How secure is the transmission of the Elsema GLT43302?

The transmission is highly secure, using over 4 billion code combinations, ensuring that the signal is protected from interference or unauthorized access.

How do I know when the battery is low?

The Elsema GLT43302 comes with a built-in battery monitor. A flashing red LED will indicate when the battery is low and needs to be replaced.

Is the Elsema GLT43302 compatible with all Elsema receivers?

No, The Elsema GLT43302 is compatible with the Elsema GLR433 series receivers, including models GLR43301, GLR43302, GLR43304, and GLR43308. It is not compatible with the 27MHz GIGALINK series or other Elsema series.

7How many transmitters can be programmed to one receiver?

There is no limit to the number of Elsema GLT43302 transmitters that can be programmed to a single receiver, allowing for flexible control across multiple devices.

Can I program the Elsema GLT43302 myself?

Yes, the Elsema GLT43302 comes with easy-to-follow programming instructions. Single-channel and multi-channel code programming are both possible, allowing users to configure the remote for their specific needs.

Weight0.098 kg
Brand

Elsema

MPN

GIGALINK

UPC

Does not apply

Colour of Buttons

Blue

Number of Buttons

Remote Colour

Grey

Type

Application

, , , ,

AS62368.1 Battery Compliant

Not Applicable

Battery Technology

Lead-Acid

Features

Easy Installation, Genuine, Multiple Frequency Hopper, Wireless

Frequency

433.92MHz

Items Included

Battery, Installation Instructions, Remote, Silicone Case

Power Source

Battery Powered

Warranty

2 Years*

Power Supply


9V Battery (Applied to the battery Clip)


Current Consumption


Max 35mA at 8VDC (Only when transmitting)


Standby Current


10uA (Typical)


Transmission Modes


Continuous – Transmits as long as the channel is activated.


Battery Monitor


LED flashes at 1Hz, during transmission, when battery voltage is at 6.5V (flat 9V battery)
Operating Freq


433.920MHz


Carrier Freq Tolerance


Crystal controlled 30 parts per million


Operating Temperature Range


-5 to 50°C


Radiated RF Power Output


100uW


Antenna


Built-in loop Antenna


Type of Emission


AM 100% depth


Digital Coding System


Microcontroller based 96-bit word


Code Combination


Approximately 4.3 billion


Dimension


81 x 56 x 24mm


Weight


51g excluding battery


Useable Operating Range


Up to 350m; depending on receiver antenna and location

Programming Instructions for Elsema GLT43302 – 2 Button Remote

Multi-Channel Programming

This method is used to program all channels from a multi-channel receiver to a multi-channel transmitter. Follow these steps to complete the programming:

  1. Connect power to the GIGALINK™ receiver. Ensure all switches on the mode dipswitch are turned off.
  2. Momentarily short the two CC pins on the receiver board. This action sets all the channels to a random code. Please note that any previously programmed transmitters will need to be re-programmed after this step. Skip this step if you wish to keep previously programmed transmitters.
  3. Connect the multi-channel transmitter to the multi-channel receiver by inserting the GIGALINK™ cable into the transmitter’s and receiver’s 2.5-mm coding socket. The transmitter’s red LED light will turn on to indicate that the programming mode is activated.
  4. Activate any two channels simultaneously on the transmitter for one second. The LED should blink twice to confirm code programming and then switch off.
  5. Disconnect the GIGALINK™ cable.

Repeat steps 3 to 5 if you wish to program additional multi-channel transmitters. Do not short the CC pins again, as doing so will delete all previously programmed transmitters.


Single-Channel Programming

This method allows you to program one channel at a time to the transmitter. Follow these steps to complete the programming:

  1. Connect power to the GIGALINK™ receiver. Ensure all switches on the mode dipswitch are turned off.
  2. Momentarily short the two CC pins on the receiver board. This will set all channels to a random code. If there are previously programmed transmitters, they will need to be re-programmed. Skip this step if you wish to retain them.
  3. Select the receiver channel to be programmed by adjusting the 2-way dipswitch according to the table below:
    Dipswitch 1Dipswitch 2Receiver Channel (Output Relay)Receiver Type
    OffOff1GLR43302 / GLR2702
    OnOff2GLR43302 / GLR2702
  4. Connect the transmitter to the receiver by inserting the GIGALINK™ cable into the transmitter’s and receiver’s 2.5-mm coding socket. The red LED light on the transmitter will turn on, indicating programming mode.
  5. Activate one selected channel on the transmitter for approximately one second. The LED will blink twice to confirm code programming and then switch off.
  6. Disconnect the GIGALINK™ cable.

Repeat steps 3 to 6 if you wish to program another transmitter channel. Do not short the CC pins again, as doing so will delete all previously programmed transmitters.


Forward Programming

This additional feature allows the transmitter to activate multiple receivers simultaneously. Follow these steps for forward programming:

  1. Connect power to both the receiver and the transmitter.
  2. Place a jumper across the CC pins on the receiver.
  3. Connect the transmitter and receiver using the GIGALINK™ coding cable.
  4. Press and hold the transmitter button for 2 seconds.
  5. Remove the coding cable.
  6. Remove the jumper from the CC pins.

The receiver is now programmed with the transmitter’s code. Repeat the steps to program additional receivers.


Includes:

  • 2-button GIGALINK transmitter
  • 1 x 9V battery (6F22)
  • 1 x silicone case
  • Programming instructions

Please note: Although this item is marked as in stock, our Elsema stock is consistently replenished to meet demand. Due to frequent bulk orders, stock levels can be challenging to determine in real-time. If you need an estimated time of arrival (ETA), please feel free to contact us, and we’ll be happy to assist!

Features:

  • 2-button transmitter with 433MHz frequency
  • Secure transmission with over 4 billion code combinations
  • Ability to program unlimited transmitters to a single receiver
  • Built-in battery monitor with low battery indication
  • Compatible with GLR433 series receivers and antennas
  • No interference from electrical noise

Applications:

  • Wireless activation/deactivation of alarms
  • Gate and door operation
  • Remote light activation
  • Multi-function on/off control for industrial use

Compatible with:

Note:  This remote is not compatible with the Elsema Gigalink 27MHZ series

The Elsema GLT43302 is a highly reliable 2-button GIGALINK® transmitter designed for seamless operation in a wide range of wireless applications. Operating at 433MHz, this remote is perfect for controlling gates, alarms, lights, and other electronic devices, offering secure transmission with over 4 billion code combinations, ensuring no interference from electrical noise or other signals.

With an impressive operating distance of up to 350 meters when paired with compatible receivers like the GLR43302, this transmitter is ideal for industrial, agricultural, and commercial environments. The Elsema GLT43302 also includes a built-in battery monitor, alerting users with a flashing red LED when the battery is low, ensuring continuous and reliable operation.

Frequently Asked Questions:

What is the range of the Elsema GLT43302 remote?

The Elsema GLT43302 remote can operate up to 350 metres when paired with compatible receivers such as the GLR43302, depending on the antenna and environmental factors.

What devices can the Elsema GLT43302 control?

The Elsema GLT43302 can control a variety of devices, including gates, garage doors, security alarms, lights, and other wireless equipment. It is suitable for both residential and industrial applications.

How secure is the transmission of the Elsema GLT43302?

The transmission is highly secure, using over 4 billion code combinations, ensuring that the signal is protected from interference or unauthorized access.

How do I know when the battery is low?

The Elsema GLT43302 comes with a built-in battery monitor. A flashing red LED will indicate when the battery is low and needs to be replaced.

Is the Elsema GLT43302 compatible with all Elsema receivers?

No, The Elsema GLT43302 is compatible with the Elsema GLR433 series receivers, including models GLR43301, GLR43302, GLR43304, and GLR43308. It is not compatible with the 27MHz GIGALINK series or other Elsema series.

7How many transmitters can be programmed to one receiver?

There is no limit to the number of Elsema GLT43302 transmitters that can be programmed to a single receiver, allowing for flexible control across multiple devices.

Can I program the Elsema GLT43302 myself?

Yes, the Elsema GLT43302 comes with easy-to-follow programming instructions. Single-channel and multi-channel code programming are both possible, allowing users to configure the remote for their specific needs.
Weight0.098 kg
Brand

Elsema

MPN

GIGALINK

UPC

Does not apply

Colour of Buttons

Blue

Number of Buttons

Remote Colour

Grey

Type

Application

, , , ,

AS62368.1 Battery Compliant

Not Applicable

Battery Technology

Lead-Acid

Features

Easy Installation, Genuine, Multiple Frequency Hopper, Wireless

Frequency

433.92MHz

Items Included

Battery, Installation Instructions, Remote, Silicone Case

Power Source

Battery Powered

Warranty

2 Years*

Power Supply


9V Battery (Applied to the battery Clip)


Current Consumption


Max 35mA at 8VDC (Only when transmitting)


Standby Current


10uA (Typical)


Transmission Modes


Continuous – Transmits as long as the channel is activated.


Battery Monitor


LED flashes at 1Hz, during transmission, when battery voltage is at 6.5V (flat 9V battery)
Operating Freq


433.920MHz


Carrier Freq Tolerance


Crystal controlled 30 parts per million


Operating Temperature Range


-5 to 50°C


Radiated RF Power Output


100uW


Antenna


Built-in loop Antenna


Type of Emission


AM 100% depth


Digital Coding System


Microcontroller based 96-bit word


Code Combination


Approximately 4.3 billion


Dimension


81 x 56 x 24mm


Weight


51g excluding battery


Useable Operating Range


Up to 350m; depending on receiver antenna and location

Programming Instructions for Elsema GLT43302 – 2 Button Remote

Multi-Channel Programming

This method is used to program all channels from a multi-channel receiver to a multi-channel transmitter. Follow these steps to complete the programming:

  1. Connect power to the GIGALINK™ receiver. Ensure all switches on the mode dipswitch are turned off.
  2. Momentarily short the two CC pins on the receiver board. This action sets all the channels to a random code. Please note that any previously programmed transmitters will need to be re-programmed after this step. Skip this step if you wish to keep previously programmed transmitters.
  3. Connect the multi-channel transmitter to the multi-channel receiver by inserting the GIGALINK™ cable into the transmitter’s and receiver’s 2.5-mm coding socket. The transmitter’s red LED light will turn on to indicate that the programming mode is activated.
  4. Activate any two channels simultaneously on the transmitter for one second. The LED should blink twice to confirm code programming and then switch off.
  5. Disconnect the GIGALINK™ cable.

Repeat steps 3 to 5 if you wish to program additional multi-channel transmitters. Do not short the CC pins again, as doing so will delete all previously programmed transmitters.


Single-Channel Programming

This method allows you to program one channel at a time to the transmitter. Follow these steps to complete the programming:

  1. Connect power to the GIGALINK™ receiver. Ensure all switches on the mode dipswitch are turned off.
  2. Momentarily short the two CC pins on the receiver board. This will set all channels to a random code. If there are previously programmed transmitters, they will need to be re-programmed. Skip this step if you wish to retain them.
  3. Select the receiver channel to be programmed by adjusting the 2-way dipswitch according to the table below:
    Dipswitch 1Dipswitch 2Receiver Channel (Output Relay)Receiver Type
    OffOff1GLR43302 / GLR2702
    OnOff2GLR43302 / GLR2702
  4. Connect the transmitter to the receiver by inserting the GIGALINK™ cable into the transmitter’s and receiver’s 2.5-mm coding socket. The red LED light on the transmitter will turn on, indicating programming mode.
  5. Activate one selected channel on the transmitter for approximately one second. The LED will blink twice to confirm code programming and then switch off.
  6. Disconnect the GIGALINK™ cable.

Repeat steps 3 to 6 if you wish to program another transmitter channel. Do not short the CC pins again, as doing so will delete all previously programmed transmitters.


Forward Programming

This additional feature allows the transmitter to activate multiple receivers simultaneously. Follow these steps for forward programming:

  1. Connect power to both the receiver and the transmitter.
  2. Place a jumper across the CC pins on the receiver.
  3. Connect the transmitter and receiver using the GIGALINK™ coding cable.
  4. Press and hold the transmitter button for 2 seconds.
  5. Remove the coding cable.
  6. Remove the jumper from the CC pins.

The receiver is now programmed with the transmitter’s code. Repeat the steps to program additional receivers.