DACE TM4 Remote

Brand: DACE

Dace Logo

DACE TM4 Remote

Brand: DACE

Dace Logo

Includes:

  • Brand New Remote
  • 1 x Battery
  • Coding Instructions
  • Free Shipping Australia-wide*
  • 2 Year Manufacturer Warranty*

Features:

  • Genuine original equipment remote with new push button design
  • Free standard delivery Australia-Wide*
  • 2 Year Manufacturer warranty*

Include:

  • Brand New Remote
  • 1 x Battery
  • Coding Instructions

Compatibility List:

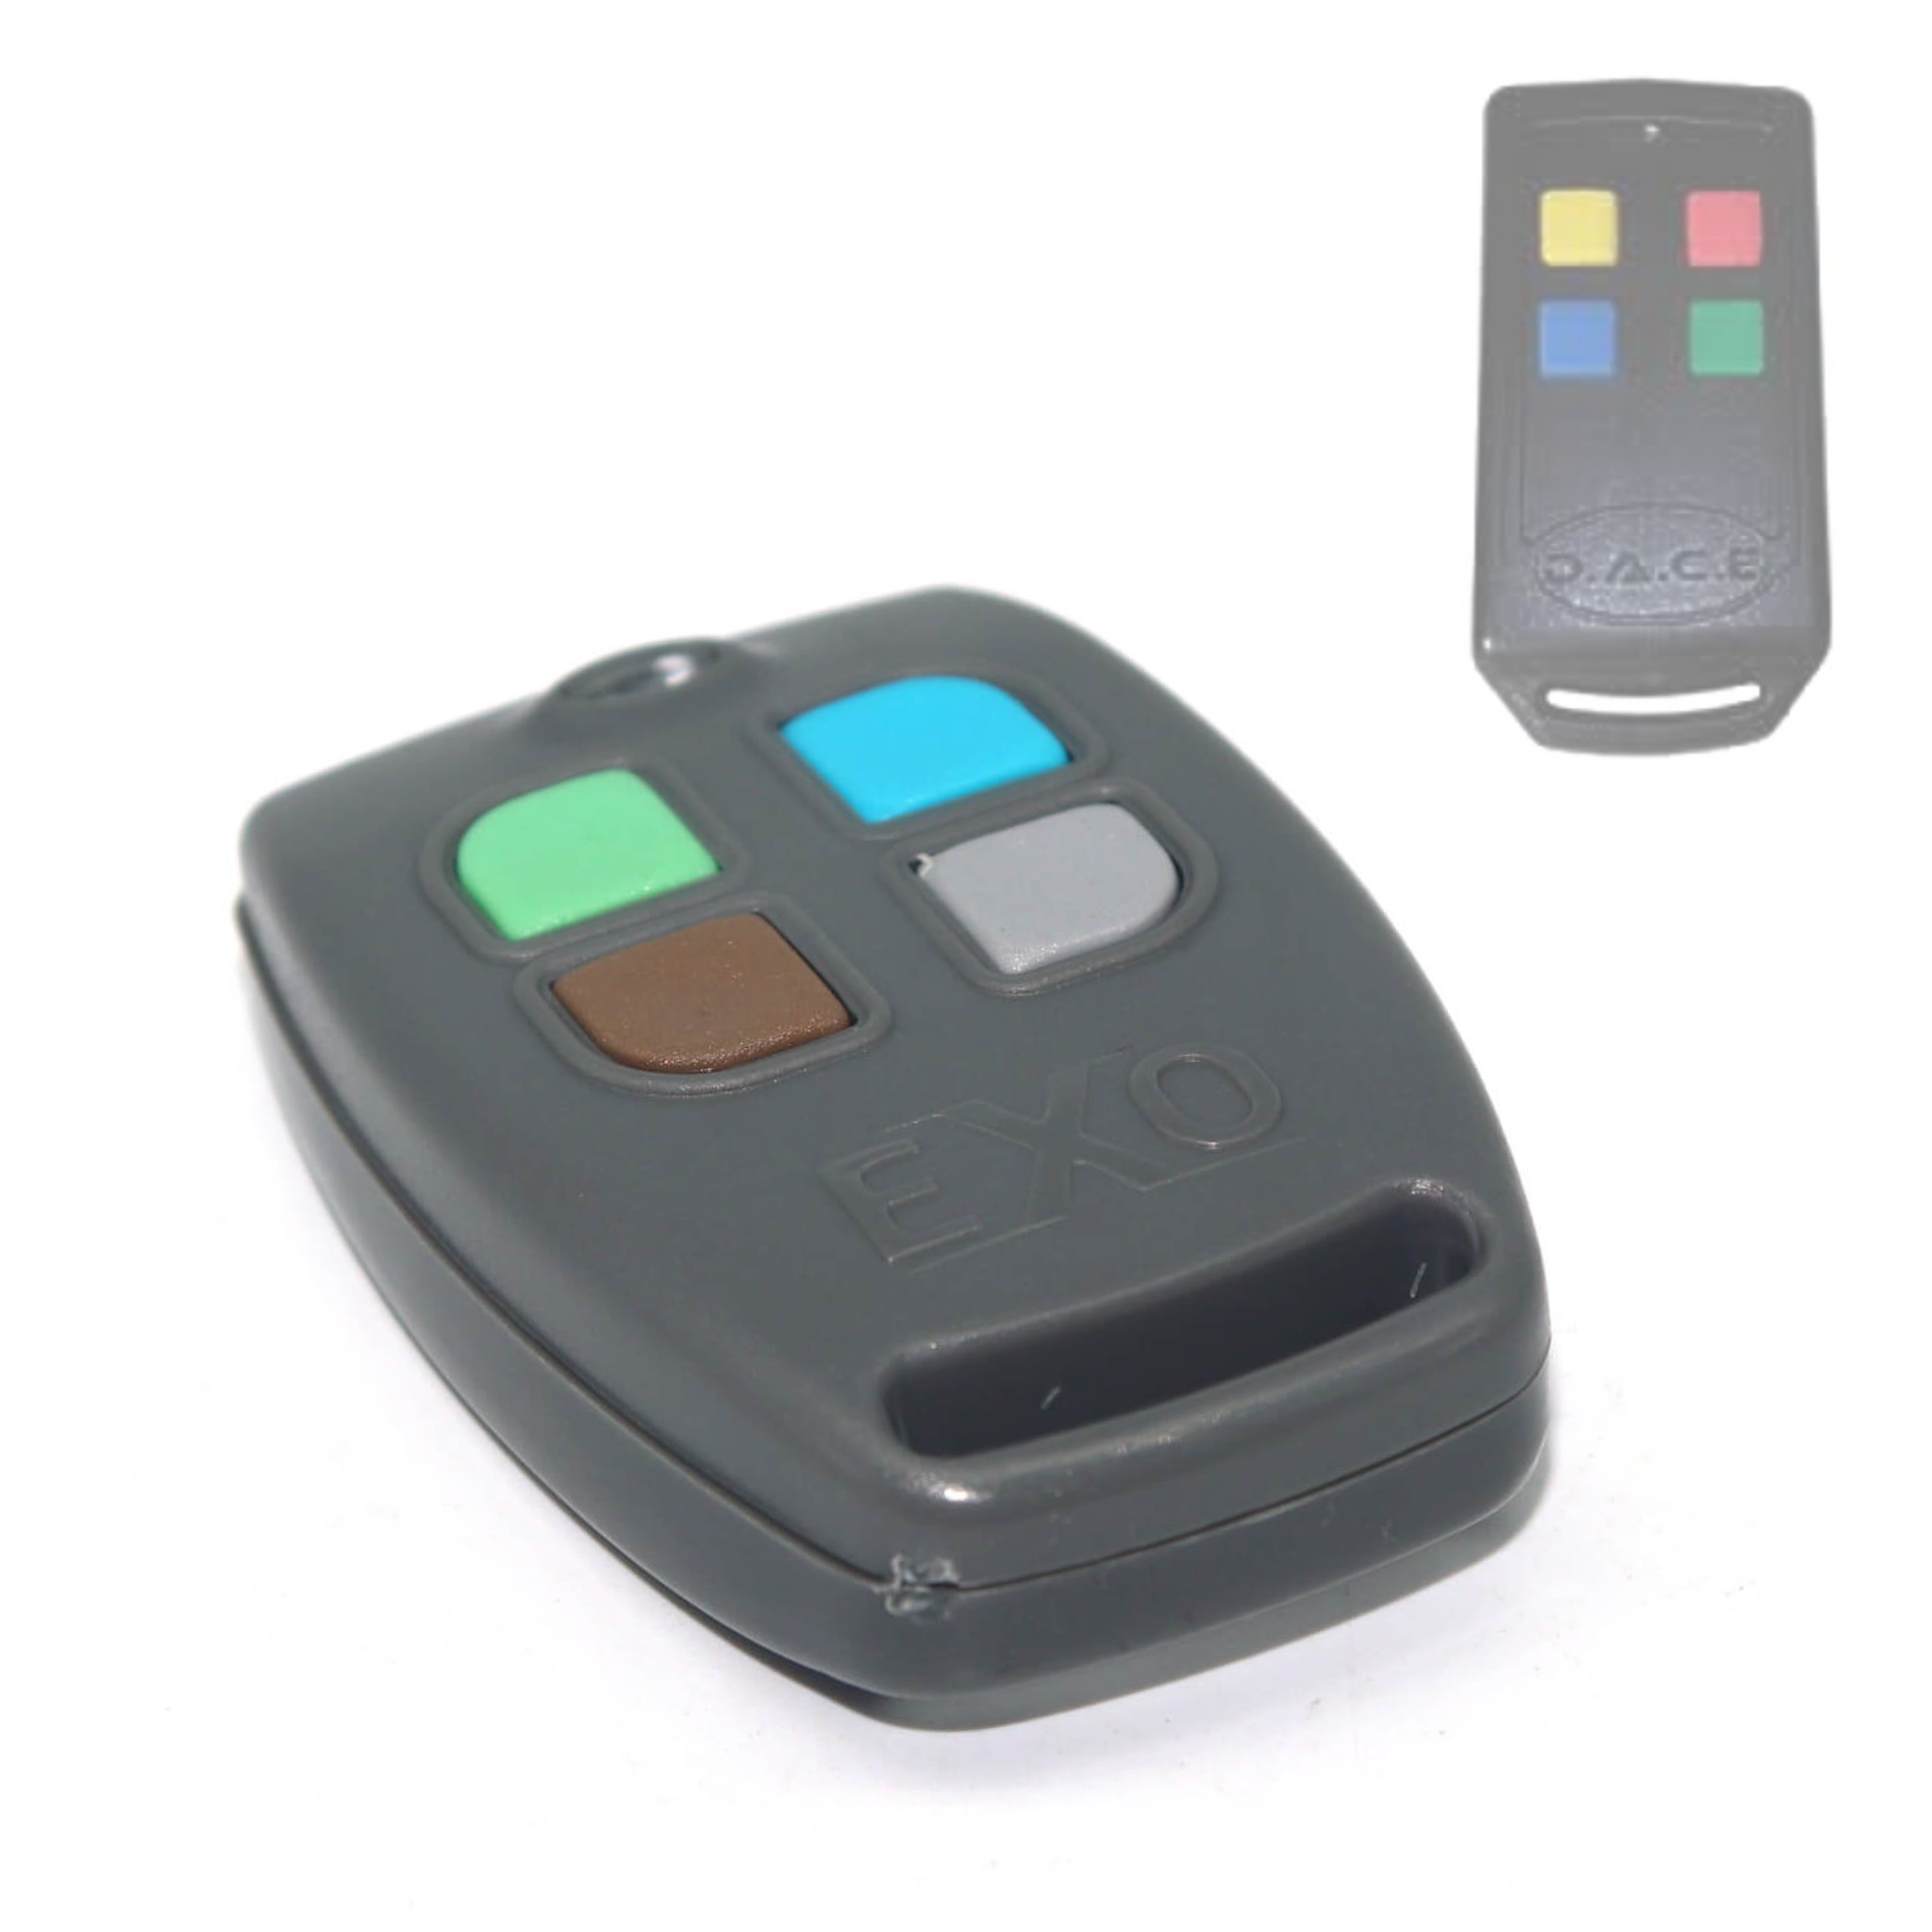
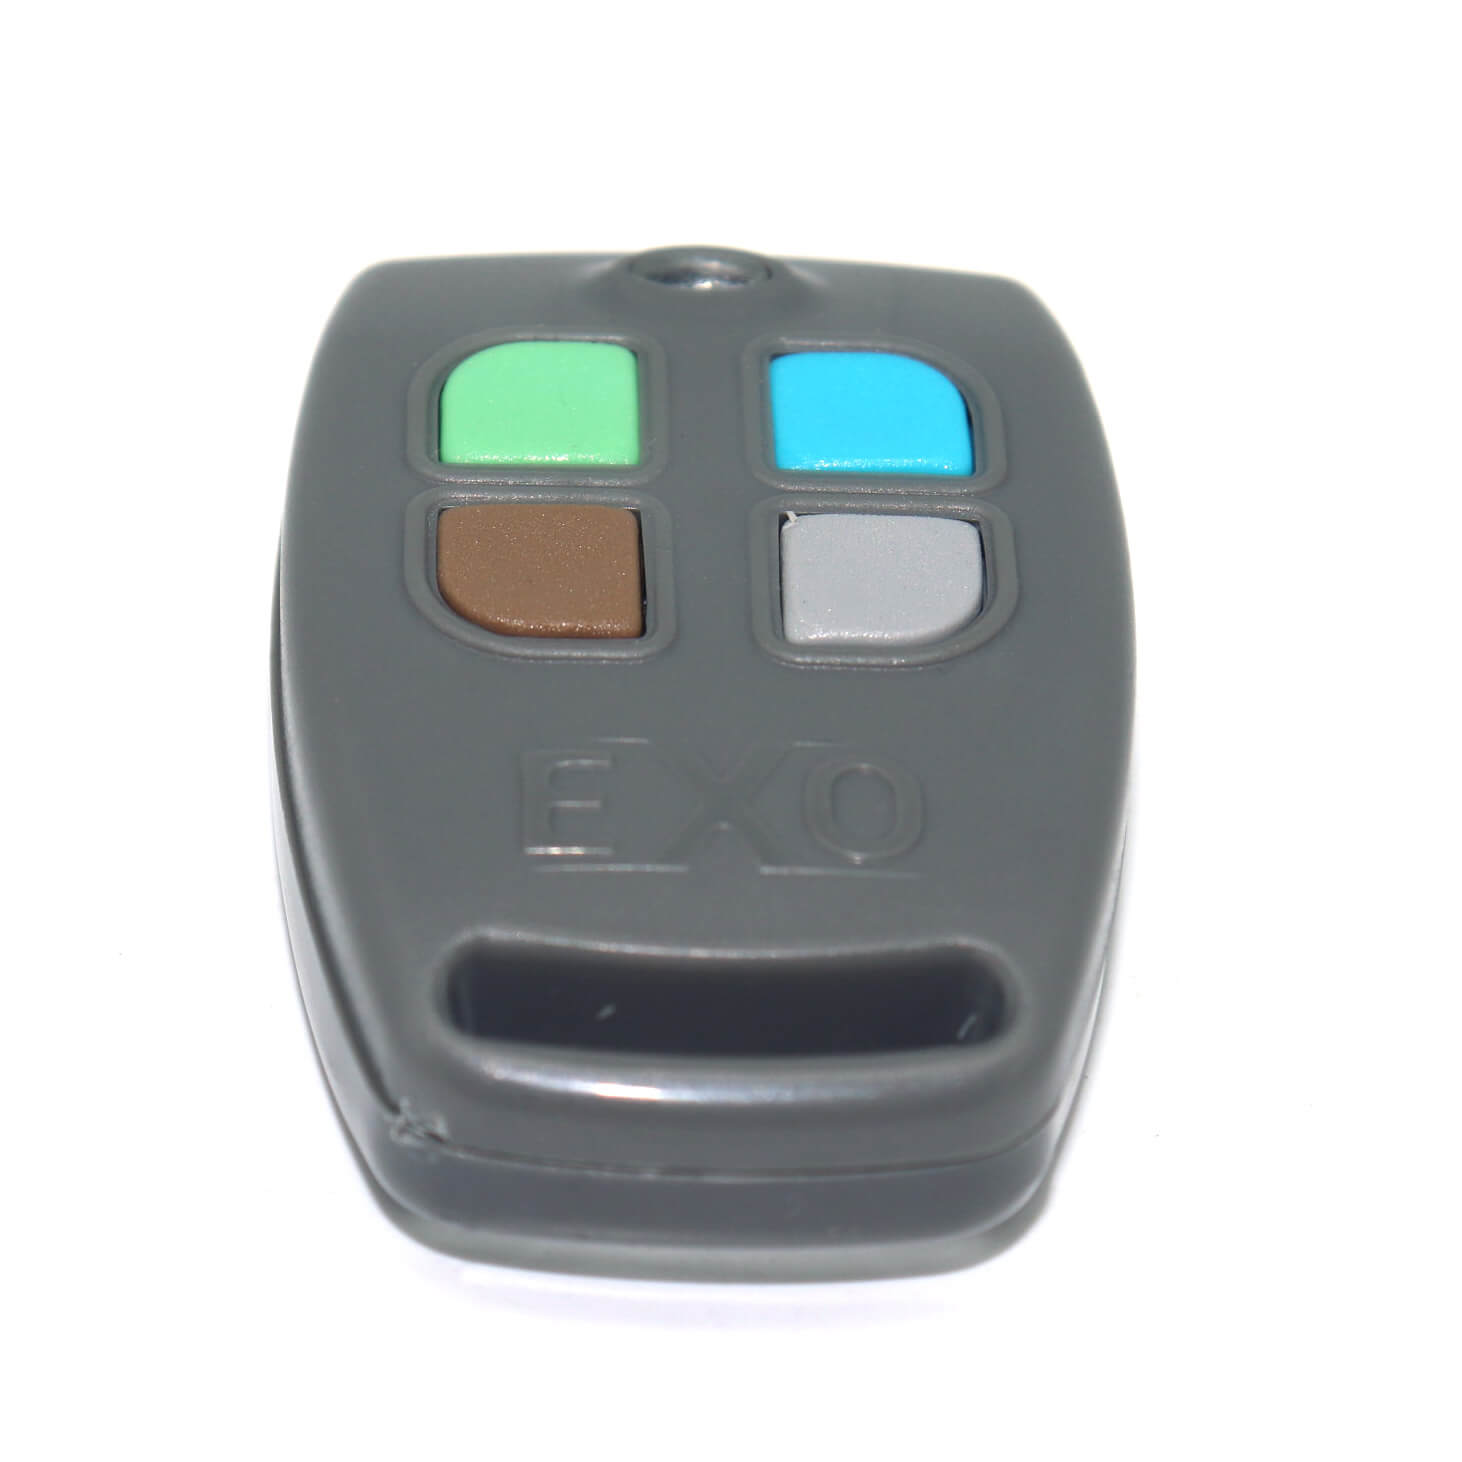
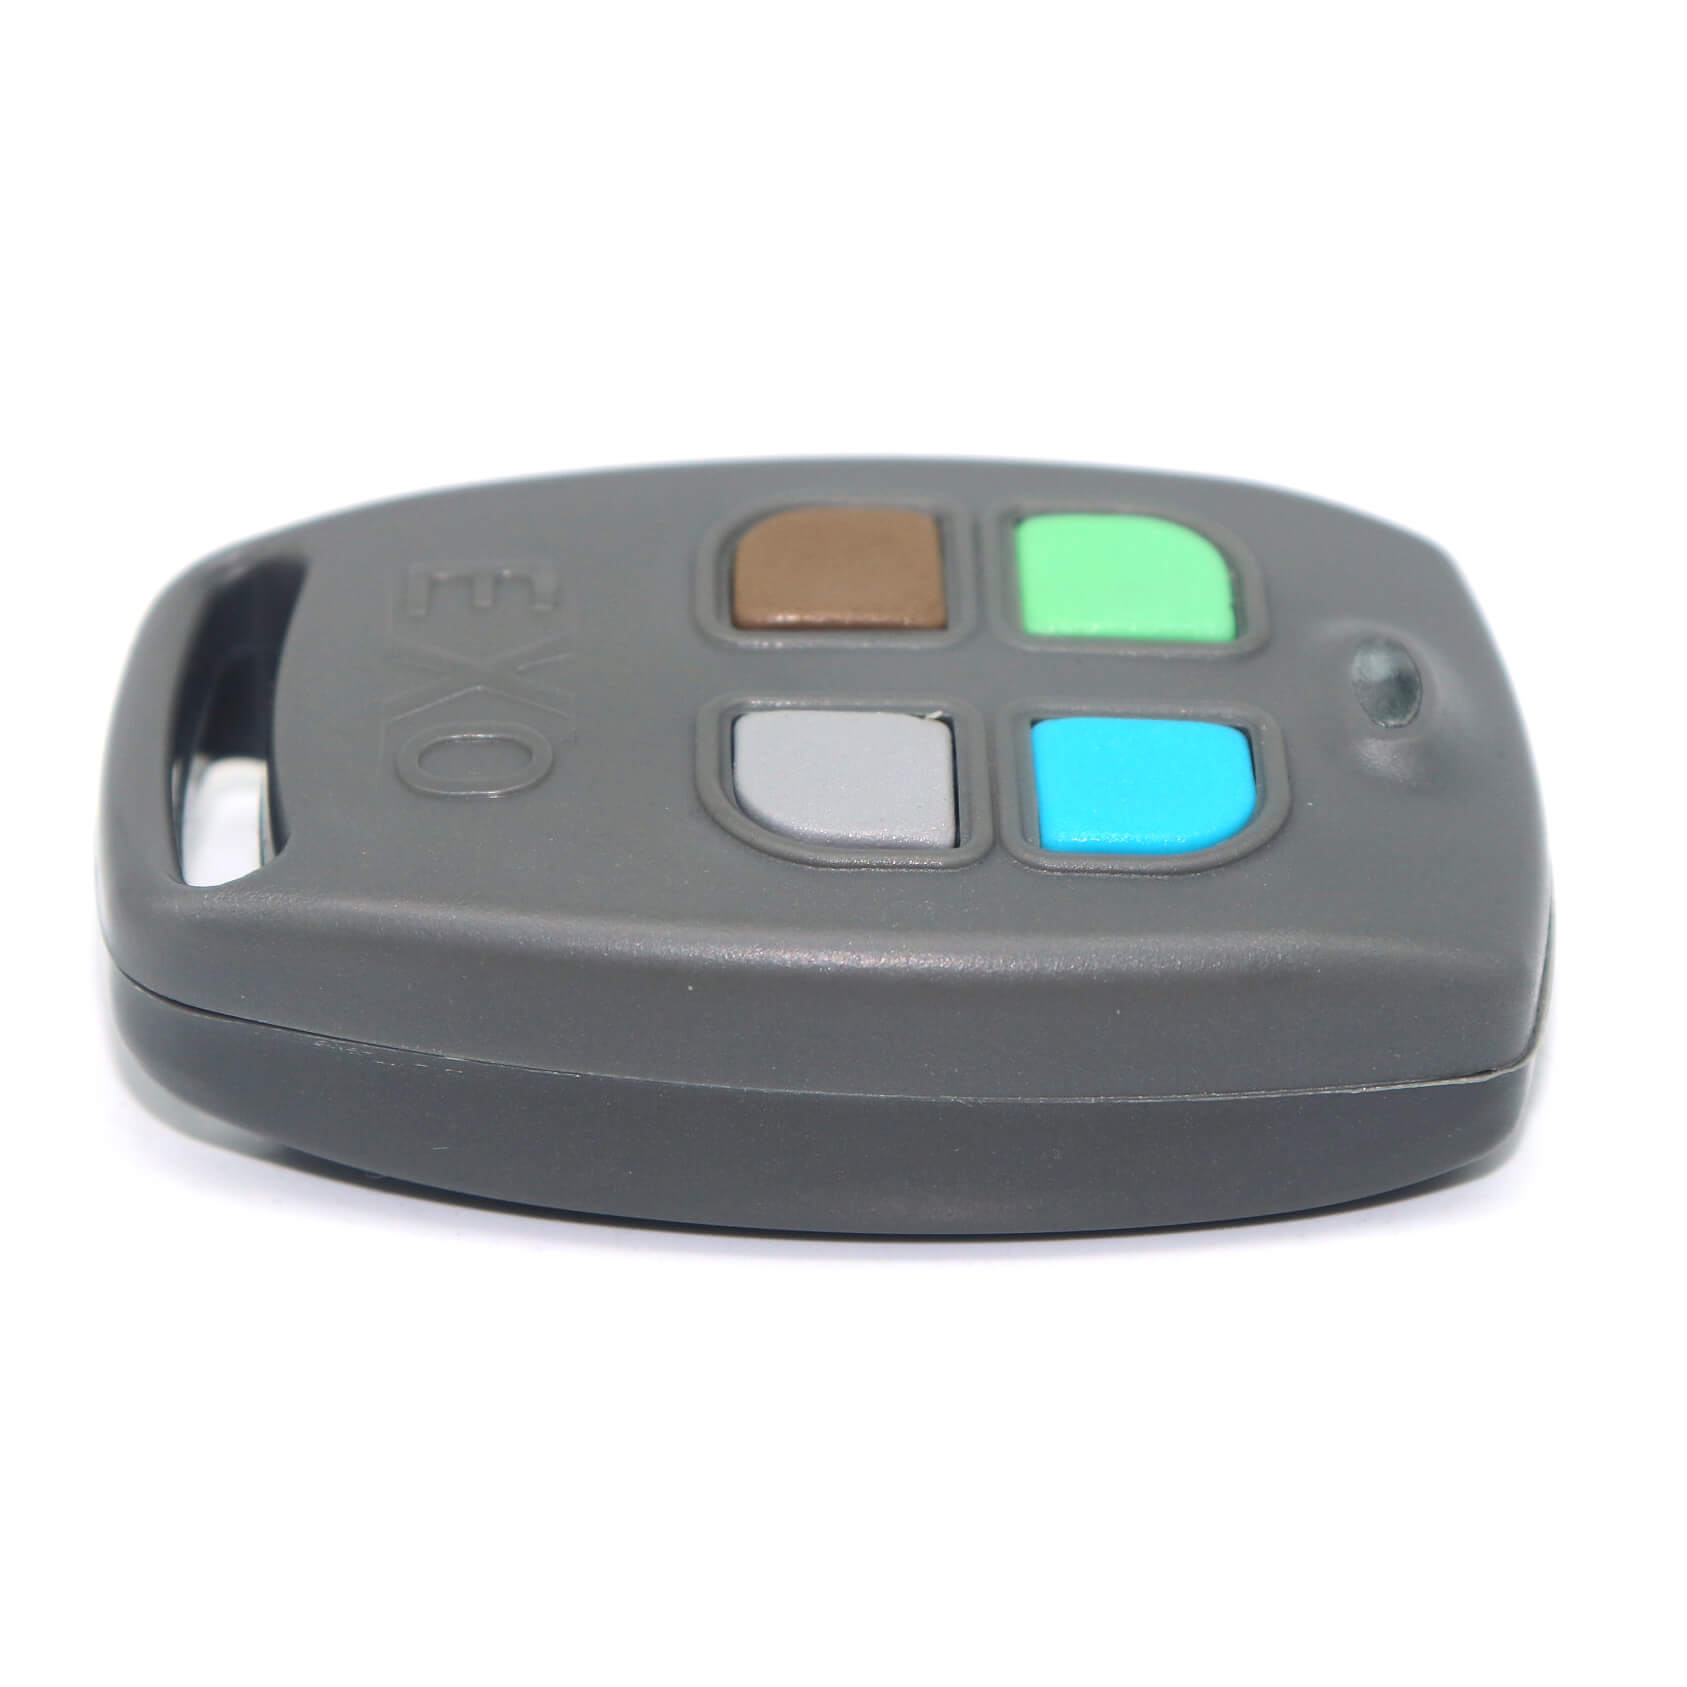
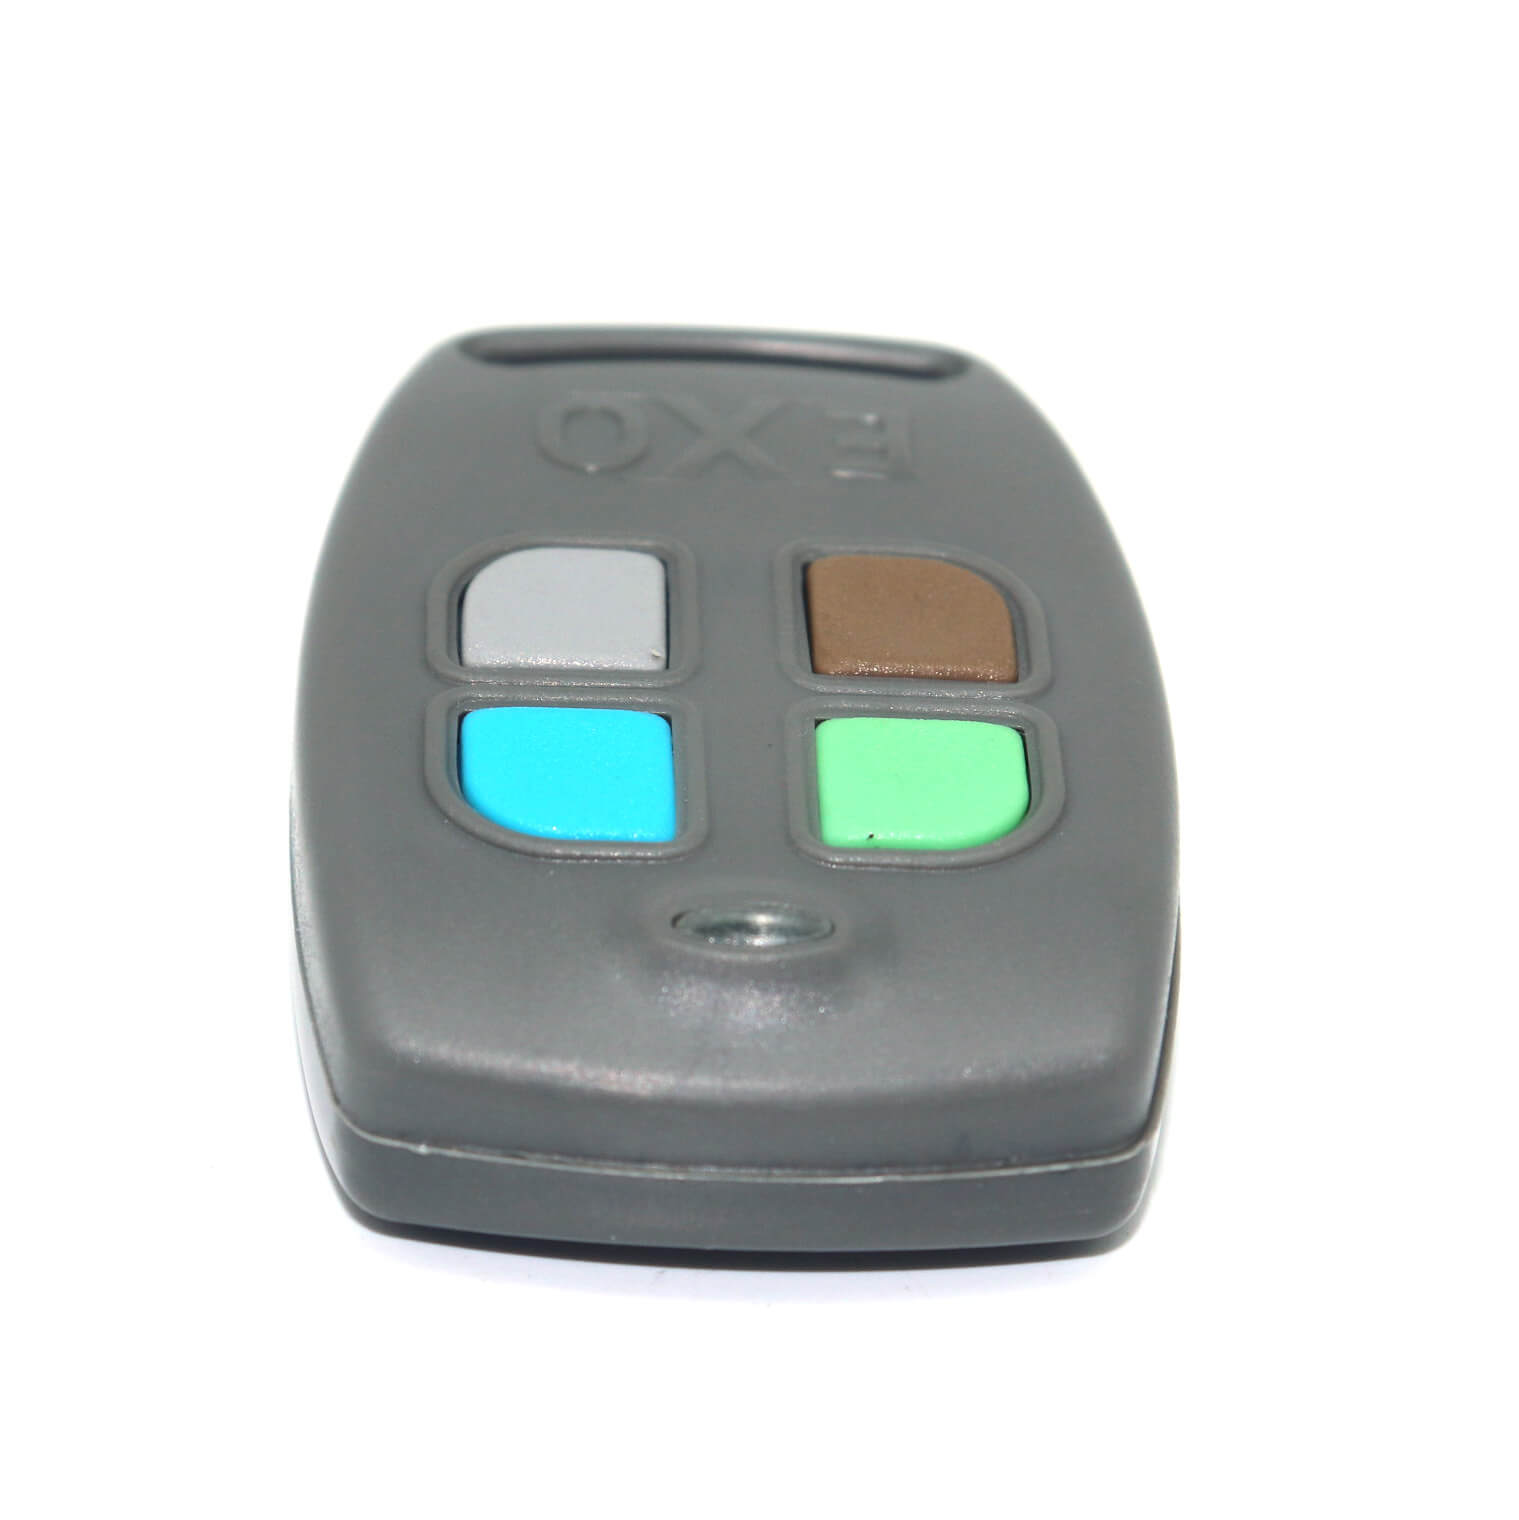
Note:  This remote is now called the DACE Duratronic EXO Remote.

Works with the below Gate Motors:

  • DACE Duraslide (Sprint, Solo and Condo) Gate Motors
  • Duraswing Gate Motors
  • BOSS Duraslide Gate Motors

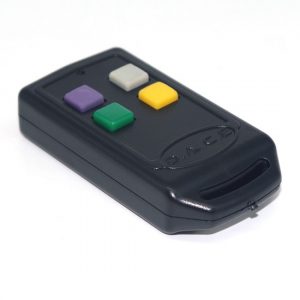
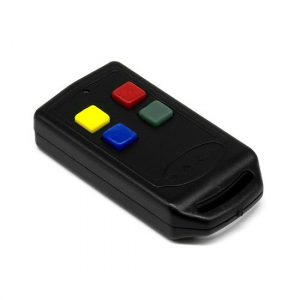
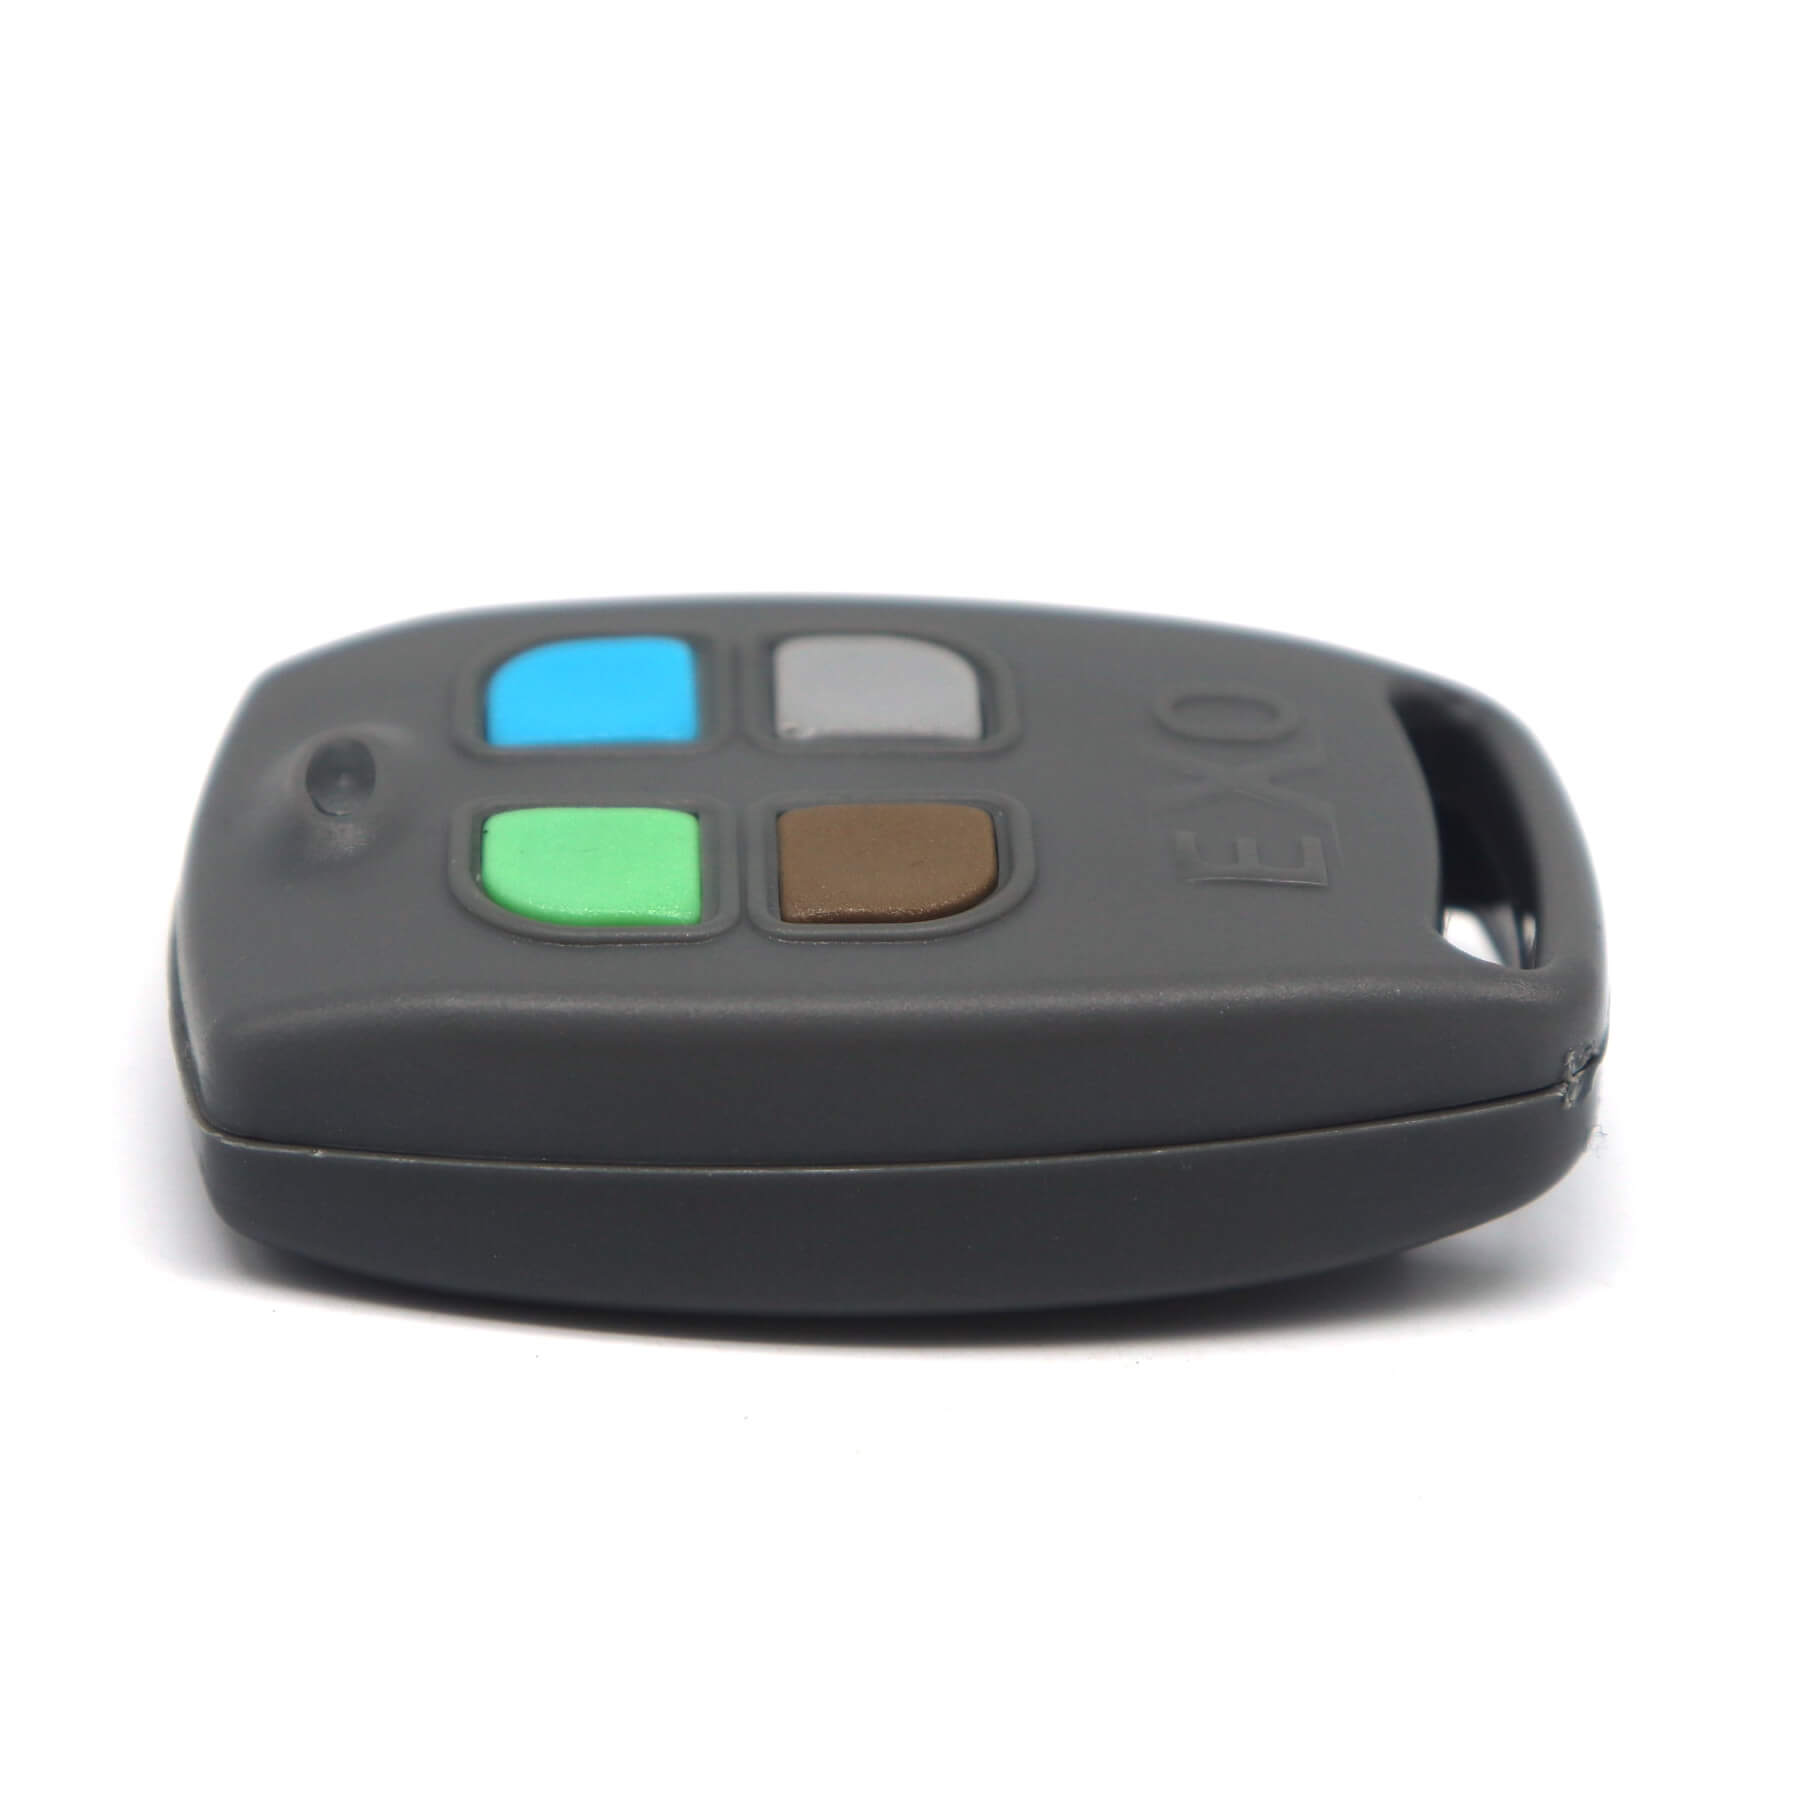
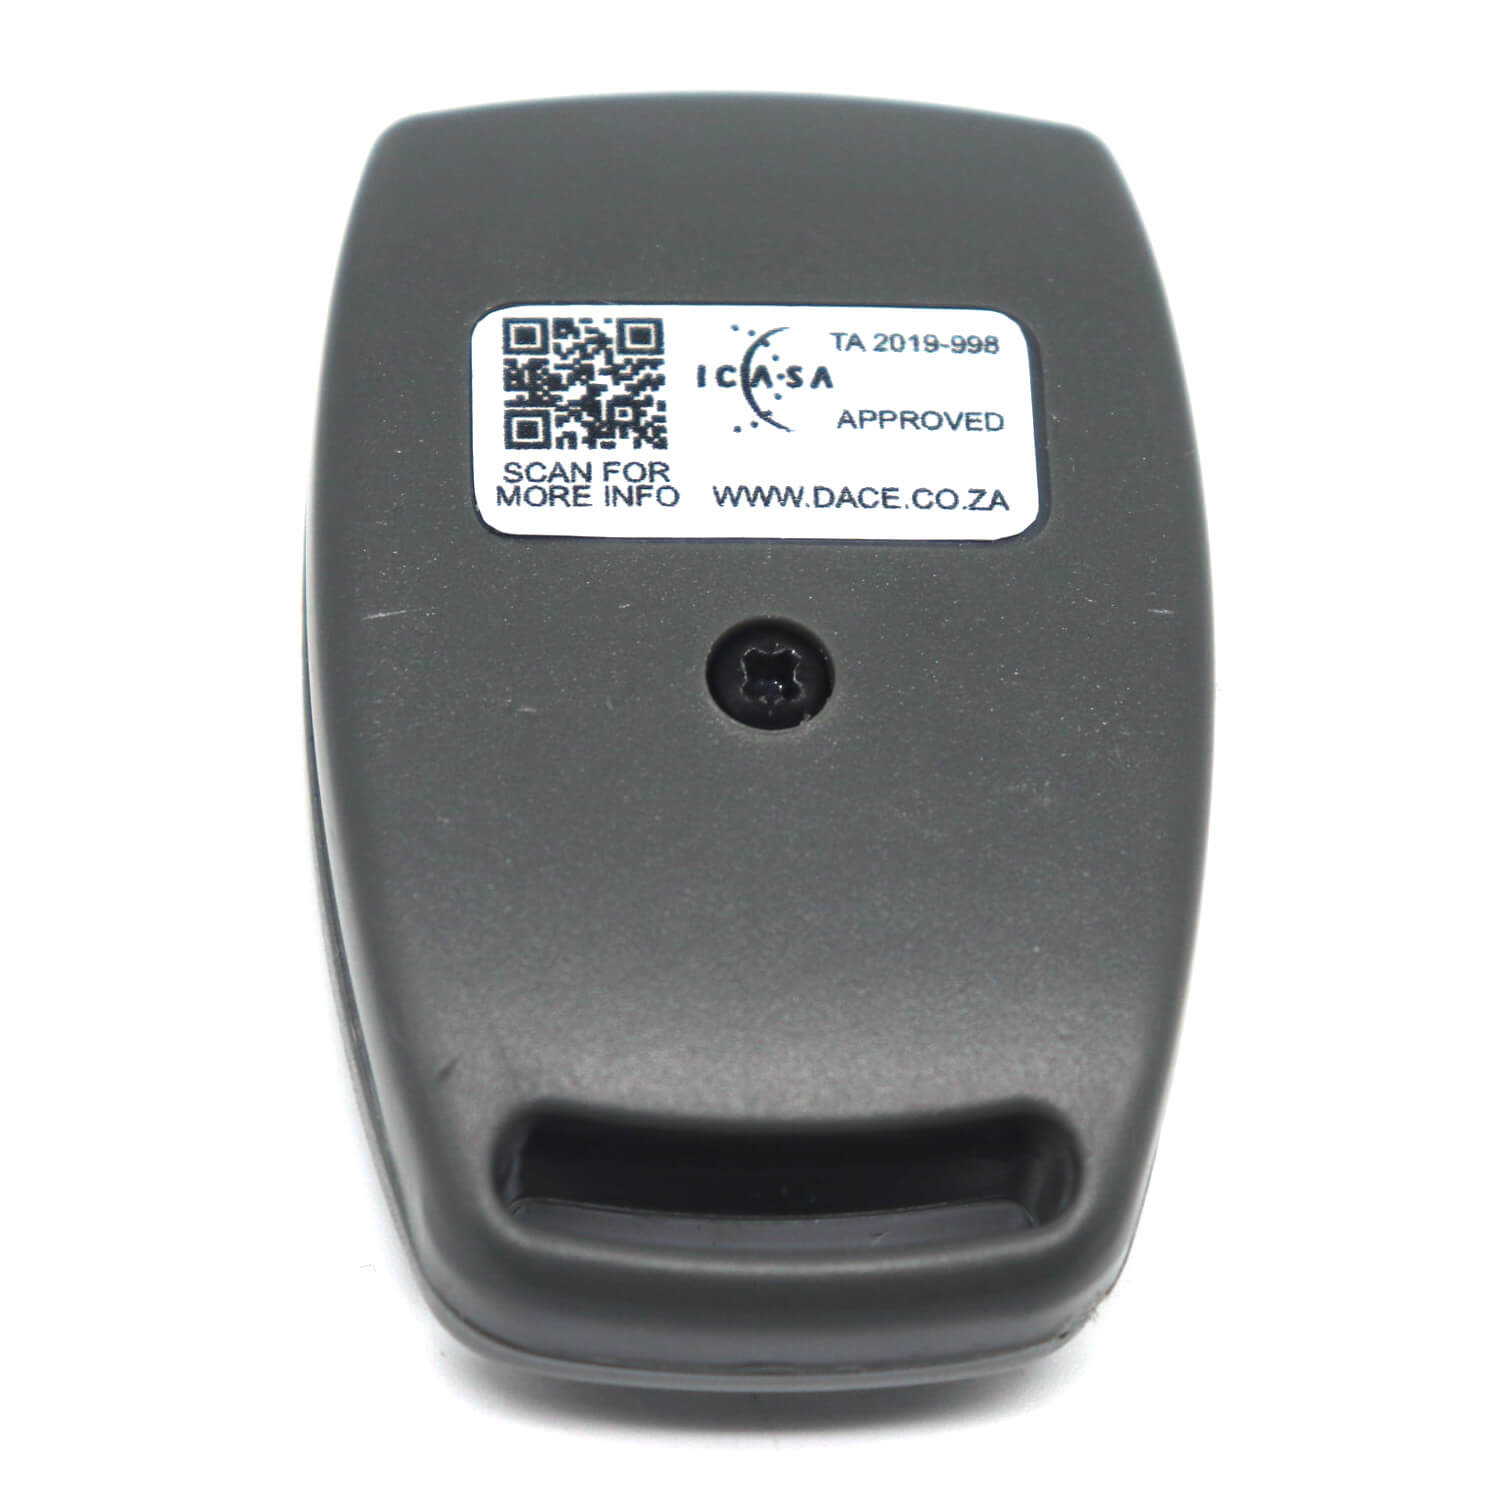
This remote has had external casing changes over the years.  Below is the design and came in a 1,2,4 button version.

DACE TM4 RemoteDace TM4 Remote

Remotes:

  • Duratronic TM1 remote
  • Duratronic TM2 remote
  • Duratronic TM3 remote
  • Duratronic TM4 remote
  • DACE TM4

Note:  This remote is not compatible with the DACE EXO remote (black remote with same button colours). 

If you have a Black EXO remote with grey buttons it is likely an imported remote compatible with DACE/Duratronic TM4.

Weight0.03 kg
Dimensions0.00 × 0.00 × 0.00 mm
Brand

DACE

Compatible Brand

DACE, Duratronic

MPN

Does Not Apply

UPC

Does not apply

Type

Colour of Buttons

Blue, Green, Red, Yellow

Number of Buttons

Remote Colour

Black

Battery Technology

Lead-Acid

AS62368.1 Battery Compliant

Not Applicable

Features

Keyring, Wireless

Frequency

433.92 MHz

Items Included

Battery, Installation Instructions, Keyring Attachment, Remote

Power Source

Battery Powered

Warranty

2 Years*


Frequency433.92MHz
Code TypeRolling Code
Body TypeKey Ring
Number of Buttons4
Button ColourMultiple
Case ColourGrey
Remote Size58 x 36 x 12 mm
Range< 40 meters


Item Contains Lithium Coin/Button BatteryNo
Battery Type23A
Access TypeTool Required
AS62368.1 CompliantYes

OPERATING INSTRUCTIONS FOR DACE MOTORS

To program remotes via the receiver board follow the below steps.  It is recommended that the remotes are numbered in order of programming.   This will assist you when erasing individual remotes that may be been lost or stolen.

  • Press and Hold the Button on the new remote
  • Place the jumper over the two pins on the Control Board called TX-L for 2 seconds
  • Remove the jumper from the two pins
  • Release the button on the remote, Remote is now programmed to the receiver
  • Follow the above steps for ever remote you wish to program (Max memory is 15)

ERASING ALL THE REMOTES FROM A RECEIVER

  • Insert the jumper over the two pins called TX-E
  • Count 4 flashes of the green LED next to the test button on the main Control Board
  • Remove the jumper
  • Replace the jumper and count two flashes
  • Remove the jumper
  • Replace the jumper and count four flashes
  • Remove the jumper, the LED will flash rapidly to indicate the remotes have been erased from the receiver.

ERASING A SINGLE REMOTE FROM THE RECEIVER

To erase one single remote from the receiver, the remotes need to be numbered in order of programming.  This means that each remote must be given a number before being programmed to the receiver.  If this has been done then it is possible to erase a single remote.  For example remote number 6 will erase remote number 7 etc.

  • Place the jumper over the TX-E pins
  • Press the button of the remote preceding the remote you wish to erase.
  • Remove the jumper, The remote is now erased from the memory.

OPERATING INSTRUCTIONS FOR DURATRONIC MOTORS

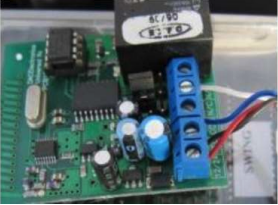
Coding is completed via the receiver board located inside the Gate Control Box – The Coding Link is next to the WHITE WIRE terminal. When not in use it sits on 1 prong only
CODING REMOTES TO A RECEIVER

  • Connect power
  • Insert Link onto TX Coding prongs to activate learning mode.
  • Transmit the button you want to activate the device on the new remote LED will flash once after coding new remote.
  • If the remote is already coded, the LED will flash twice
  • If the memory is full, LED will flash three times
  • Continue coding remotes
  • Remove TX Coding Link to deactive learning mode.

DELETE INDIVIDUAL CODES

  • Remove power
  • Reconnect power
  • Insert Coding Link onto Erase Memory Prongs Within 10 seconds
  • Transmit with previous coded remote
  • After remote has been erased, the LED will flash once indicating that the operation is complete
  • Remove Erase Memory Coding Link from Prongs
  • Steps must be repeated every time a single remote is to be deleted.

DELETE ALL CODES

  • Remove power
  • Reconnect power
  • Insert Coding Link onto Erase Memory Prongs Count, LED flashes
  • When count reaches 4, remove Erase Memory Coding Link
  • Insert Erase Memory Coding Link and count LED flashes When count reaches 2 remove Erase Memory Coding Link
  • Insert Erase Memory Coding Link and count LED flashes, when count reaches 4, remove Erase Memory Coding Link
  • All remotes are now erased from the receiver,  remove Erase Memory Coding Link

Reviews

There are no reviews yet.

Only logged in customers who have purchased this product may leave a review.