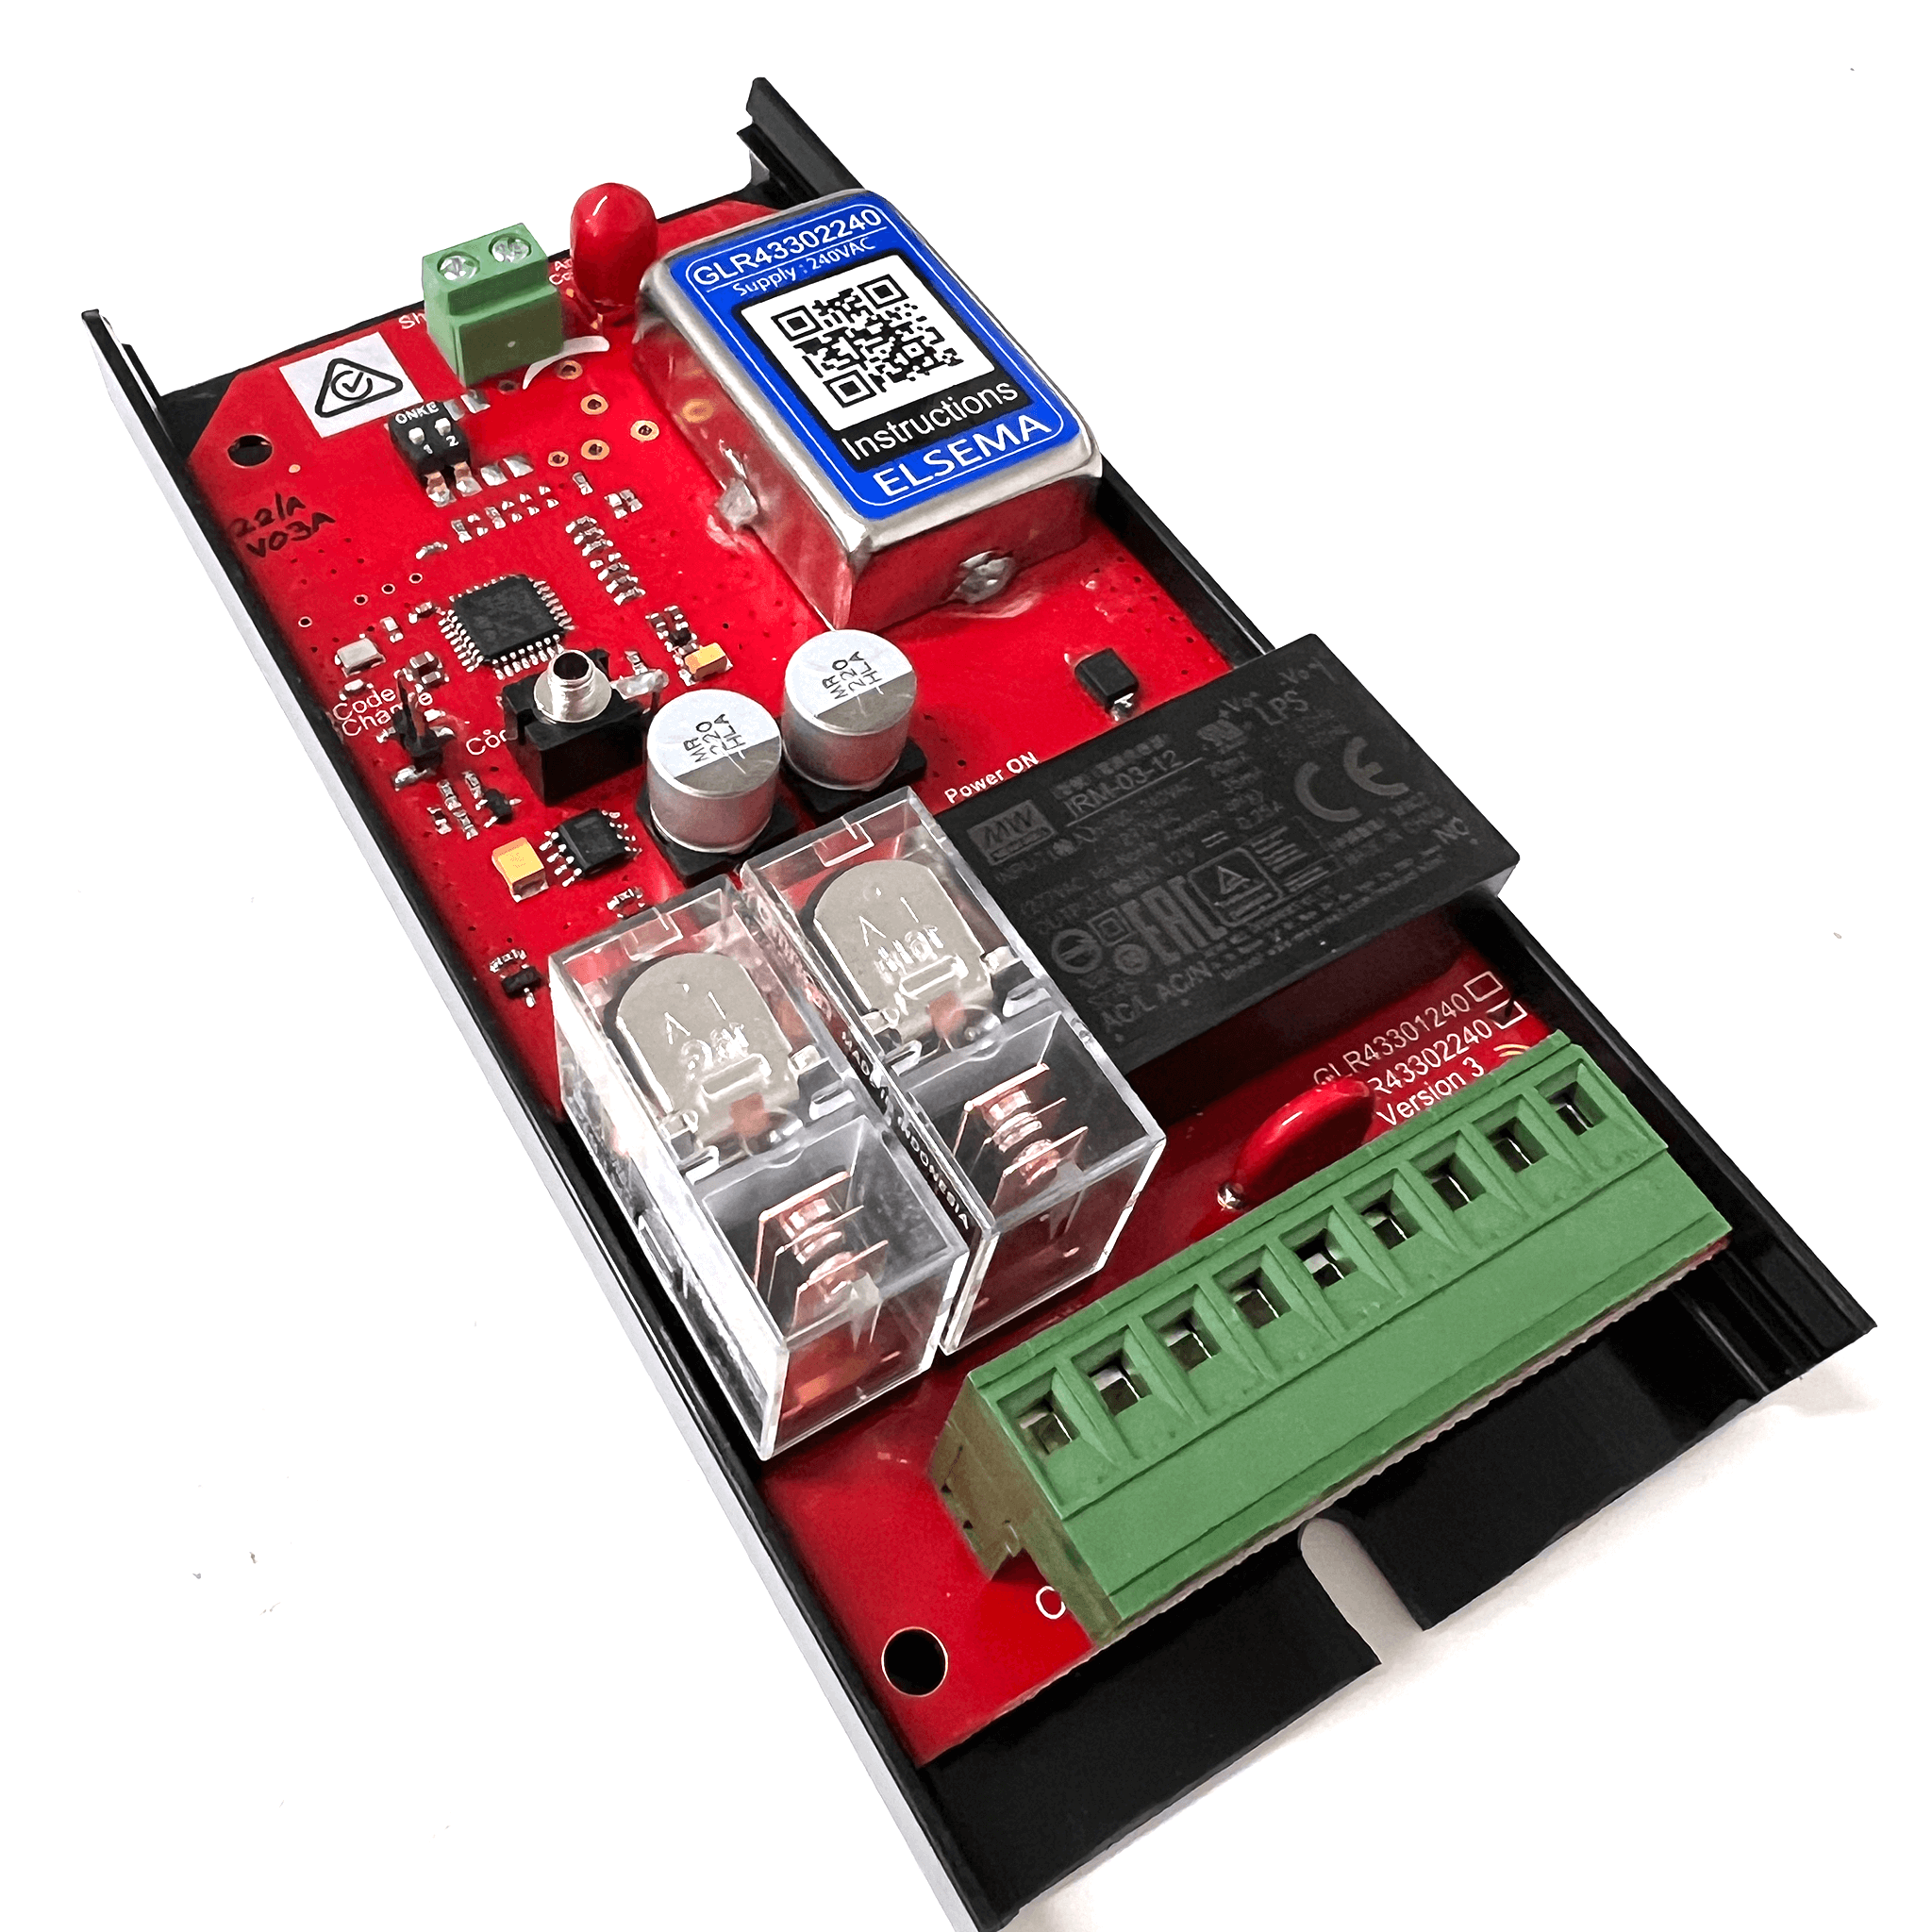
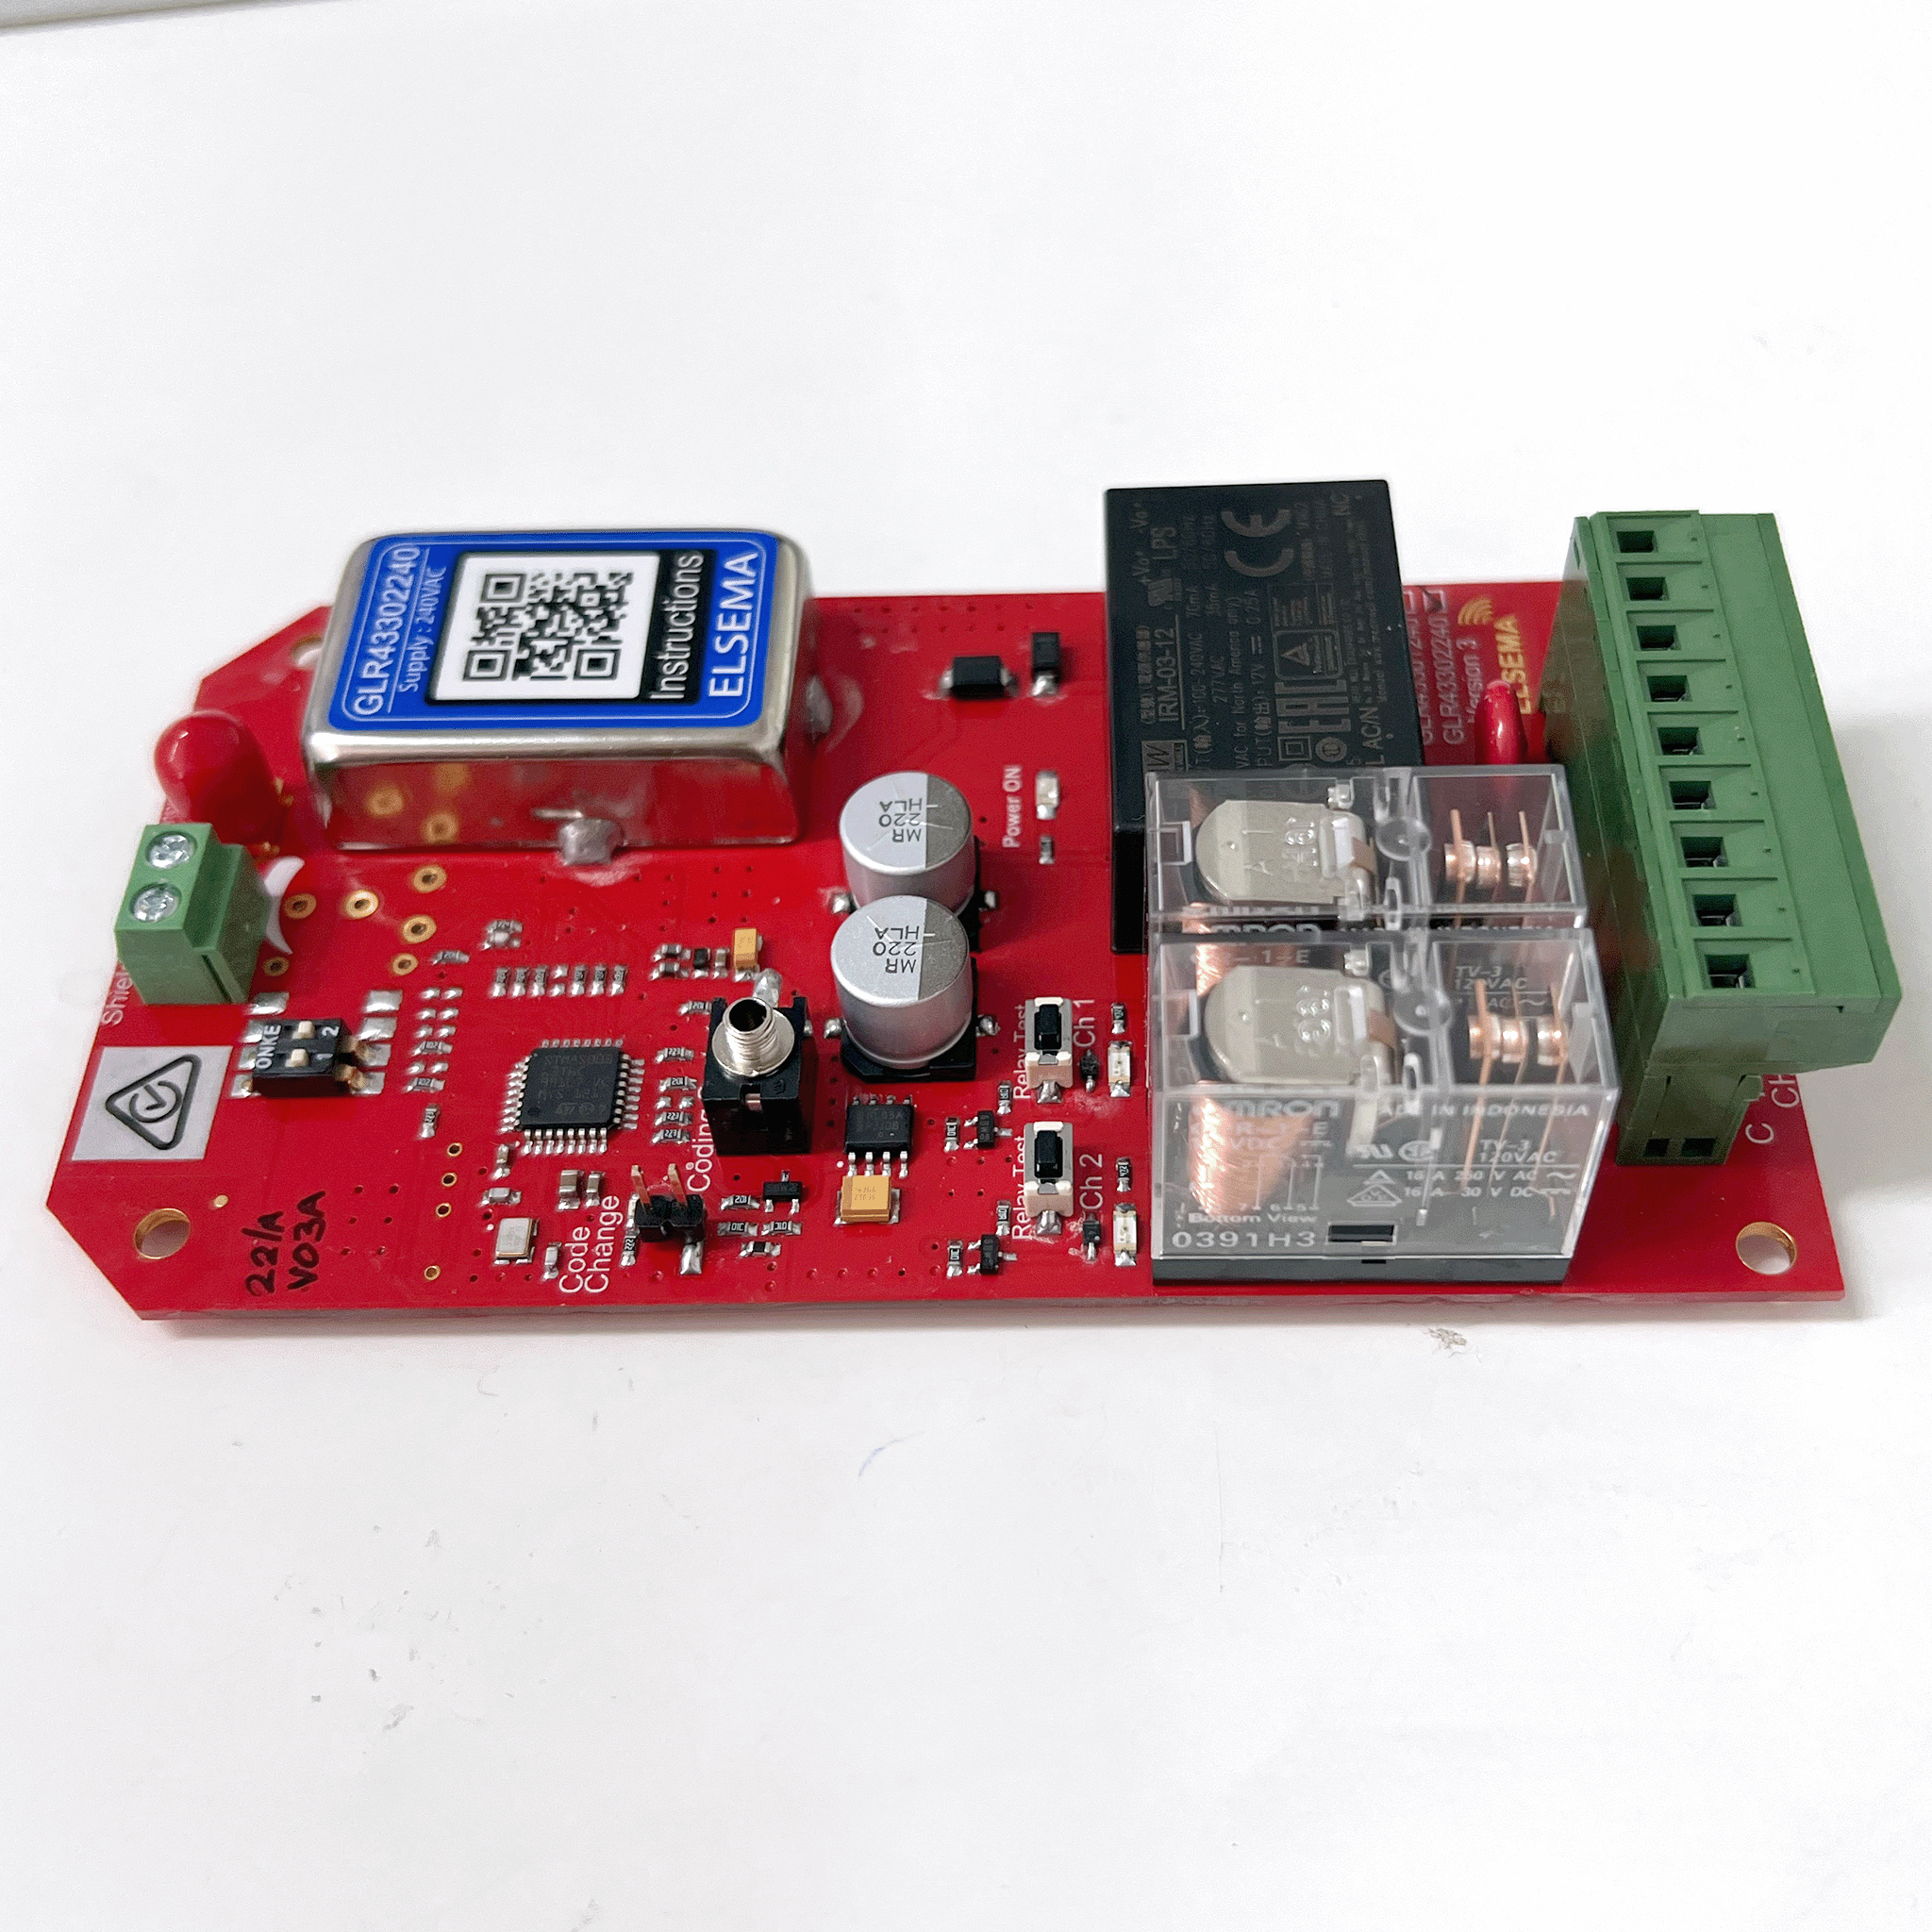
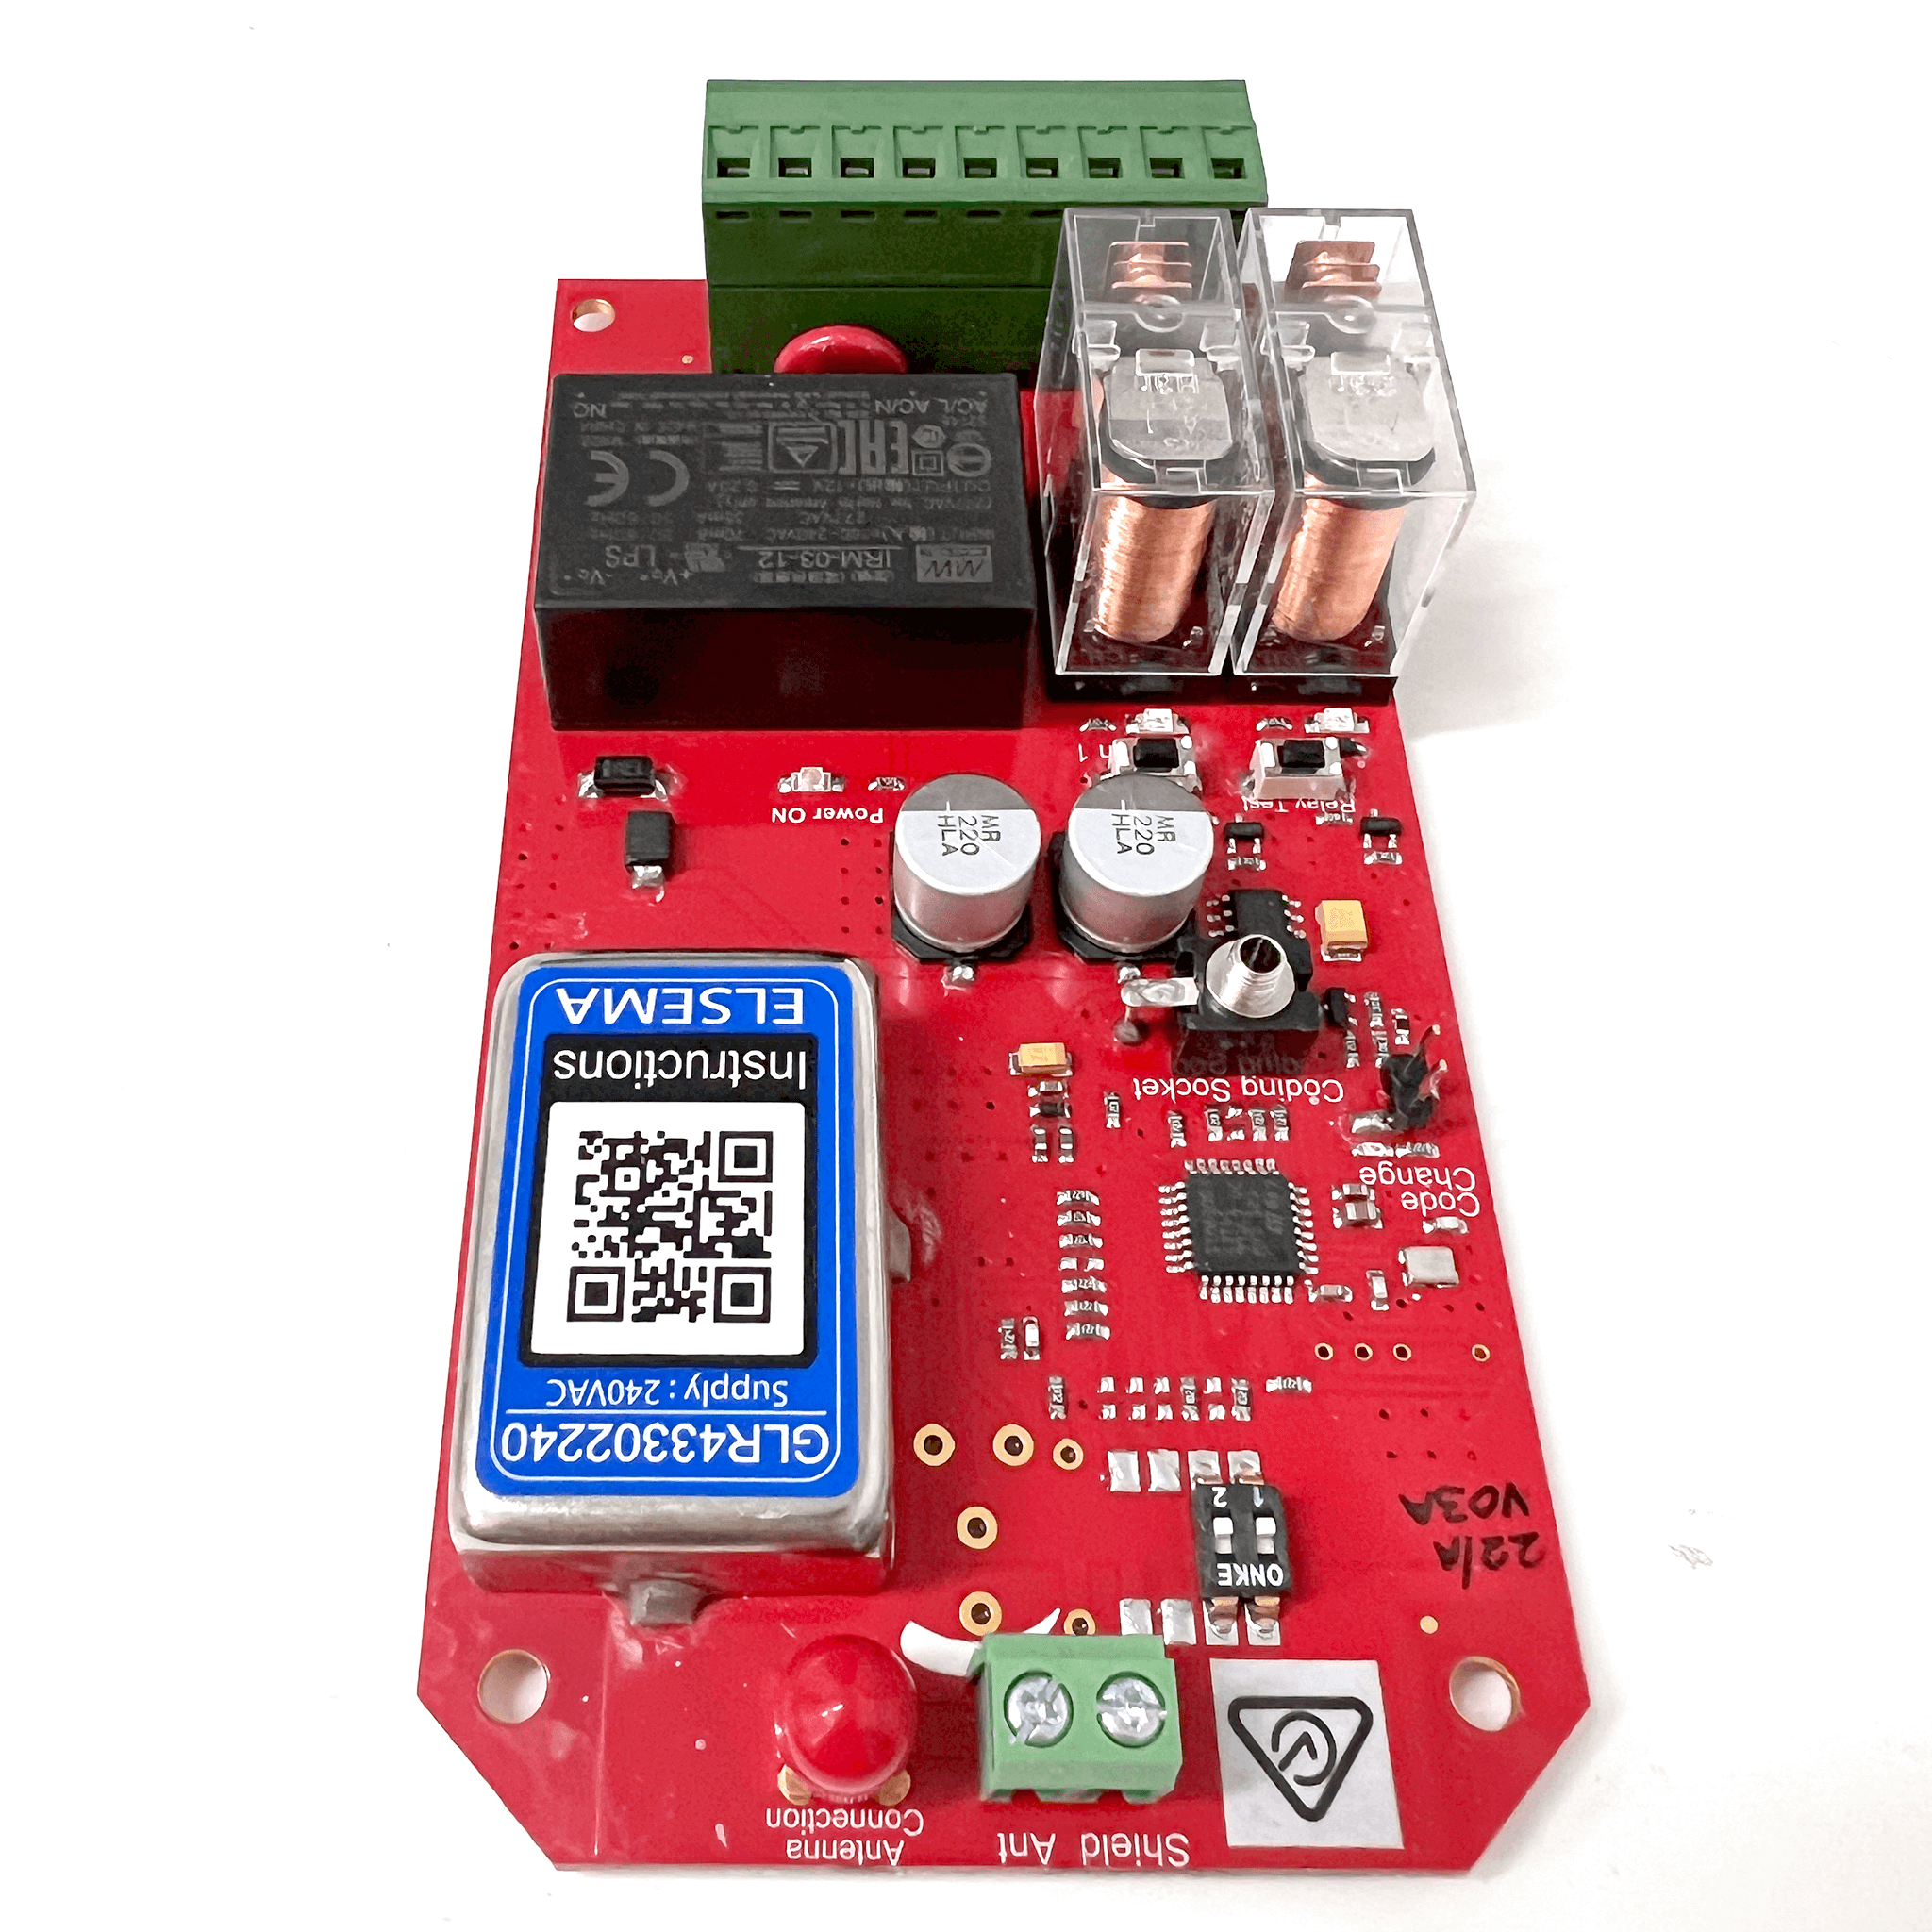
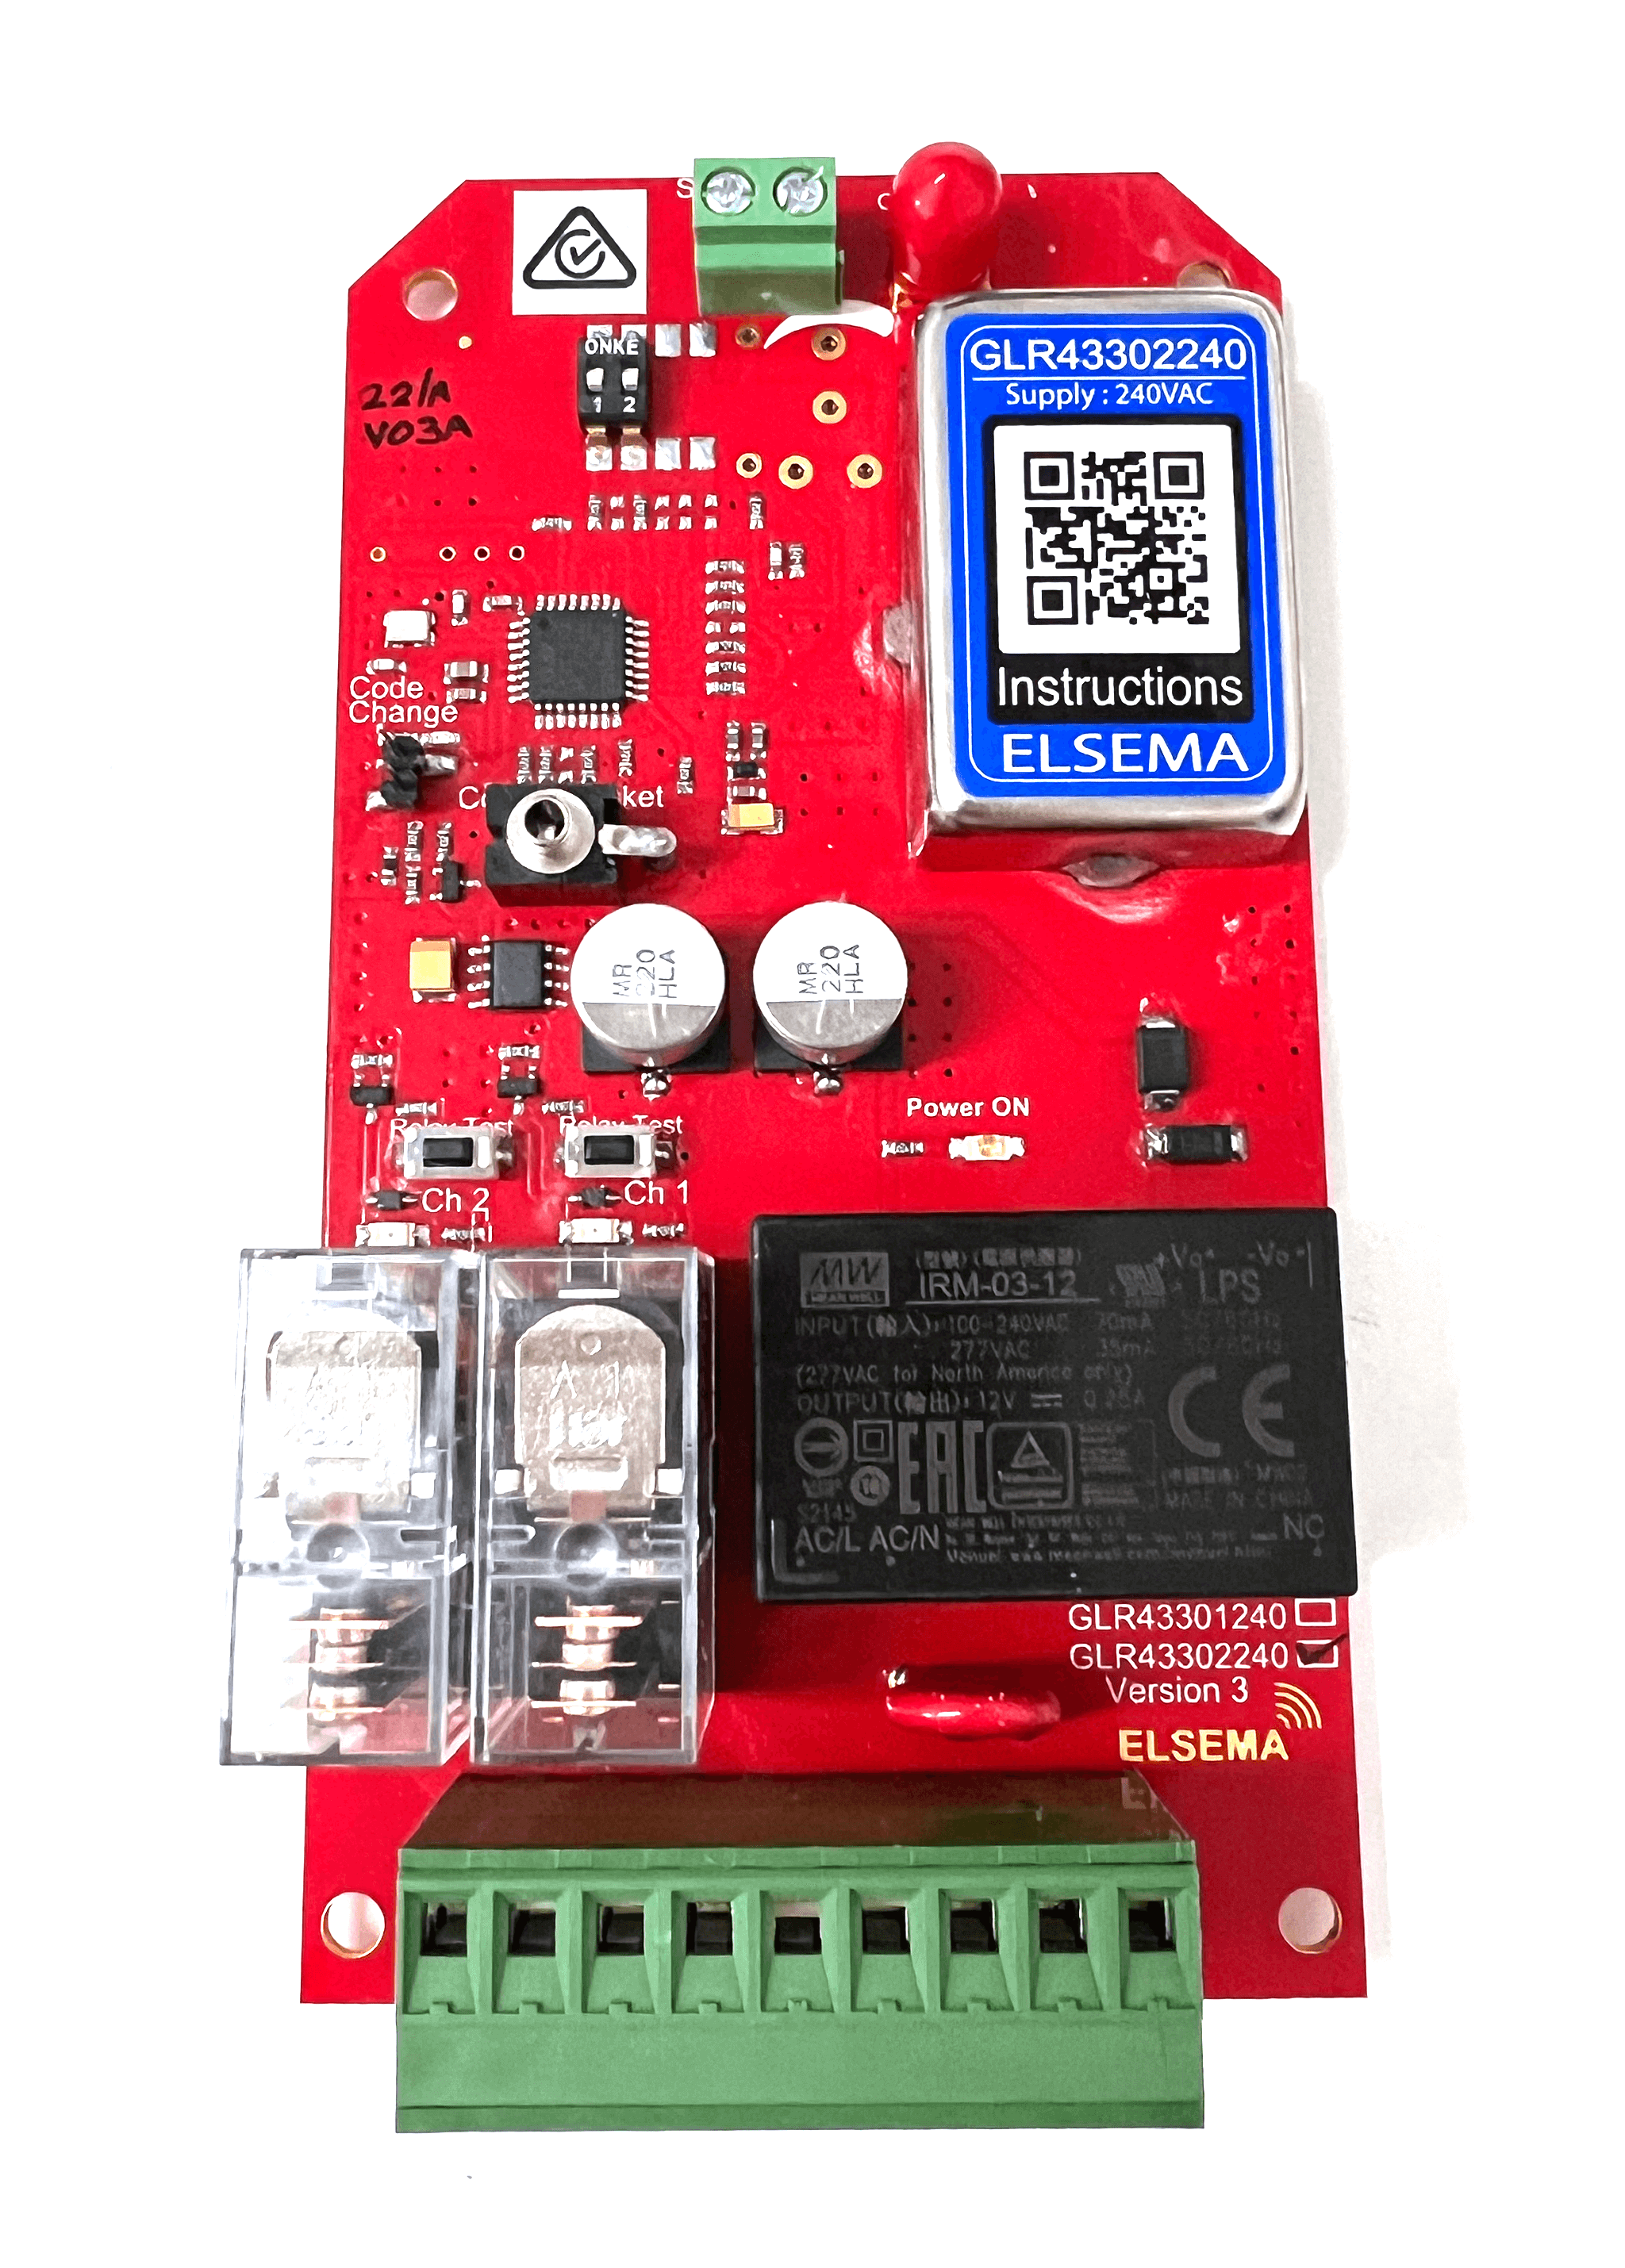
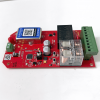
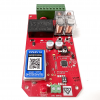
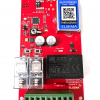
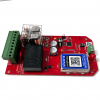
Elsema Gigalink GLR43302240, 2 Channel 240V Receiver

Brand: Elsema

Elsema Logo

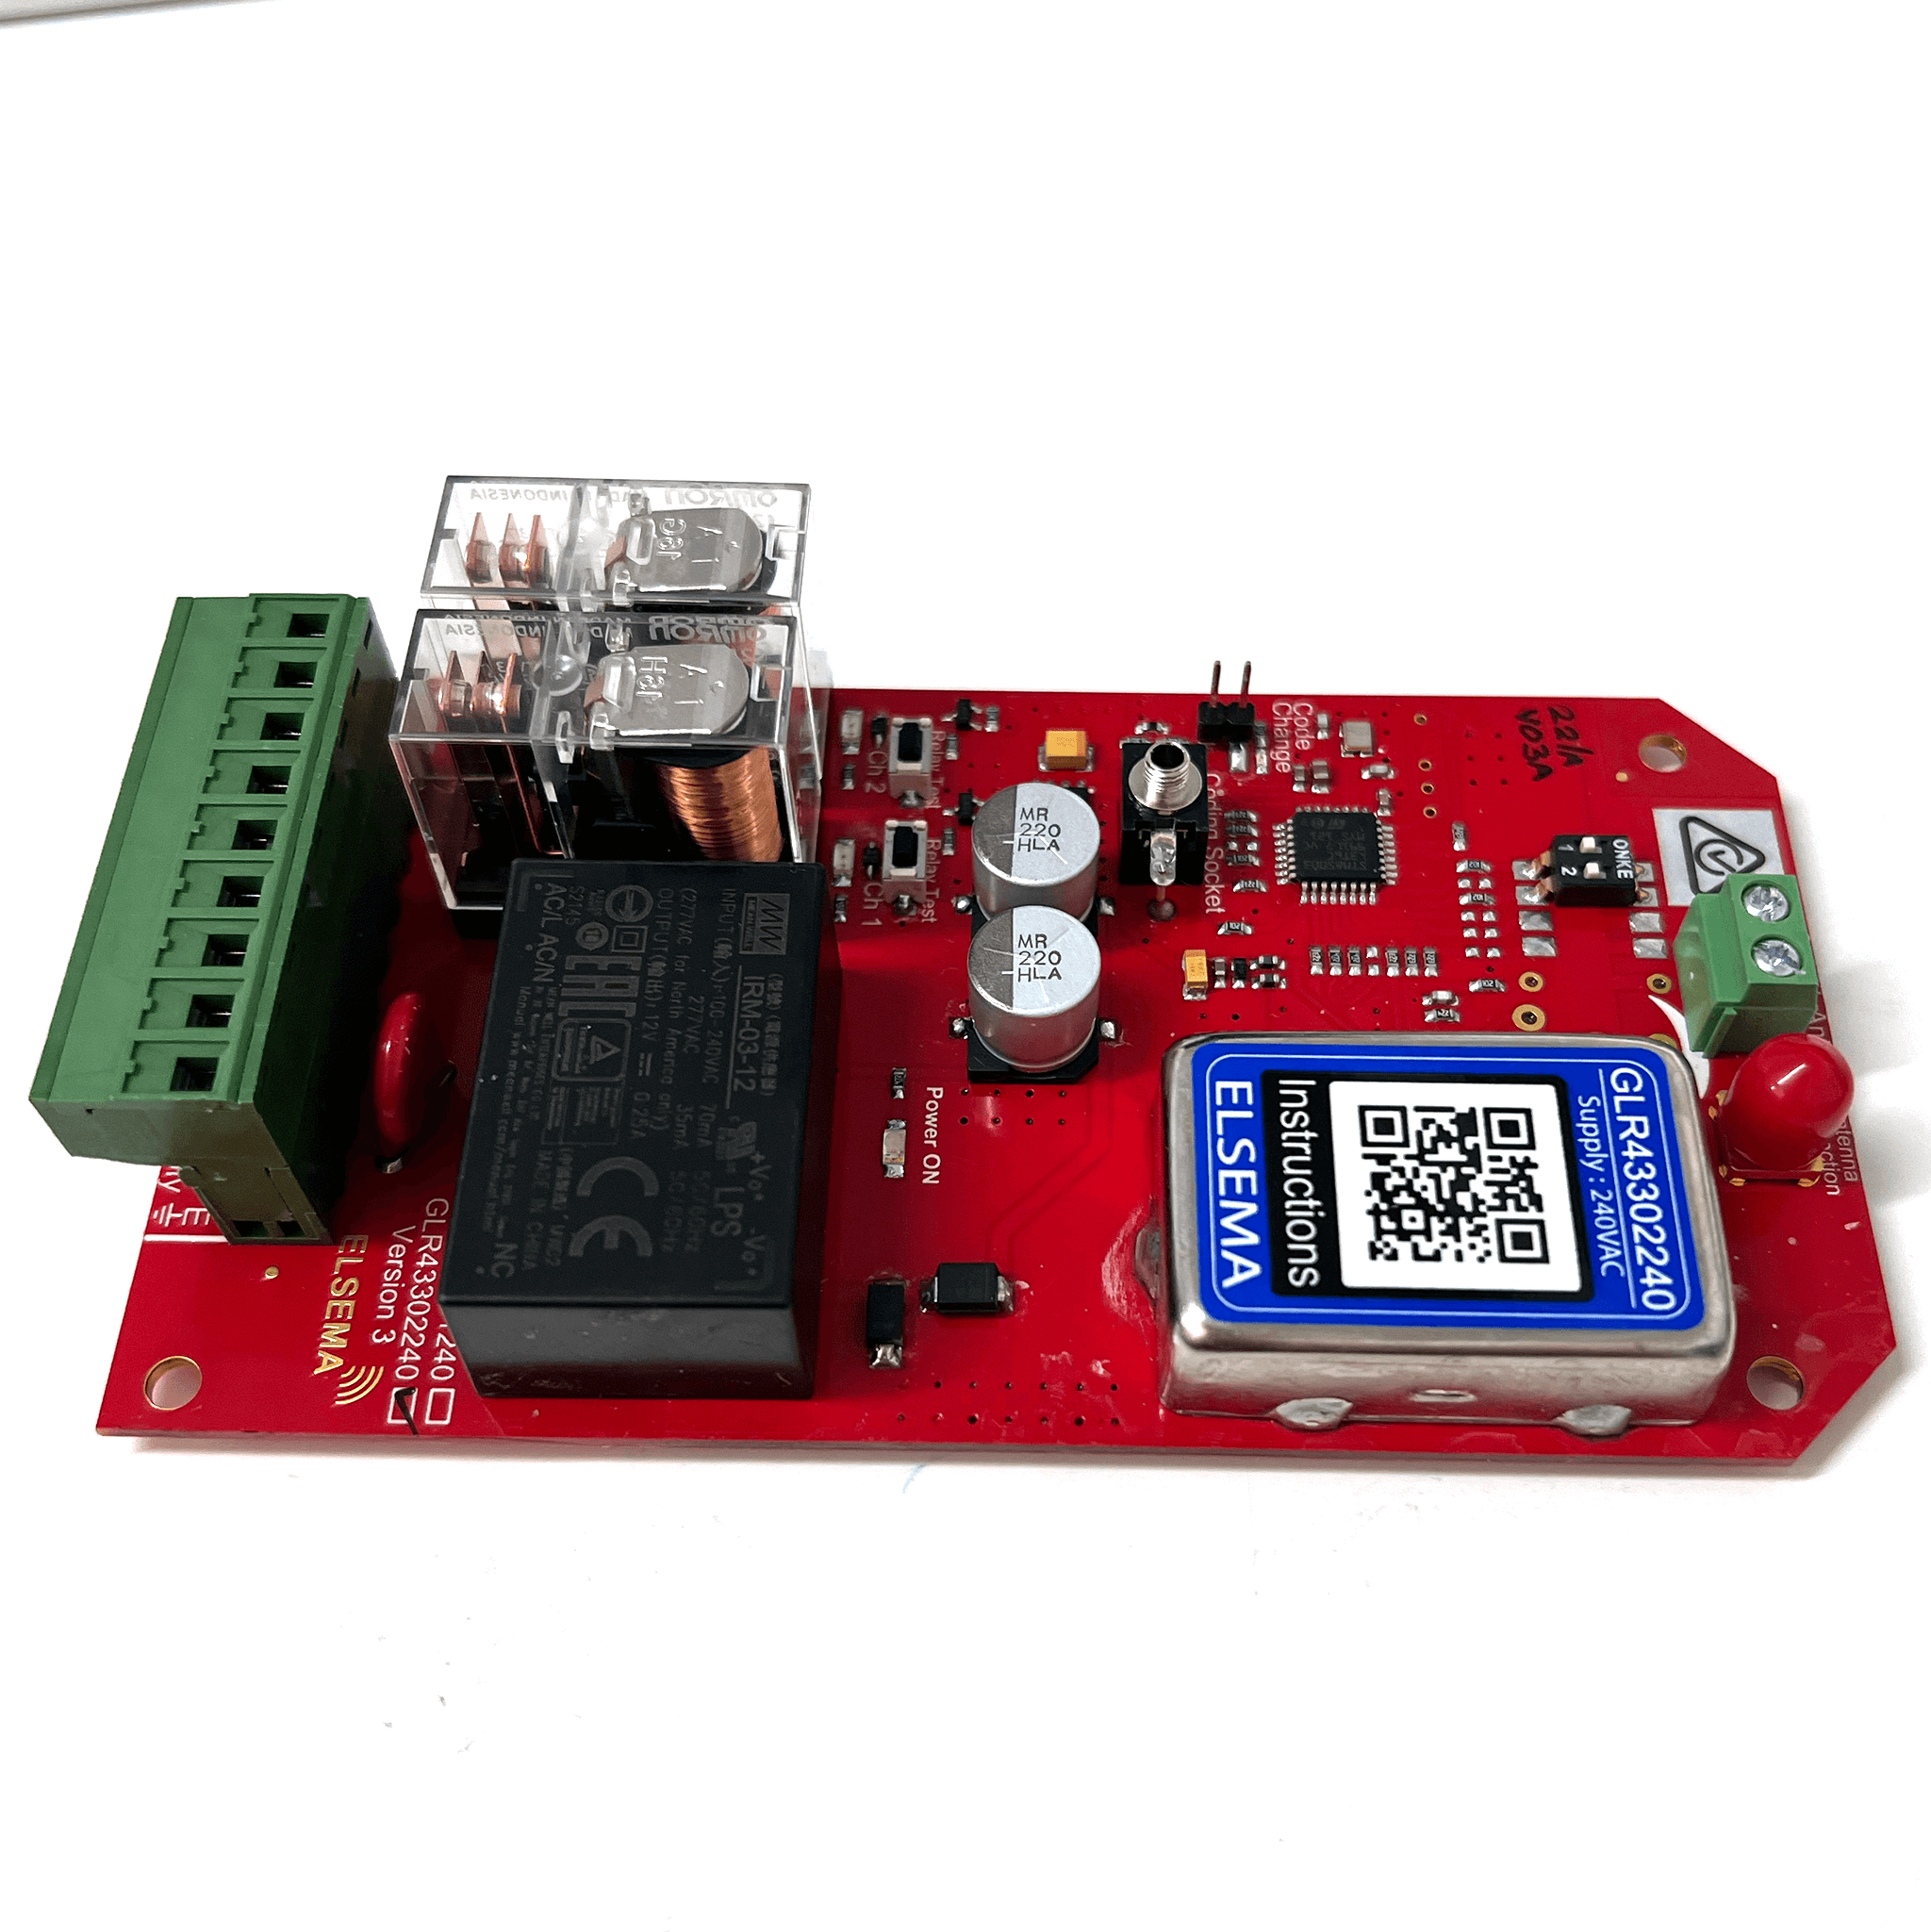
Elsema Gigalink GLR43302240, 2 Channel 240V Receiver

Brand: Elsema

Elsema Logo

Includes:

  • Genuine Elsema 2 Channel 240V channel receiver
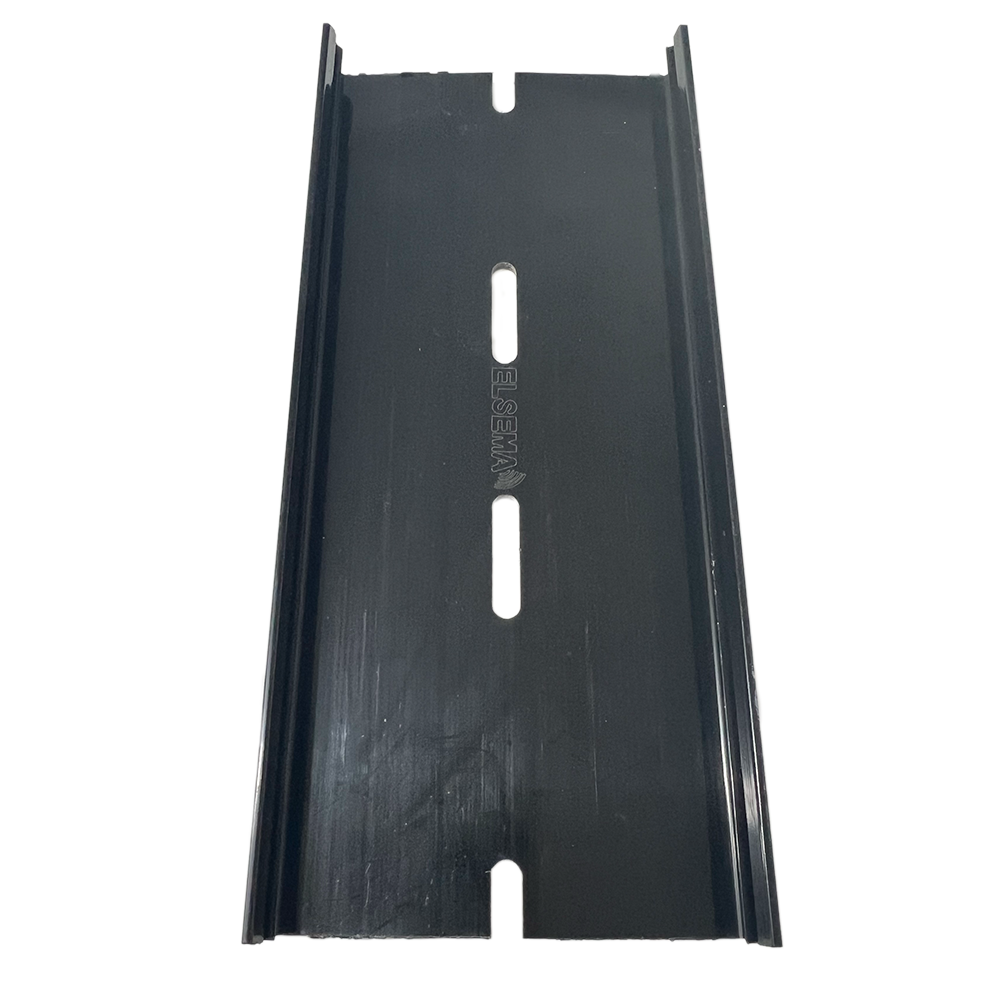
  • QM150 Quickmount
  • Elsema Coding Cable
  • Programming Instructions
  • Free Shipping Australia-Wide*
  • 12 months Manufacturers Warranty*

$148.95

Availability:

Only 2 left in stock

Availability:

In stock

Includes:

  • Genuine Elsema 2 Channel 240V channel receiver
  • QM150 Quickmount
  • Elsema Coding Cable
  • Programming Instructions
  • Free Shipping Australia-Wide*
  • 12 months Manufacturers Warranty*

Features:

  • Two-channel receiver with high-capacity relay outputs
  • Compatible with 240VAC mains supply (110-120VAC available for international markets)
  • Supports over 4 billion code combinations with unlimited transmitter storage
  • Crystal-controlled and powered by a toroidal transformer for high reliability and efficiency
  • On-board switch for manual relay testing and LED indicators for power and relay status
  • Highly sensitive input stage for long-range applications
  • Multiple modes: Momentary, Latching, Delayed Off (1-300 seconds), Pulsing, Security Latching, On-Off, and Custom
  • Weatherproof version (E) available for outdoor applications
  • 12-month manufacturer’s warranty*
  • Free shipping Australia-wide*

Includes:

  • Genuine Elsema 2 Channel 240V channel receiver
  • QM150 Quickmount
  • Elsema Coding Cable
  • Programming Instructions

Please note: Although this item is marked as in stock, our Elsema stock is consistently replenished to meet demand. Due to frequent bulk orders, stock levels can be challenging to determine in real-time. If you need an estimated time of arrival (ETA), please feel free to contact us, and we’ll be happy to assist!

Compatibility:

The Elsema Gigalink GLR43302240 is a highly reliable, 2-channel 240V receiver designed for long-range and high-performance applications. This versatile receiver features two high-capacity relay outputs and can be directly connected to a 240VAC mains supply. It supports a wide range of automation systems, with multiple operating modes such as momentary, latching, delayed off (1-300 seconds), pulsing, and more.

Equipped with a highly sensitive input stage, the Elsema Gigalink GLR43302240 ensures extra-long-range control, making it ideal for a variety of applications. The crystal-controlled circuitry and toroidal transformer provide superior reliability and efficiency, while the receiver’s microcontroller allows it to store an unlimited number of transmitters with a high-security 32-bit encrypted code.

The on-board LED indicators show both power and relay status, while the manual relay test switch offers easy diagnostics. Compatible with multiple Elsema GIGALINK™ transmitters and antennas, this receiver is designed for maximum flexibility and scalability.

Frequently Asked Questions

What type of power supply does the Elsema Gigalink GLR43302240 require?
The Elsema GLR43302240 is powered by a 240VAC mains supply. For international markets, a version that supports 110-120VAC is also available upon request.

How many transmitters can be programmed to this receiver?
This receiver can store an unlimited number of transmitters, making it ideal for large or expandable systems.

What are the operating modes of the Elsema Gigalink GLR43302240?
The receiver supports various modes, including momentary, latching, 1-300 second delayed off, pulsing, security latching, on-off, and custom modes.

What is the maximum relay output capacity?
The relay outputs are rated at 16 amps for resistive loads or 8 amps for inductive loads at 240VAC, making it suitable for high-capacity applications.

What antennas are compatible with the Elsema GLR43302240?
The receiver is compatible with Elsema ANT433 series antennas for 433 MHz applications, and ANT27 series antennas for 27 MHz applications.

Weight0.3 kg
Application

AS62368.1 Battery Compliant

No

Brand

Elsema

Type

Channels

2 channels

Country/Region of Manufacture

Fiji

Features

Easy Installation, Genuine

Frequency

433.92 MHz

Items Included

Coding Cable, Installation Instructions, Quickmount, Receiver

Voltage

240V

Warranty

1 Year*

Supply Voltage240Volts AC Mains
Current Consumption18mA, on 240V AC
Receiver TypeSingle Conversion Superheterodyne
Receiving Frequency433.920MHz
Operating Temperature Range433.920MHz (Other frequencies available on request)
Type of Crystal6.775MHz, Fundamental, 20pF, 30ppm
Operating Temperature Range-5 to 50°C
IF Freq320kHz
Selectivity3dB at ±20kHz
SensitivityBetter than 1.0uV (For output to switch on)
Type of DemodulationAmplitude Shift Keying (ASK)
Decoding SystemMicrocontroller (32-bit word 4.29 x 10^9 codes)
Code Combinations4,294,967,296
OutputsChange over relay output, rated at 16 Amps of resistive load and up to 8 Amps of inductive load.
ConnectionsSupply, Antenna & Outputs – pluggable type terminal blocks
Dimension130 x 70 x 37mm
Mounting hole size3.97 mm or 5/32″
Weight190g

Programming Instructions for the Elsema GLR43302240 – 2 Channel 240V Receiver

The Elsema GLR43302240 receiver can be programmed in both multi-channel and single-channel modes. Below are the instructions for each mode, along with the steps for forward programming.


Multi-Channel Programming

Multi-channel programming allows you to program all channels of a multi-channel receiver to a multi-channel transmitter simultaneously.

Steps for Multi-Channel Programming:

  1. Power Up the Receiver:
    Connect power to the GIGALINK™ receiver, ensuring all switches on the mode dipswitch are turned off.
  2. Set Random Code (Optional):
    Momentarily short the two CC pins on the receiver board. This will set all channels to a random code.
    Note: If you short the CC pins, previously programmed transmitters will be erased. Do not perform this step if you want to retain the programmed transmitters.
  3. Connect the Transmitter to the Receiver:
    Insert the GIGALINK™ cable into the 2.5-mm coding socket of both the transmitter and the receiver. The red LED on the transmitter will turn on, indicating the programming mode.
  4. Program the Transmitter:
    Press any two buttons on the multi-channel transmitter simultaneously for one second. The LED will blink twice to confirm the code is programmed, and then it will turn off.
  5. Disconnect the GIGALINK™ Cable:
    Remove the GIGALINK™ cable after programming is complete.
  6. Repeat for Additional Transmitters:
    To program another multi-channel transmitter, repeat steps 3 to 5.
    Important: Do not short the CC pins again if you want to keep the previously programmed transmitters.

Single-Channel Programming

Single-channel programming allows you to program one channel at a time from the transmitter to the receiver.

Steps for Single-Channel Programming:

  1. Power Up the Receiver:
    Connect power to the GIGALINK™ receiver, ensuring all switches on the mode dipswitch are turned off.
  2. Set Random Code (Optional):
    Momentarily short the two CC pins on the receiver board. This will set all channels to a random code.
    Note: Skip this step if you want to keep previously programmed transmitters, as it will erase all existing programming.
  3. Select the Receiver Channel:
    Set the 2-way dipswitch to select the channel to be programmed. Refer to the table below:

    Dipswitch SettingReceiver Channel (Output Relay)
    Off, OffChannel 1 (GLR43302240)
    On, OffChannel 2 (GLR43302240)
  4. Connect the Transmitter to the Receiver:
    Insert the GIGALINK™ cable into the 2.5-mm coding socket of both the transmitter and the receiver. The red LED on the transmitter will light up, indicating programming mode.
  5. Program the Transmitter:
    Press and hold the desired channel button on the transmitter for approximately one second. The LED will blink twice to confirm successful programming and then turn off.
  6. Disconnect the GIGALINK™ Cable:
    Once programming is complete, remove the GIGALINK™ cable.
  7. Repeat for Additional Channels:
    To program additional transmitters or channels, repeat steps 3 to 6.
    Important: Do not short the CC pins again if you want to keep the previously programmed transmitters.

Forward Programming

Forward programming allows the transmitter’s code to be transferred to multiple receivers, enabling simultaneous activation of multiple receivers by a single transmitter.

Steps for Forward Programming:

  1. Power Up the Receiver and Transmitter:
    Ensure that both the receiver and the transmitter are powered on.
  2. Jumper the CC Pins:
    Place a jumper across the CC pins on the receiver.
  3. Connect the Transmitter to the Receiver:
    Use the GIGALINK™ coding cable to connect the transmitter and the receiver.
  4. Program the Transmitter:
    Press the transmitter button for 2 seconds. This will transfer the transmitter’s code to the receiver.
  5. Remove the GIGALINK™ Cable:
    After the programming is complete, disconnect the GIGALINK™ cable.
  6. Remove the Jumper:
    Remove the jumper from the CC pins to finalize the programming process.
  7. Repeat for Additional Receivers:
    Follow the same steps to program additional receivers with the same transmitter code.

Reviews

There are no reviews yet.

Only logged in customers who have purchased this product may leave a review.