Features:
- High Accuracy control by advanced microprocessor
- 4 stage intelligent PWM charging with temperature compensation
- Automatic system voltage detection
- External true ambient temperature sensor
- Extensive electronic protections
- Highly reliable large terminals
- 2 Years Manufacturers Warranty*
- Free Standard Shipping Australia-Wide*
Includes:
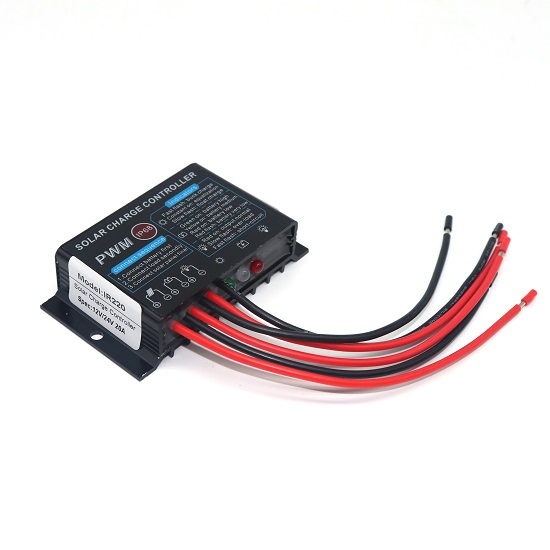
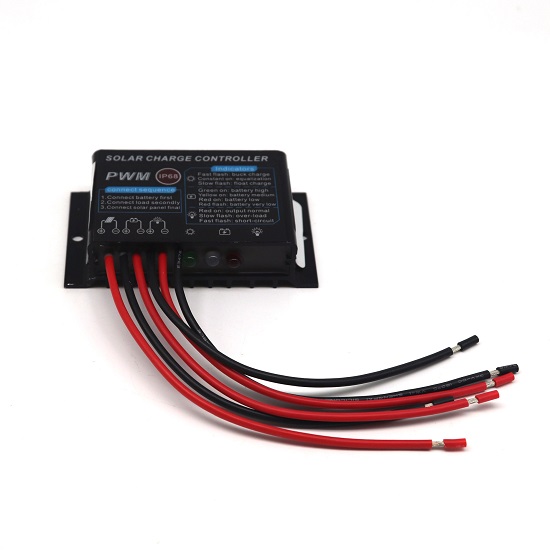
- 1 x IR220 Solar Charge Controller 12/24V
- Install Instructions
Note: This is not a full Solar kit.
12V Solar Panels can produce anywhere from 12 to 21 volts. Solar Charge Controllers help block the overcharge of a battery which could potentially damage the battery.
How to Install the IR220 Solar Charge Controller 12/24V (20A)
Written Instructions:
Setup and Use
Connect kit to battery before placing in the sun. Point the panels towards the sun and set the angle of the panels so that they are perpendicular to the sun to obtain maximum charging current.

Charge Controller Information
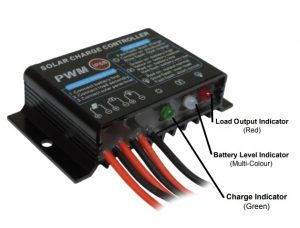
Green Light – Charge Indicator
Solid Green – Solar input, battery is charging (Bulk/Absorption)
Slow Flashing Green – Battery is charged (Float mode)
Multicolour Light – Battery Level Indicator
Green – Battery is 12.3 volts or higher.
Orange – Battery is 12 volts.
Red – Battery is 11.5 volts.
Flashing Red – Battery is 11 volts or lower.
Red Light – Load Output Indicator
Solid Red – Load output is On
Off – Load output is Off
Maintenance
The controller is maintenance-free. We strongly suggest that all components of the solar panel kit be checked at least annually.
- Check the cable strain relief
- Check that all cable connections are secure
- Tighten screws if necessary
- Check for terminal corrosion
- To clean the panel, rinse off salt and other contaminants with clean water. Wipe glass with a clean soft cloth only.
Note: Solar charge controller requires connection to the battery to operate charging circuit, therefore there will be NO output from the leads when not connected to a battery.


